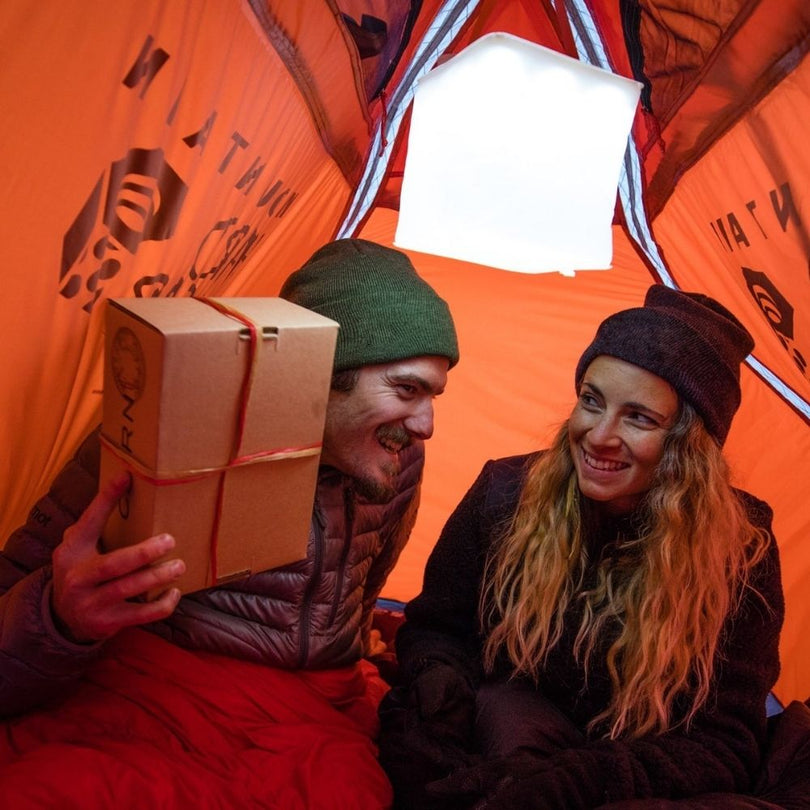
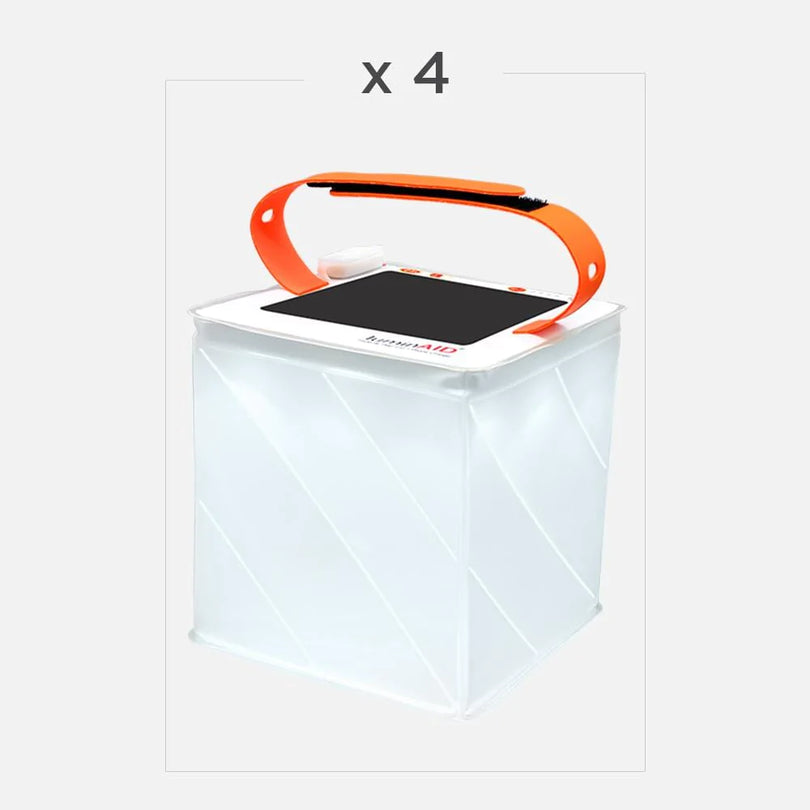

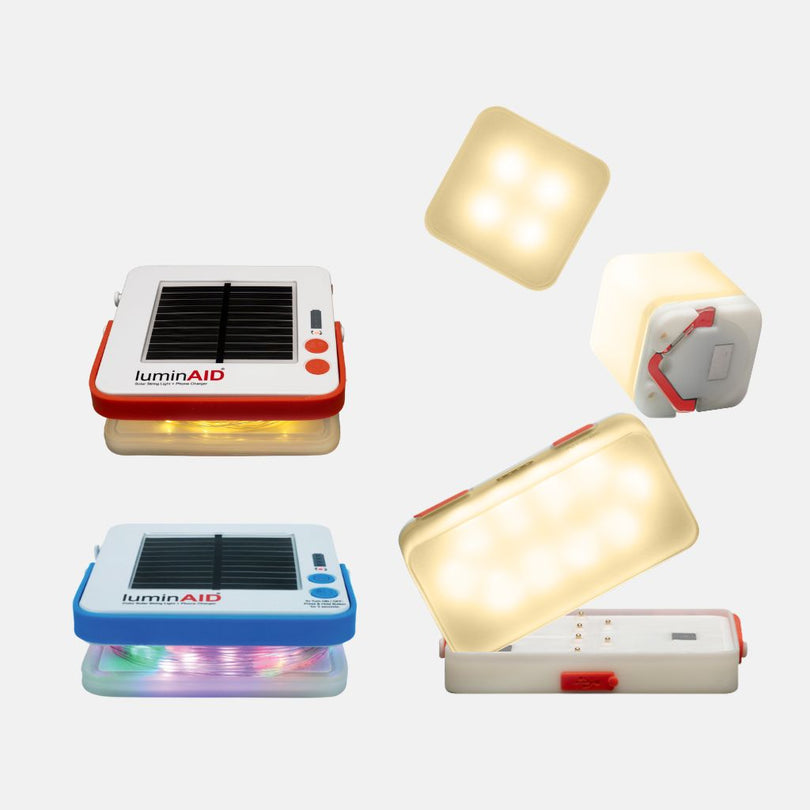
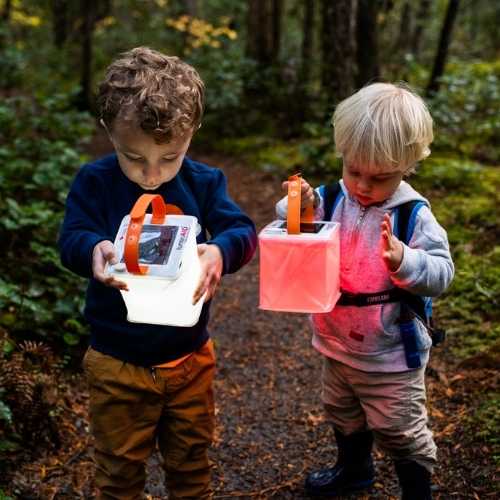

The tent is up, the sun's dropping behind the trees, and the kids are already unzipping the door asking where the light went. A phone flashlight works for about ten minutes of rummaging, then it turns into a weak, awkward glow that never seems aimed where anyone needs it. That's usually the moment a solar lights tent setup starts making sense, not as a novelty, but as gear that keeps camp usable after dark and still earns a place in an outage kit.
Table of Contents
- Why Solar Lights for a Tent Are Worth the Switch
- Sizing Brightness and Color to Your Tent
- Runtime and Charging That Actually Match Your Trip
- Where to Place and Mount Solar Lights on a Tent
- Weatherproofing, Battery Life, and Pack Weight
- Solar Light Setups for Camping, Backyards, and Emergencies
- Troubleshooting the Most Common Solar Tent Light Problems
Why Solar Lights for a Tent Are Worth the Switch
By the time the tent poles are staked and dinner's half-cold, nobody wants to keep juggling a dying phone or a bulky battery pack just to find socks, snacks, or a headlamp. Dedicated solar lighting fixes that by giving camp a light source that's already shaped around off-grid use, storage, and quick deployment. It's not a fringe category either, the broader solar camping light market was valued at $1.2 billion in 2025 and is projected to reach $2.3 billion by 2034, with lanterns holding 38.5% of the market and generating about $462 million in 2025 revenue according to MarketIntelo's solar camping light report.
That scale matters because it tells the story of a tool that's been refined for real users, not just hobbyists. Solar lighting for tents now sits inside a mature outdoor and emergency-preparedness market, and the demand isn't only recreational. It also overlaps with off-grid reliability, something that becomes easier to appreciate once a storm knocks out the power and the same light that worked in camp keeps working in the living room.
A fully solar-powered tent is still uncommon, though. HowStuffWorks notes that solar-powered tents are “not exactly commonplace”, and the examples tend to lean toward large-scale deployments rather than everyday family camping. That's why the practical answer for you is still a separate lantern, string light, or compact solar light clipped into the tent, not a tent with built-in panels.
Practical rule: treat solar tent lighting as real gear, but not as a fantasy all-in-one shelter. Separate lights usually give better control, easier replacement, and fewer compromises than chasing a tent with integrated solar hardware.
The category also makes sense because tents are where people feel lighting problems most immediately. Inside a shelter, light needs change by the minute, from reading to cooking to finding a zipper in the dark. A good solar setup solves those jobs without adding disposable batteries or making every evening depend on a car charger.
Sizing Brightness and Color to Your Tent
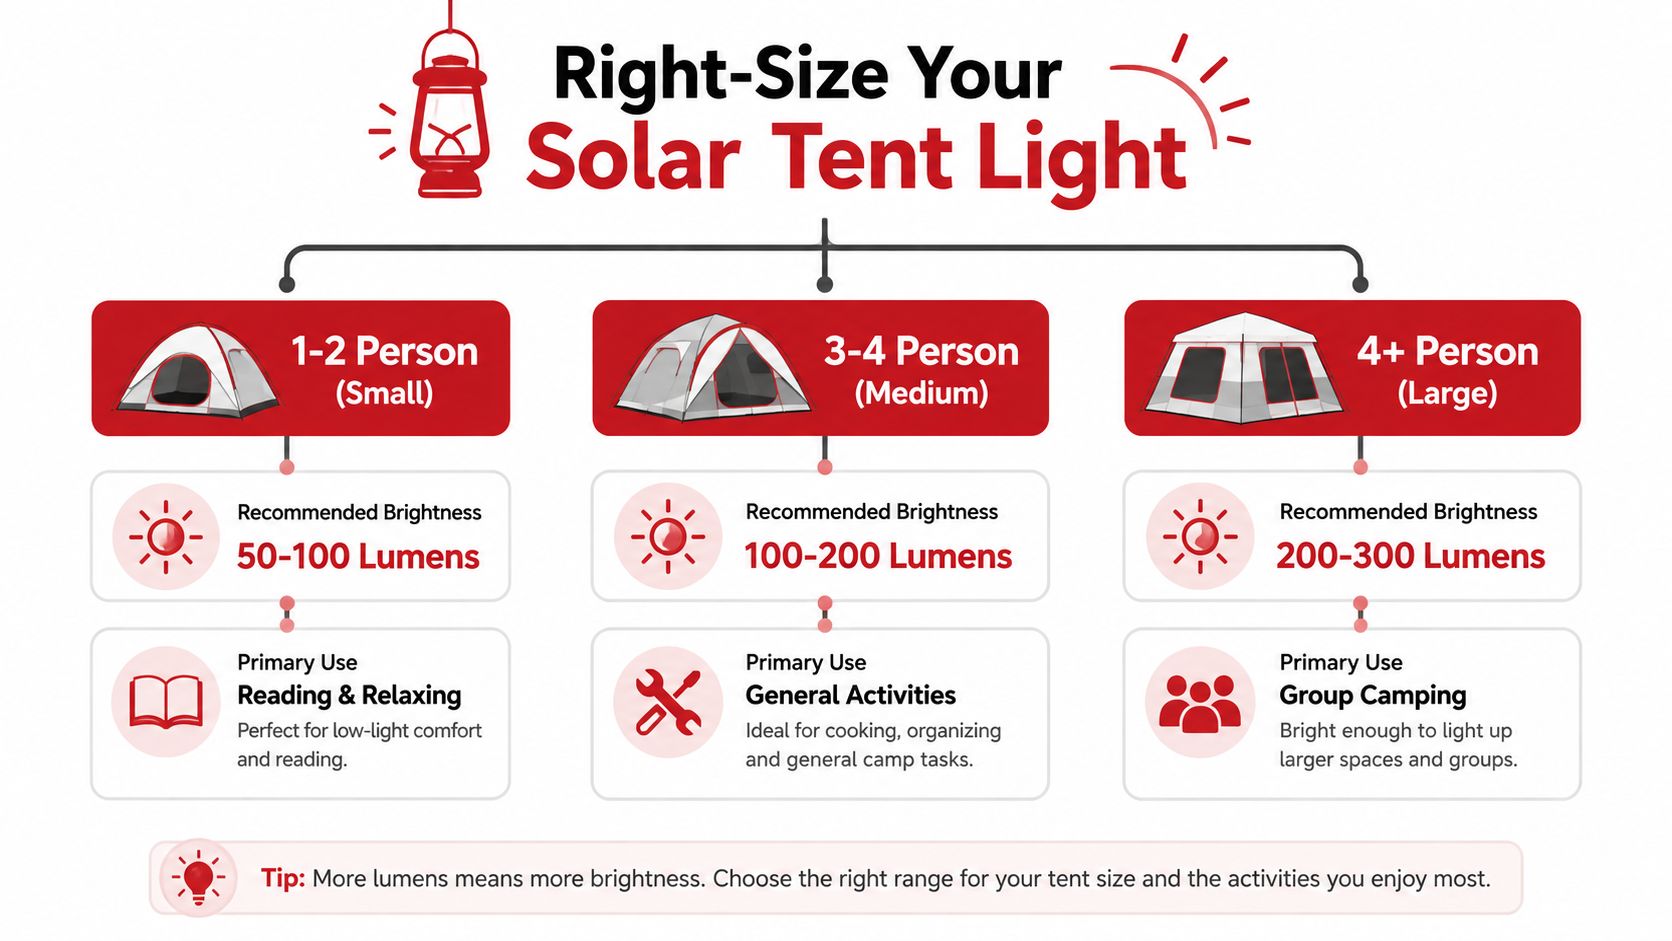
The most common buying mistake is reaching for the highest lumen number on the shelf. That usually backfires in a tent, because brightness and usefulness aren't the same thing. A typical 4-person tent usually lands in the 200 to 600 lumen planning range, with 300 to 400 lumens working well as a main lantern target, and up to 800 lumens making sense for larger family or group shelters, according to the provided camping-lighting guidance.
Think in layers, not in one number
A tent doesn't need one all-powerful beam for every moment. It needs softer ambient light for getting settled, then a brighter task zone for cooking, sorting gear, or reading. That's why a lower-output string light can still be useful, especially when a 350-lumen string light can deliver 6+ hours of runtime in a camping setup, as listed in GearJunkie's camping string-lights roundup.
Warm light usually feels better at night because it's less harsh in a small enclosed space, especially when people are tired or half asleep. A cool, bright beam can be useful for short tasks, but it tends to make a tent feel more clinical than comfortable. For that reason, many campers pair a softer lantern with a smaller string light or dimmed mode instead of pushing one light to do everything.
A useful comparison comes from home décor, oddly enough. Even a page about choosing a sofa with LED lights points to the same basic principle, light should match mood and task, not just volume. Tents work the same way, just in a tighter and more practical space.
Sizing shortcut: small tent, modest output. Family tent, more total lumens and better diffusion. If reading or cooking is the main use, prioritize an even spread over raw brightness.
A structured guide to solar lantern use for campsites also helps with the lantern-vs-string-light decision, especially when comparing one hanging light to a broader glow. The LuminAID camping solar lantern guide is useful for seeing how portable lanterns fit into that kind of setup.
| Output Mode | Approximate Brightness | Expected Runtime |
|---|---|---|
| Low ambient mode | Dim, tent-friendly glow | Longer runtime, suited to evenings and storage-saving use |
| Main lantern mode | About 300 to 400 lumens | Balanced for common tent tasks and general visibility |
| Higher-output mode | Up to 800 lumens in larger tents | Better for group shelters, but usually at a runtime cost |
Runtime and Charging That Actually Match Your Trip
A lot of solar lights look impressive on paper because the runtime figure is quoted at the lowest setting. In real camp use, that's only half the story.
Runtime is a mode, not a promise
A portable camping lantern can claim up to 80 hours on its darkest setting and only about 8 hours at its brightest, based on the verified product example. That gap is normal, not deceptive, because output mode directly changes how fast the battery drains. A light that feels generous at bedtime may behave like a short-shift task lamp when turned up for cooking or cleanup.
The battery class matters too. A 4,400 mAh lantern with USB-C and solar charging is a very different tool from a high-capacity relief lantern, even when both say “solar” on the box. The USB charge path is usually faster, with a 3 to 4 hour full USB top-up versus about 8 hours by solar, and the source explicitly notes that solar time varies with sunlight angle and conditions. That's why the most dependable routine is to charge by USB before departure whenever possible, then treat solar as a top-off method during the trip.
Match charging to how you actually travel
If the tent light also needs to charge a phone, runtime drops further. That's the hidden trade-off many buyers miss. A light with charging output can be a lifesaver in an outage or on a long weekend, but that phone-top-up steals from the same battery the tent light depends on.
Best field habit: budget charging loads first, then pick the lighting mode. Brightness without enough stored energy just gives a short, disappointing night.
For tent use, it helps to think in predictable classes instead of vague hope. A bright mode may be fine for a quick camp chore block. A low mode may be the one that gets the family through a late-night story session and still leaves reserve for a bathroom trip later. That's the difference between a useful solar lantern and a pretty one.
Where to Place and Mount Solar Lights on a Tent
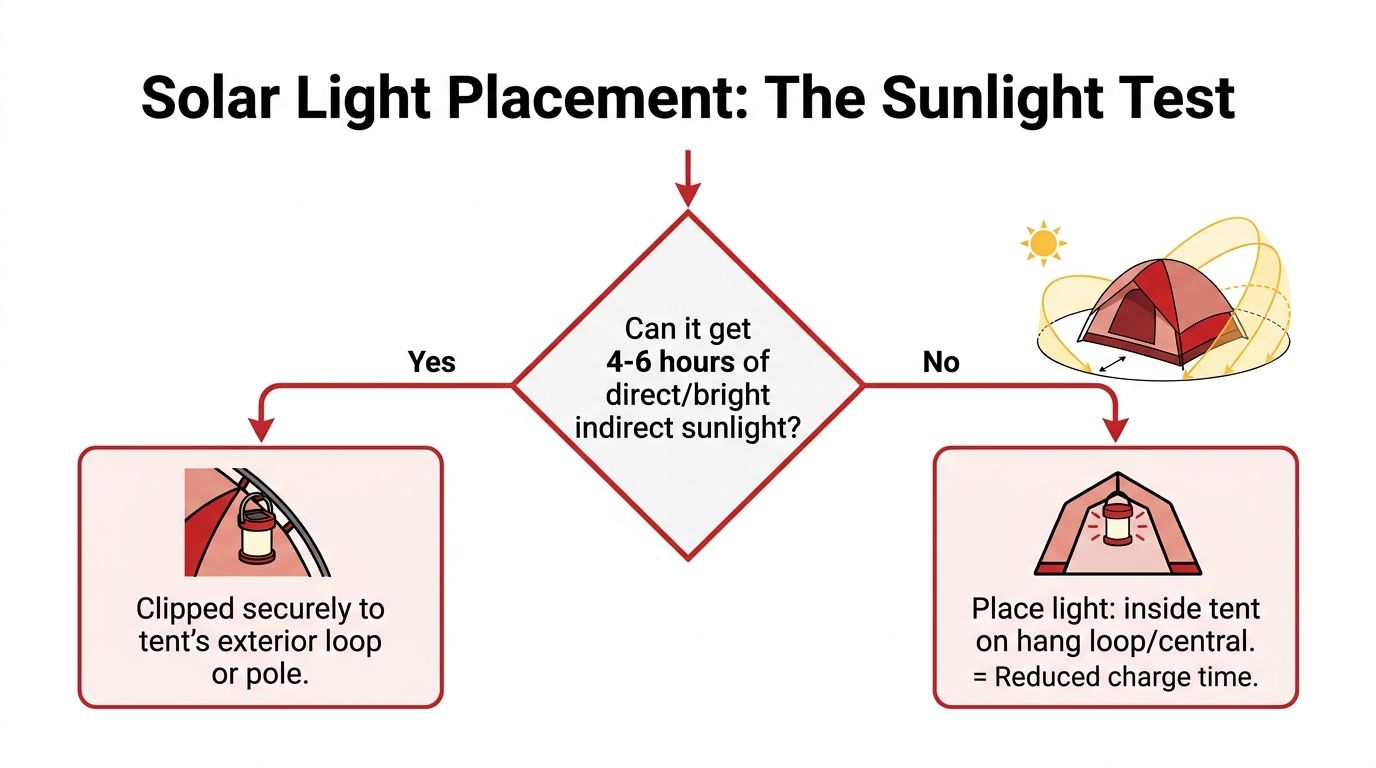
The tent-specific question most guides skip is the one people ask at camp, can the light stay inside the tent during the day and still charge well enough to be worth it? The answer is usually no, or at least not well enough to rely on. The available guidance says solar lights need about 4 to 6 hours of direct or bright indirect sunlight, work best in south-facing or otherwise unobstructed locations, and shouldn't be charged through obstructions like glass or shade, while tent material can filter sunlight and enclosed charging can overheat the battery, according to Solar Panels Network's placement guidance.
Use the tent exterior for charging, the interior for lighting
The cleanest setup is an outside ridge hook, guy-line, or pole loop during the day. That gives the panel the best chance of collecting usable light instead of fighting fabric, tree shade, or a vent flap. Once evening comes, move the light back inside and hang it from a central loop or place it where the beam won't hit people directly in the face.
A top vent or mesh pocket can work for partial charging, but only if the panel still sees enough light. It's a compromise, not a full solution. Inside-tent charging should be treated as a last resort for daytime storage or a short top-up, not the default method.
Mounting details that save real frustration
Small hardware choices matter more than people expect. Velcro loops are fast on tent poles, carabiners are reliable on ridgelines, and magnetic clips help if the shelter has a compatible metal point. For string lights, simple loop spacing keeps the line from sagging into sleeping bags or cooking gear.
The day-use and night-use split is the part that makes the system work. A clipped light can stay outside when sun matters, then come in only after dark. That prevents the common mistake of leaving a panel inside a shaded tent and assuming “solar” means any daylight is good enough.
For readers who want a broader walkthrough of flexible layouts, the LuminAID tent string lights resource gives a useful reference point for campsite placement without turning the tent into a wiring project.
Leave the light where the sun is, not where the sleeping bags are. Then move it to the center of the tent only after charging is done.
Weatherproofing, Battery Life, and Pack Weight
A tent light gets judged by weather and handling long before anyone worries about its peak output. Rain, muddy ground, wet guy lines, and stuffed pack corners are what break gear. For tent use, IP ratings matter because they tell you how well the housing resists dust and water, and in real camp conditions, 100% waterproof and dustproof construction matters more than a headline lumen figure when the weather turns.
Battery cycle life tells the real story
A strong tent light should last through seasons of use, storage, and charging. One reference kit reports more than 1,500 cycles or 3+ years, which is the more useful benchmark for camps, outages, and relief work than first-night brightness alone. A battery that survives repeated charge-and-discharge use is far more valuable than one that shines hard for a weekend and fades out early in the season.
Weight and packability still matter, especially for backpackers and go-bag users. A flat-pack lantern that comes in around a 1-inch profile is far easier to slide into a pack lid, emergency tote, or glove box than a rigid lamp with awkward corners. That kind of form factor doesn't just save space, it makes the light more likely to come along at all.
The weather-resistance angle also ties into storage. The LuminAID weather-resistant solar lights guide is a useful reference for understanding why seal quality and housing durability tend to matter more than shiny feature lists when a light is going to live in a tent or storm kit.
Packability rule: if the light is easy to flatten, clip, and stash, it gets used more. If it takes up awkward space, it often stays home.
Solar Light Setups for Camping, Backyards, and Emergencies
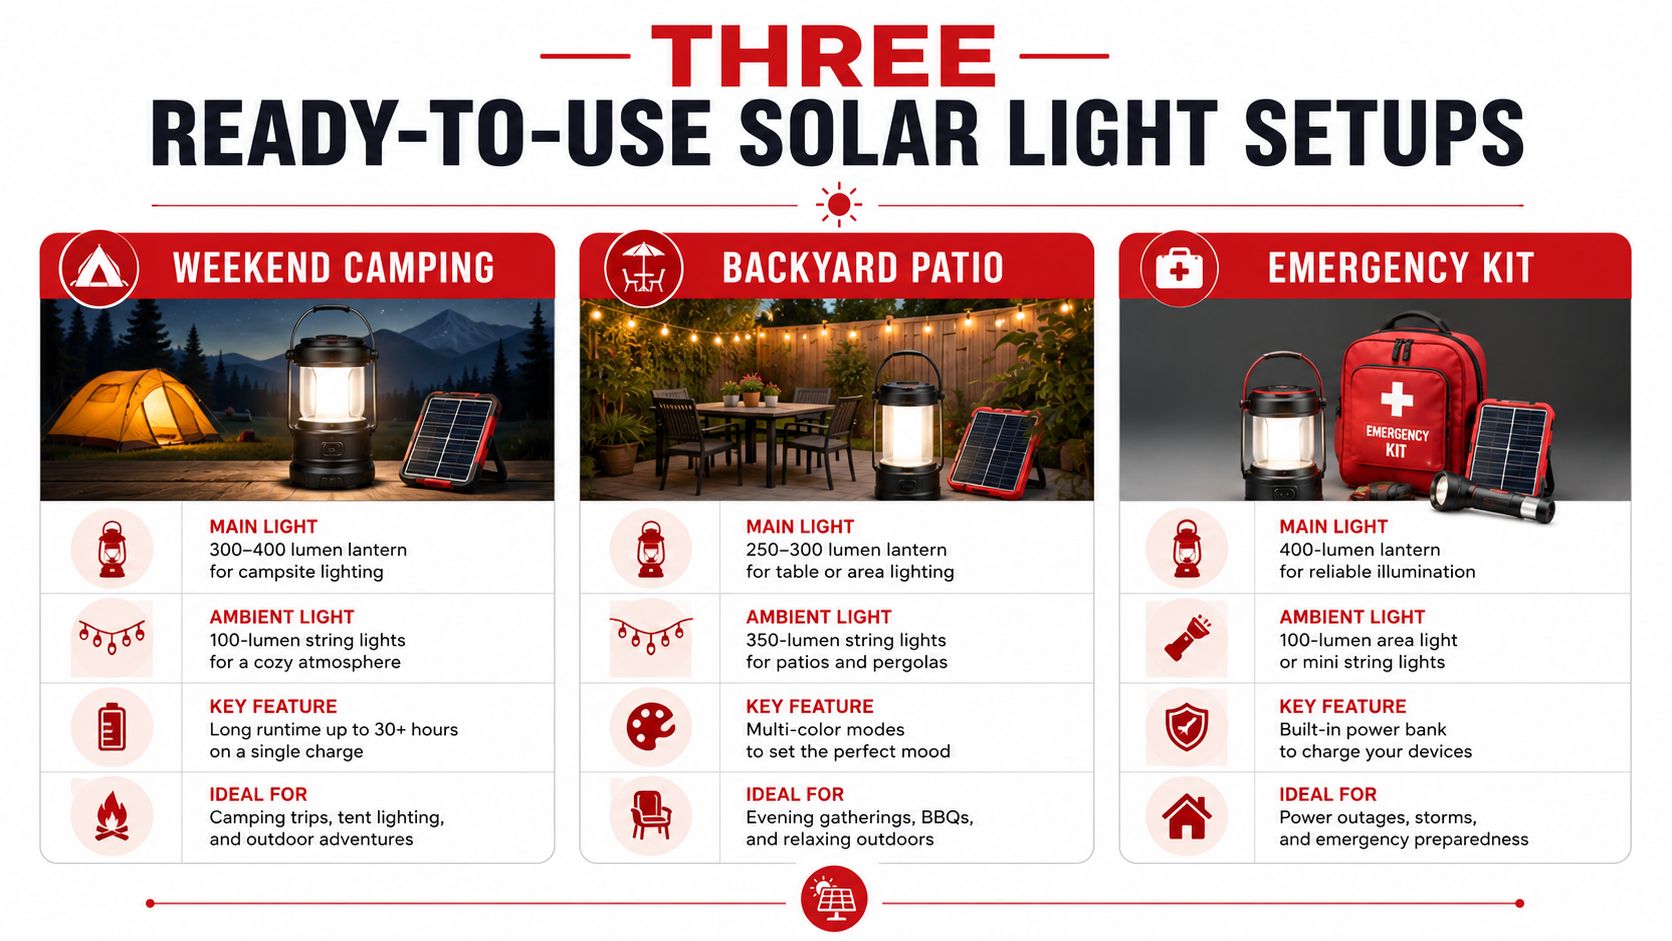
Different uses want different balances of brightness, runtime, and control. A light that's perfect for a family campsite can be too awkward for a go-bag, and a decorative string setup can be wrong for an outage kit. The cleanest way to choose is by scenario, not by brand name.
Weekend camping
A weekend trip usually benefits from a 300 to 400 lumen main lantern paired with a 350-lumen string light for ambience, especially if the group wants to read, sort gear, or stay in the tent after dark. Pre-trip USB charging handles the heavy lift, then daytime solar can top off the battery during camp hours. That mix gives more flexibility than relying on solar alone after arrival.
Backyard and RV use
For patios and RV setups, solar string lights make more sense than a harsh lantern in the center of the space. The verified camping-lighting guidance says quality solar string lights often need about 6 to 8 hours of direct sunlight and then can provide 8 to 12 hours of illumination, which fits a dinner-and-evening-use pattern well. If the goal is warmth and mood, not brute-force brightness, this setup feels more natural than overlighting the whole area.
Emergency kit use
Blackout readiness changes the priorities. A waterproof lantern with a long cycle life, manual control, and phone-charging capability becomes more valuable than decorative lighting, because outages can last long enough to matter. The 24.8% outage figure from the U.S. Energy Information Administration for 2020 gives a concrete reason to keep reliable light in an emergency kit, since nearly a quarter of electricity customers experienced an outage lasting 8 hours or longer in that year.
For homeowners planning outdoor lighting beyond the tent, a homeowner's guide to outdoor lights can help separate ambient patio needs from campsite needs. The two overlap, but they're not the same job.
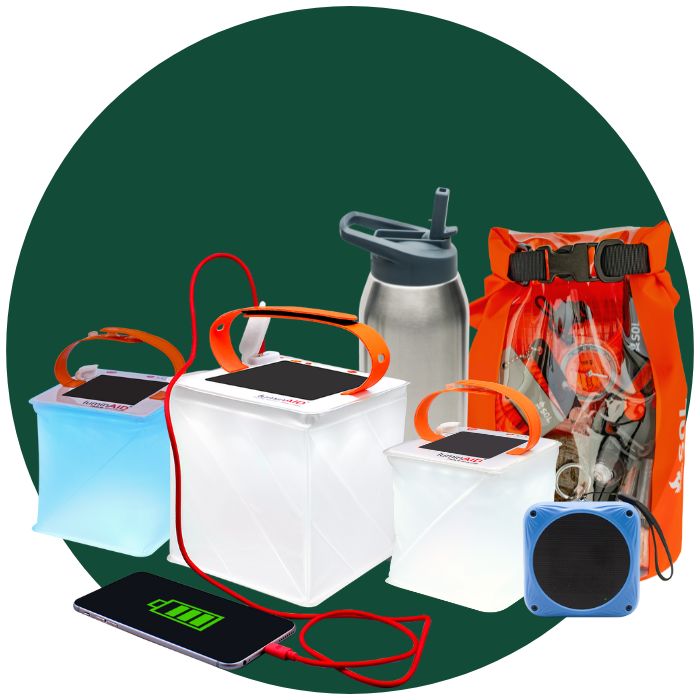
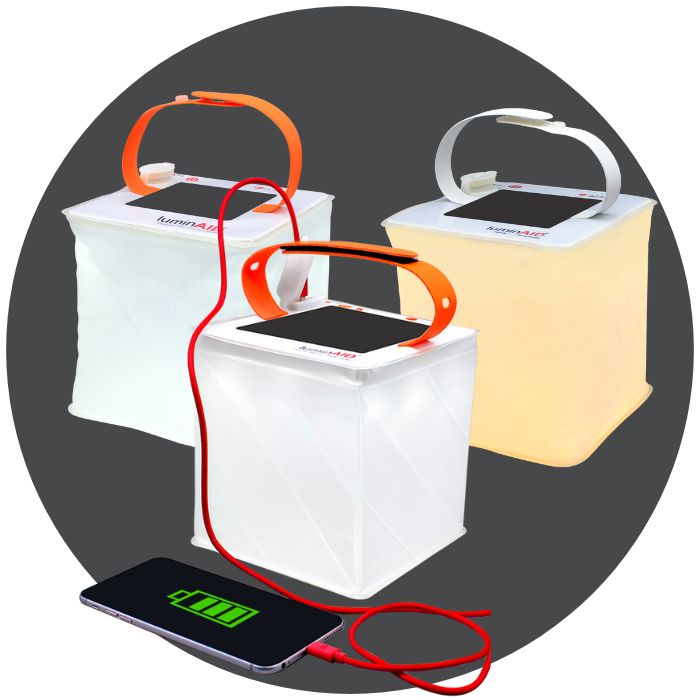
One practical option in this category is a LuminAID portable solar lantern or solar string light, which fits the camping, storm, and general off-grid use case without adding disposable batteries to the kit. That kind of flexibility is the point, one light can move from tent to patio to outage shelf when the need changes.
Troubleshooting the Most Common Solar Tent Light Problems
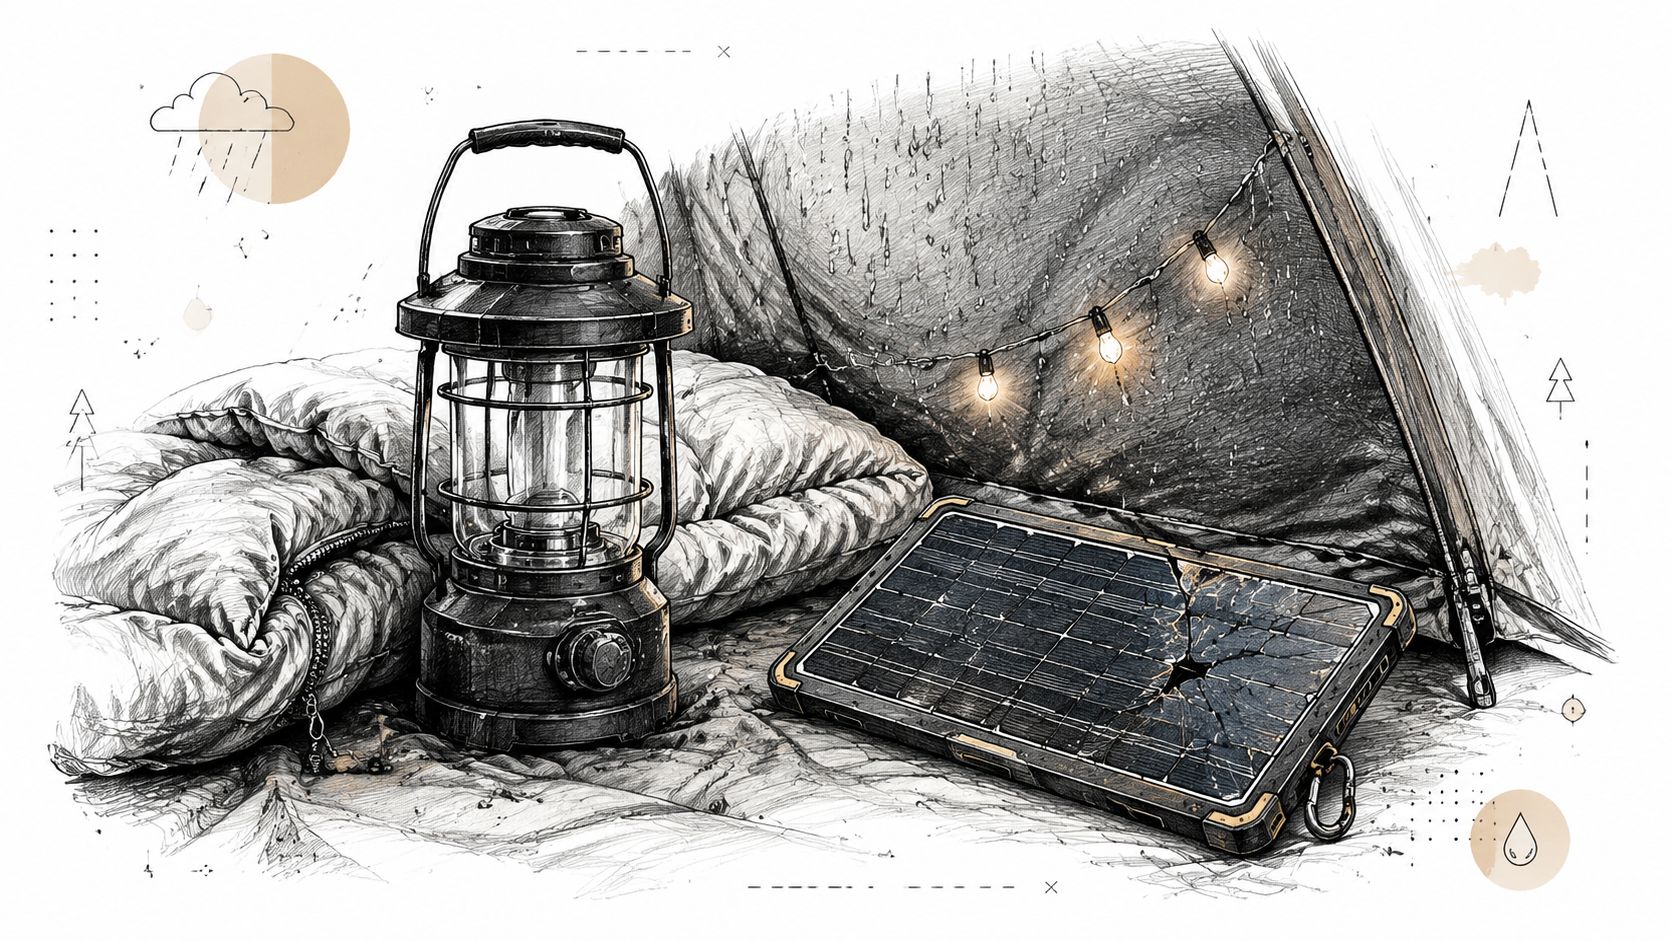
When a solar tent light underperforms, the problem is usually simpler than it looks. The panel is dirty, shaded, or pointed the wrong way. Sometimes the light sat inside a tent all day, got warm, and never received enough usable sun to charge properly. A broken battery is possible, but it's not the first explanation to reach for.
The quickest check is charge quality. The guide's 6 to 8 hour direct sunlight benchmark is the best diagnostic clue. If the light never saw that kind of exposure, or if it sat behind tent fabric, glass, or tree cover, weak runtime is expected rather than mysterious.
Common fixes that usually work
- Dirty panel: wipe off dust, mud, and pollen before assuming the unit failed.
- Shaded charge location: move the panel to a clearer line of sun, ideally angled toward direct light.
- Inside-tent heat buildup: stop charging enclosed lights in hot fabric spaces, especially if the battery feels warm.
- Low-sun campsite: switch to lower output and save full brightness for short tasks.
- Aging battery: if the light used to last longer and now fades early after repeated use, battery degradation is the likely culprit.
Charging through a tent window or car windshield usually disappoints for the same reason shade does. Glass and fabric both reduce effective charging, so the light may look exposed while still failing to collect enough energy. That's why the outside-ridge placement tends to win in real use.
A short checklist helps before calling a unit dead. Check the switch, check the panel, check the sun, then check the battery age. Most “bad solar light” complaints turn out to be placement or charging problems first, and hardware failure only after that.
A strong solar lights tent setup starts with the right lumen target, then matches runtime to the trip, and finally puts the panel where sunlight can reach it. LuminAID's portable solar lanterns, solar string lights, and 2-in-1 power lanterns fit that pattern for camp, blackout, and off-grid use without adding disposable batteries to the load. For a closer look at practical tent-ready options, visit LuminAID and compare a setup that can handle both nights in the woods and nights when the power goes out at home.