
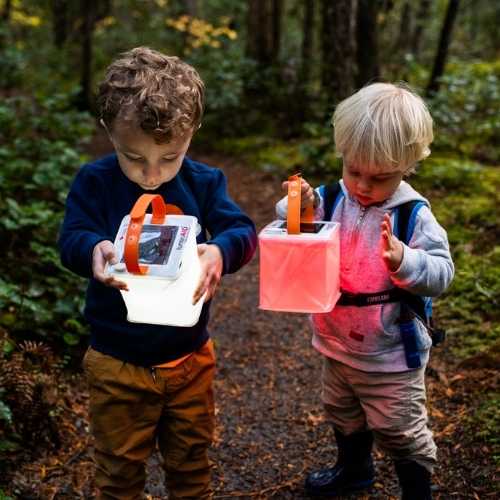

A dependable emergency lighting setup combines accessible lights in each critical location, tested runtime, spare power, and a maintenance routine. Plan for a monthly functional check of about 30 seconds and a full-duration annual test, with battery-powered systems commonly tested for at least 90 minutes.
A power outage rarely creates just one problem. Darkness makes it harder to find medication, guide children, check on pets, charge a phone, move down stairs, or reach a vehicle safely. During an evacuation, a single lantern on a kitchen counter won't illuminate every route or remain convenient when a family needs to leave quickly.
The following emergency lighting checklist turns preparedness into a printable system for the home, vehicle, RV, and outdoor kit. It covers equipment condition, placement, brightness, runtime, storage, charging, weather protection, accessibility, and family coordination. It also treats solar and battery lighting as different tools. Solar and solar-and-USB devices can support longer off-grid use when sunlight is available, while battery lights remain valuable when immediate operation matters or charging conditions are uncertain.
Table of Contents
- 1. Battery Health, Charge Level, and Solar Panel Functionality Assessment
- 2. Emergency Lighting Placement and Distribution Strategy
- 3. Battery Backup and Redundancy System Configuration
- 4. Solar Panel Cleaning and Weather Protection Maintenance
- 5. Light Output Brightness Level Verification and Beam Pattern Testing
- 6. Emergency Lighting Equipment Inventory and Accessibility Audit
- 7. Weather Resilience Assessment and Seasonal Preparedness Updates
- 8. User Training and Family Emergency Protocol Coordination
- 8-Point Emergency Lighting Checklist Comparison
- Print It, Test It, and Keep It Reachable
1. Battery Health, Charge Level, and Solar Panel Functionality Assessment
A light that turns on during a quick inspection may still fail during a prolonged outage. Battery condition, charging performance, ports, and solar panels all need practical verification, not just visual approval.
Start with a repeatable baseline. Fully charge each device, select a consistent brightness setting, and time how long the light remains useful. The purpose isn't to create a laboratory specification. It's to identify a meaningful change in performance later. A lantern that once supported an evening of navigation but now dims quickly belongs in the repair or replacement queue.
Test the complete charging path
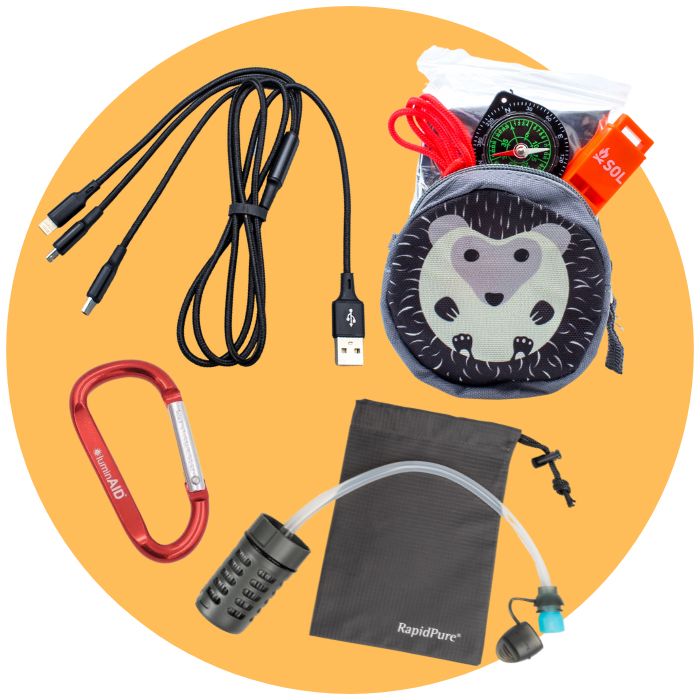
Run the charging method that will be used in an emergency. For a solar lantern, place the panel where it receives direct sunlight and confirm that the charge indicator responds. For a USB-rechargeable device, test the cable, adapter, port, and charging connection. Keep a compatible spare cable with the emergency kit rather than storing every cable in a drawer where it may be difficult to identify in darkness.
A recurring calendar reminder supports consistency. Monthly checks can confirm readiness, while quarterly comparisons can reveal gradual battery degradation. Devices shouldn't sit fully depleted for long periods, and storage should be cool and dry because heat accelerates battery deterioration.
Practical rule: Record the device, test date, brightness setting, charging method, and observed runtime. A simple refrigerator checklist can help a family remember the routine.

2. Emergency Lighting Placement and Distribution Strategy
The best light is the one a person can reach without crossing a dark room. Placement should follow how people move during an outage or evacuation, not where storage space happens to be available.
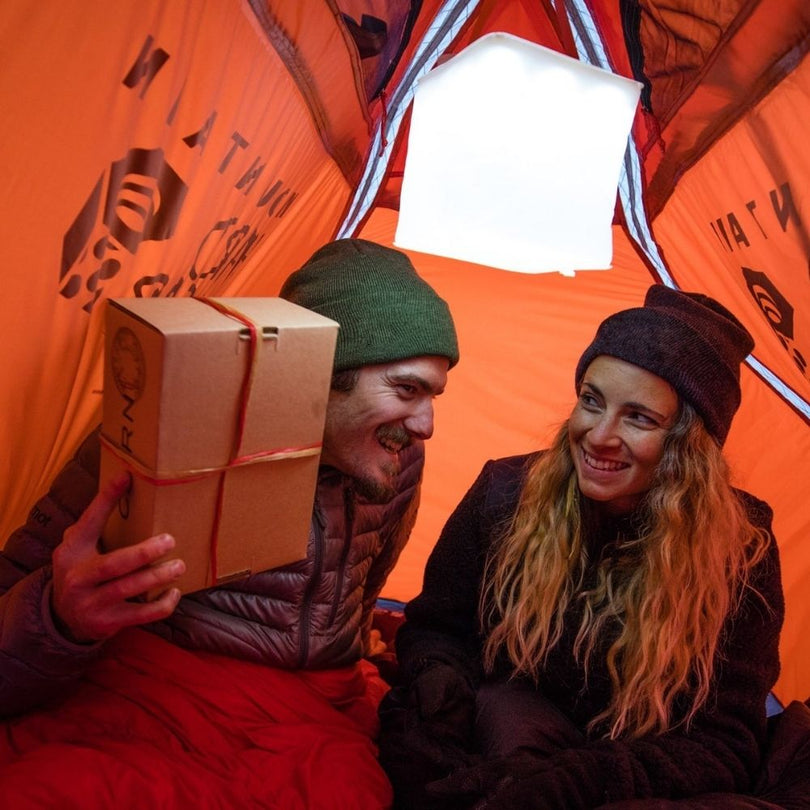
Sketch a simple floor plan and mark bedrooms, stairs, exits, hallways, bathrooms, kitchens, and gathering points. Place a light within arm's reach of each bed, then add lights near stairways and steps. A person waking during a nighttime outage shouldn't need to search for a device or walk across a room without illumination.
Use several smaller lights instead of one central lantern
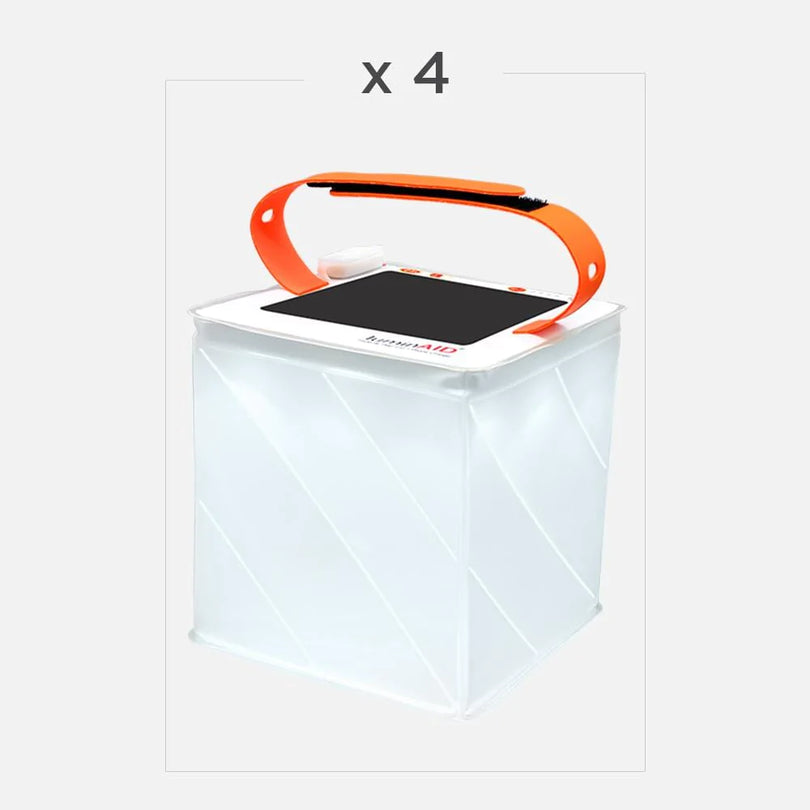
One powerful lantern may produce strong light in one room, but it creates a coverage gap when someone carries it elsewhere. Several portable lights distribute illumination more effectively across bedrooms, living spaces, hallways, and exits. Adjustable brightness also creates a useful trade-off. A lower setting can preserve power for navigation, while a brighter setting can support cooking, first aid, or packing.
Test the arrangement in actual darkness. Look for glare, shadows, blocked doorways, and dark spots at floor level. A light placed too low may be obscured by furniture, while one placed too high may cast harsh glare into a person's eyes. A position roughly four to six feet high can improve visibility and reduce glare where the surroundings allow it, but accessibility should take priority over a fixed height.
For an RV or van, check the sleeping area, cooking space, entry step, and exterior access point. A vehicle should also contain a portable light that can be reached from inside the cabin during a roadside stop. Commercial facilities need route-level checks that include exits, stairs, public areas, plant rooms, and high-risk areas, rather than inspecting fixtures in isolation. Guidance on end-to-end emergency lighting coverage also highlights external illumination beyond final exits and the need to identify isolation points for testing and maintenance.

3. Battery Backup and Redundancy System Configuration
Preparedness fails when every light depends on the same cable, battery, room, or charging method. Redundancy gives a household options when one device is damaged, misplaced, drained, or left behind during evacuation.
A practical setup uses layers. The primary layer can include solar lanterns or rechargeable lights in the home. The secondary layer can use battery-powered flashlights or lanterns for immediate operation. A third layer can include alternate charging through USB, a hand-crank device, a vehicle, or another independent power source.
Separate access points and label the system
Store backup lights in separate locations. If a storm damages one part of a house or a family leaves through one exit, another light should remain available elsewhere. Keep one device in the vehicle, one in an RV or outdoor kit, and enough household lights to avoid removing the only light from a critical room.
The home backup power guidance from LuminAID supports thinking beyond a single device. The useful principle is simple: light and charging should remain available even if one component fails.
Use a written inventory that names each light, its charging method, compatible cables, and storage location. Run a simulated outage periodically by switching off normal lights and deploying the full backup arrangement. This reveals problems a shelf inspection misses, such as a missing cable, confusing controls, or a device stored behind heavy equipment.
A central battery system also needs its own compliance process. In UK-style practice, daily indicator checks can apply to central-battery systems, alongside monthly functional testing and an annual full-duration test. In other markets, requirements differ, so facility managers should confirm the applicable authority, system type, and local standard before setting the schedule.

4. Solar Panel Cleaning and Weather Protection Maintenance
Solar charging depends on the panel's ability to receive light. Dust, pollen, salt spray, bird droppings, and storm debris can reduce useful exposure, while cracked surfaces or moisture intrusion can make a device unreliable even when the panel looks clean.
Inspect panels after windy weather and during periods of heavy pollen. Use a soft microfiber cloth and, where appropriate, distilled water or a mild soap solution. Abrasive cleaners, rough tools, and high-pressure washing can damage delicate surfaces. After cleaning, the panel should dry fully before the lantern returns to storage or use.
Match protection to the environment
Coastal households should watch for salt residue and corrosion. Desert users may need more frequent dust removal and protective storage. Cold climates should account for freezing conditions, while tropical environments need attention to moisture and fungal growth. Severe weather is a storage decision, not merely a cleaning issue. Hail, intense storms, flooding, and prolonged exposure to moisture can justify moving portable solar lights indoors.
A monthly visual check and a more detailed periodic inspection create a workable routine. Look for cracks, discoloration, separation around the frame, damaged covers, and loose charging connections. Record cleaning dates and condition notes so a gradual problem doesn't disappear into memory.
The weather-resistant solar lighting maintenance guidance can help households think about exposure, storage, and deployment conditions. For fixed solar equipment, a separate solar panel cleaning guide offers additional cleaning considerations, though portable lantern panels still require careful handling.

5. Light Output Brightness Level Verification and Beam Pattern Testing
A light can be fully charged and still be wrong for the job. Ambient illumination for a bedroom, task lighting for first aid, and a focused outdoor beam require different output and distribution.
Test each light in the environment where it will be used. A smartphone lux meter app can support relative comparisons between devices, although it shouldn't replace a code-required professional measurement. Test adjustable settings, observe lateral spread, and note whether the beam leaves dark areas along stairs, corridors, or outdoor paths.
Check route performance, not just fixture output
For regulated egress systems, benchmark guidance includes at least 1 foot-candle average along an egress route initially and at least 0.6 foot-candle average at the 90-minute point in one commonly cited threshold set, with point minimums also specified in the same guidance. Other checklist guidance uses 10 lux in corridors, exits, and stairways and 2.5 lux in aisles, so the applicable standard matters. These benchmarks are documented in emergency lighting inspection guidance and should be verified against the authority having jurisdiction.
NFPA-based guidance also describes initial floor-level performance as an average of 1 foot-candle, with no point below 0.1 foot-candle, declining after 90 minutes only to an average of 0.6 foot-candle, with no point below 0.06 foot-candle. The NFPA-based egress illumination explanation shows why a fixture pass doesn't automatically prove route coverage.
For household use, mark a consistent test position and inspect visibility at stairs, door thresholds, and outside exits. In a campsite, test in natural darkness and check whether the beam supports cooking, walking, and locating gear without creating glare. A short beam testing demonstration can supplement hands-on evaluation.
6. Emergency Lighting Equipment Inventory and Accessibility Audit
An emergency light hidden in a labeled container may still be inaccessible when the power fails. Families and facilities should know what exists, where it lives, whether it works, and how quickly someone can retrieve it.
Create a straightforward inventory with the item name, model or manufacturer, location, last test date, next test date, and charging method. A serial number can help larger facilities track individual units. Photograph storage locations and share those images with household members or staff. Printed instructions remain useful when phones can't be charged, while a digital copy can provide a searchable backup.
Test retrieval in darkness
Turn off normal lighting and ask someone who didn't organize the storage area to find and deploy the equipment. The test should expose blocked cabinets, confusing labels, tangled cables, and storage locations that require unsafe movement. Lights should be reachable without climbing over boxes or entering a hazardous room.
Use labels to distinguish primary devices, backups, chargers, and lights reserved for evacuation. Keep an inventory copy at home and another accessible on a phone or cloud account, but don't make the digital copy the only record.
A business should post location maps where employees can see them and assign responsibility for testing and corrective action. A household can assign similar roles. One person checks the main supply, another checks the vehicle or RV kit, and another confirms that children, pets, and people with mobility limitations can reach suitable illumination.
When a device is purchased, moved, repaired, or discarded, update the inventory immediately. Seasonal audits can align with local storm planning, but accessibility deserves attention whenever furniture, storage, or household routines change.
7. Weather Resilience Assessment and Seasonal Preparedness Updates
A light that performs well indoors during mild weather may behave differently after a hurricane, wildfire, winter storm, or long evacuation. Seasonal preparedness should match the hazards most likely to affect the household and the conditions in which the equipment will be used.
Review wind, saltwater, smoke, heat, cold, ultraviolet exposure, and humidity. Florida households may need indoor storm storage and corrosion protection. Wildfire-prone communities should place lights near rapid evacuation routes and test whether they remain usable in smoky conditions. Northern households should observe battery behavior in freezing weather and keep lights accessible without relying on grid power.
Build a seasonal review around real actions
A quarterly review can cover the following:
- Hazard check: Confirm the region's likely threats through the local emergency management office and community preparedness groups.
- Storage check: Move equipment away from flood-prone, overheated, or exposed locations.
- Performance check: Test devices in representative cold, humid, smoky, or dusty conditions when safe to do so.
- Evacuation check: Keep a portable light in the vehicle and confirm that the outdoor kit can be removed quickly.
- Charging check: Verify solar exposure and alternate charging methods before the season begins.
The right trade-off is protection without burying the equipment. A weatherproof case that takes too long to open defeats accessibility, while exposed storage can damage the device. Storage advice should sit alongside the wider property routine, including Seattle home roof care tips for households preparing for wet and stormy conditions.
A seasonal calendar should name the task, responsible person, storage location, and follow-up action. Community coordination also matters. Neighbors, workplaces, and local response groups can align evacuation routes and shared assistance plans so lighting supports movement rather than creating isolated pockets of visibility.
8. User Training and Family Emergency Protocol Coordination
Equipment doesn't create preparedness until people know how to use it. During an outage, unfamiliar buttons, missing cables, and unclear responsibilities can waste time while family members search separately for the same supplies.
Training should begin when a new lantern, charger, or emergency fixture enters the home. Each device needs a short instruction sheet covering startup, brightness adjustment, charging, safe placement, and shutdown. The instructions should be readable in low light and stored beside the device, not only in an email.
Practice roles before an emergency
A household can run a power outage drill in actual darkness. One person retrieves primary lights, another brings the backup kit, and another assists a child, older adult, pet, or person with mobility needs. Older children may be able to retrieve and distribute lights, while younger children should know where to remain and whom to follow.
Training should also cover glare. Lights shouldn't be aimed directly into someone's eyes, and bright beams shouldn't obscure stairs or create confusing shadows. A lantern placed for navigation may need a lower output than one used for a task.
For households coordinating communication as well as lighting, the family emergency communication plan provides a useful companion planning resource. Written and visual protocols should remain available without internet access.
Workplaces and schools can include emergency lighting in existing safety drills. Staff should know how to identify a failed unit, report it, use portable backup lights, and support anyone who can't move quickly. The practical standard is simple: every person who may need the light should know where it is, how it works, and what role to perform.
8-Point Emergency Lighting Checklist Comparison
| Practice | Implementation complexity | Resource requirements | Expected outcomes | Ideal use cases | Key advantages |
|---|---|---|---|---|---|
| Battery Health, Charge Level, and Solar Panel Functionality Assessment | Medium, systematic testing & monitoring | Moderate, testers/stopwatch, logs, sunlight access | Measured runtime, early battery degradation detection | Regular home checks, disaster-prep, pre-deployment checks | Prevents failures, extends battery life, supports warranty claims |
| Emergency Lighting Placement and Distribution Strategy | Low–Medium, planning & mapping | Low, floor plan, multiple portable lights | Reduced dark zones, clearer evacuation routes | Homes, shelters, vehicles, facilities | Optimized coverage, flexible repositioning, reduced accidents |
| Battery Backup and Redundancy System Configuration | Medium–High, inventory & redundancy planning | High, multiple devices, varied chargers, storage space | Layered fail-safes; multi-source availability | Family kits, disaster response, community caches | Resilience to single-point failures; diversified power sources |
| Solar Panel Cleaning and Weather Protection Maintenance | Low, routine maintenance tasks | Low, cleaning supplies, protective covers, schedule | Maintained charging efficiency; longer device lifespan | Coastal, dusty, high-pollen, and year-round outdoor use | High panel efficiency; simple preventive care reduces replacements |
| Light Output Brightness Level Verification and Beam Pattern Testing | Medium, controlled measurements & comparisons | Moderate, dark test area, lux meter/app, documentation | Verified lumen output and beam coverage; identifies dead spots | Shelters, medical areas, search & rescue, camping | Ensures required illumination; optimizes placement and battery use |
| Emergency Lighting Equipment Inventory and Accessibility Audit | Low–Medium, cataloging and periodic audits | Low, spreadsheet, labels, photos, storage mapping | Faster retrieval, accurate replacement planning, audit trail | Households, workplaces, relief organizations | Minimizes search time; prevents over/under-provisioning |
| Weather Resilience Assessment and Seasonal Preparedness Updates | Medium, regional risk assessment & seasonal scheduling | Moderate, regional data, seasonal calendar, specialized gear | Climate-tailored readiness; fewer weather-related failures | Regions with hurricanes, wildfires, snow, extreme temps | Targeted preparedness; reduces region-specific equipment failures |
| User Training and Family Emergency Protocol Coordination | Medium, training sessions and drills | Moderate, time, written protocols, practice scenarios | Coordinated responses; reduced confusion and panic | Families, schools, workplaces, NGOs | Improves effective equipment use; sustains readiness through drills |
Print It, Test It, and Keep It Reachable
A printable emergency lighting checklist should end with decisions that can be verified, not intentions that remain in a notebook. Each critical home zone needs an accessible light, and the vehicle, RV, and outdoor kit each need an appropriate portable option. Spare batteries or an alternate charging method should be available, cables should match the devices, and every light should have a known storage location.
The operational checks matter just as much. Confirm that each device charges, reaches its intended brightness, and performs for the required runtime. For regulated emergency systems in NFPA-based practice, the recurring cadence includes a monthly functional test at intervals of 3 to 5 weeks lasting at least 30 seconds, plus a full-duration annual test of at least 90 minutes. Self-testing equipment must also run a 30-second diagnostic at least once every 30 days, as described in periodic emergency lighting testing guidance.
UK and similar BS 5266 or BS EN 50172-style practice commonly adds daily indicator checks for central-battery systems, a monthly functional test, and an annual discharge test proving three hours of operation. Those requirements shouldn't be transferred automatically to every country or system. The responsible person should confirm the local rule, system type, manufacturer instructions, and authority requirements.
Final printable check
- Critical zones: Place and label lights near beds, stairs, exits, kitchens, bathrooms, and gathering points.
- Portable coverage: Confirm a working light in the vehicle, RV, and outdoor kit.
- Runtime: Complete the applicable monthly and annual tests, then record results.
- Brightness: Check route coverage, task visibility, glare, shadows, and outdoor beam spread.
- Charging: Test solar exposure, USB ports, cables, adapters, and alternate power.
- Storage: Protect equipment from heat, moisture, freezing conditions, smoke, dust, and storm damage.
- Accessibility: Make retrieval possible for children, pets, older adults, and people with mobility limitations.
- Documentation: Record the test date, result, fault, repair, replacement, and next scheduled check. Written records support proof that monthly and annual tests were completed, as noted in emergency lighting recordkeeping guidance.
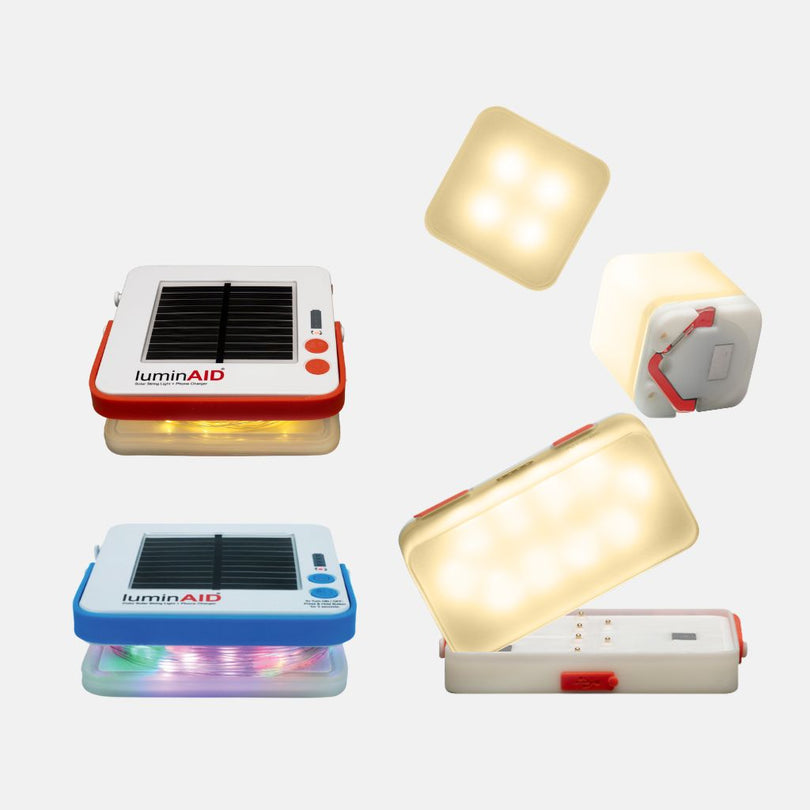
Solar and battery lighting solve different problems. Solar or solar-and-USB options are useful for extended off-grid use when sunlight and time for recharging are available. Battery lights are useful when immediate operation matters, the environment is dark, or sunlight is limited. A mixed system usually provides more resilience than choosing one charging method for every situation.
The next action should be scheduled, not postponed. Set the monthly functional reminder, plan the quarterly battery and equipment review, and add a seasonal weather assessment before the region's most likely hazard period. Then place the lights where a person can reach them without searching.
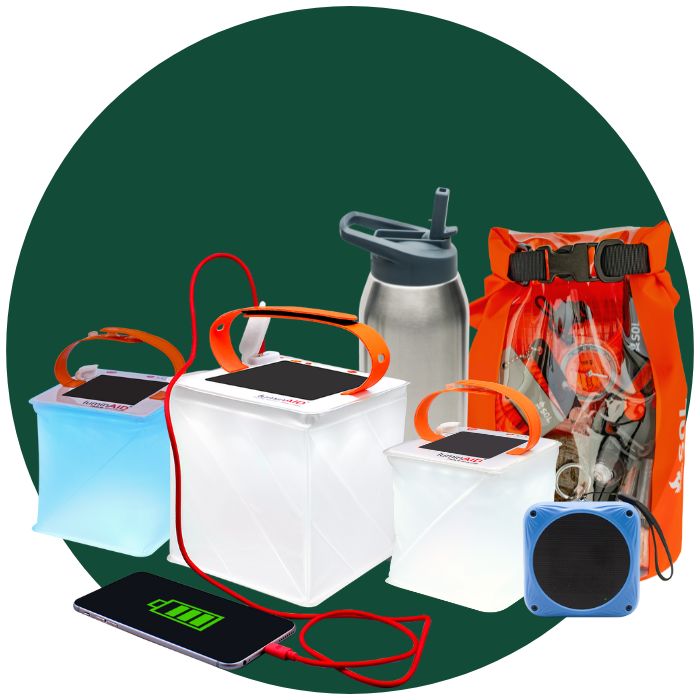
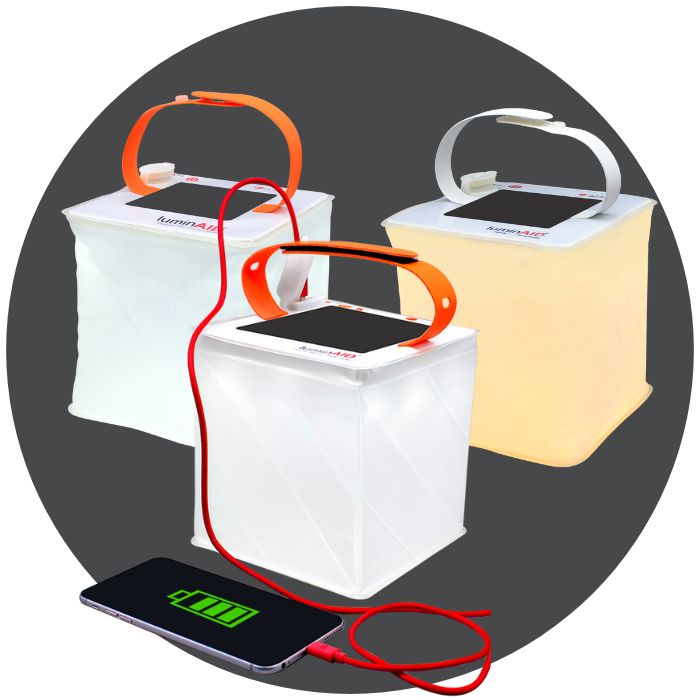
LuminAID offers portable solar lanterns and 2-in-1 phone chargers that fit emergency kits, vehicles, RVs, and outdoor setups. Explore the available LuminAID lighting options, choose the devices that match each location, and add them to the next charge, placement, and runtime test.