


The most popular van life advice starts with the wrong question: What gear makes a van look complete? A resilient setup starts with a harder question: what keeps the vehicle safe, powered, warm, clean, and mobile when the weather turns, the sun disappears, or a mechanical failure happens far from help?
Aesthetic upgrades can wait. A failed power system, leaking water line, damaged tire, or missing emergency light can force an expensive change of plans. The most useful van life essentials are therefore operational, repairable, energy-conscious, and sized for the number of days spent away from infrastructure.
Table of Contents
- Rethinking What Actually Counts as Essential
- Power and Lighting for Off-Grid Autonomy
- Water, Kitchen, and Hygiene Systems
- Prioritizing Gear by Budget and Trip Length
- Packing and Organization Strategies for Small Spaces
- Safety and Emergency Preparedness Essentials
- Hidden Costs and Long-Term Sustainability
Rethinking What Actually Counts as Essential
A van can look finished and still fail at the first serious disruption. Fairy lights, decorative pillows, specialty coffee equipment, and polished cabinetry add comfort, but they do not keep the vehicle usable through heavy rain, low sunlight, or a long stay away from services. Tire repair equipment, a spare charging method, water treatment, and dependable ventilation address failures that can strand occupants or create immediate safety problems.
Use one test for every purchase: could its failure strand the van, injure someone, spoil essential supplies, or trigger a costly tow? That question places tire equipment above an espresso machine, a fire extinguisher above decorative storage, and dependable lighting above an elaborate entertainment system.

A better way to audit a build
Sort the build by the problems it must solve:
- Mobility: Tire tools, recovery equipment, basic spares, and a maintenance log improve the chance of leaving difficult ground without outside help.
- Life support: Water, food, ventilation, heat, sanitation, and low-power lighting keep daily routines workable when infrastructure is unavailable.
- Resilience: Backup charging, manual alternatives, and repairable components prevent one failed device from taking down an entire system.
- Safety: Fire detection, carbon monoxide monitoring, first aid, secure storage, and communication backups reduce the consequences of emergencies.
Energy planning belongs near the top. Off-grid RV guidance describes daily demand as highly dependent on appliances, charging, and climate control (off-grid RV power consumption guidance). Plan around actual daily use and several poor charging days, not the battery's advertised capacity alone. A large battery adds weight and cost, while a smaller system demands stricter consumption limits and dependable charging access.
Practical rule: Buy for the consequence of failure, not the excitement of installation.
Redundancy should cover the failures most likely to interrupt basic living. If an electric water pump stops, a filled container and manual method preserve access to water. If the primary lighting circuit trips, a separate rechargeable or solar-powered light keeps cooking, finding tools, and moving through the van safer. During prolonged bad weather, alternator charging or a portable backup can protect the remaining battery reserve when solar output falls.
The result may be a less photogenic shopping list, but it is a van that continues working when conditions stop cooperating.
Power and Lighting for Off-Grid Autonomy
A van can have plenty of electrical equipment and still fail as a home after several cloudy days. Lighting, phone charging, refrigeration, water pumps, fans, laptops, and cooking equipment all draw from the same finite reserve. Plan from actual daily use, charging opportunities, and the consequences of losing power, rather than choosing a battery by its advertised capacity.
Start with a load audit that includes devices used in the background. A refrigerator cycling through the night, a fan running while sleeping, and a laptop charging for work can consume more energy than the obvious appliances. Record how often each device runs, then compare that demand with expected solar production and backup charging.
Daily Power Consumption Estimates
| Device | Daily Watt-Hours | Recommended System Size |
|---|---|---|
| LED task and ambient lighting | Qualitative, low draw | 12V lighting circuit with a separate backup light |
| Phone charging | Qualitative, low draw | USB-C outlets and a backup power bank |
| Refrigerator | Qualitative, recurring draw | Dedicated circuit with battery monitoring |
| Laptop charging | Qualitative, moderate draw | Efficient DC charging where practical |
| Induction cooking | Qualitative, high intermittent draw | Larger inverter and battery reserve, or propane alternative |
Battery capacity should match usable energy, not its label alone. A larger bank provides more reserve through low-sun periods, but it also adds weight, cost, and charging time. A smaller system can work well when consumption is controlled and alternator or shore charging is dependable. Size the system around several poor charging days if the van will spend extended periods away from services.
Practical rule: Buy for the consequence of failure, not the excitement of installation.
Solar works as a system, not a collection of separate parts. The array, charge controller, wiring, fuses, and battery need compatible ratings and accessible connections. An MPPT controller can make better use of changing panel voltage than a basic PWM controller, although the suitable choice depends on array design and budget. An appropriately sized DC-DC charger adds alternator charging, which can preserve battery reserve when clouds, shade, or winter conditions reduce solar output. A practical off-grid solar power guide also covers portable solar lighting and charging for situations where the main system is unavailable.
Lighting that survives failure
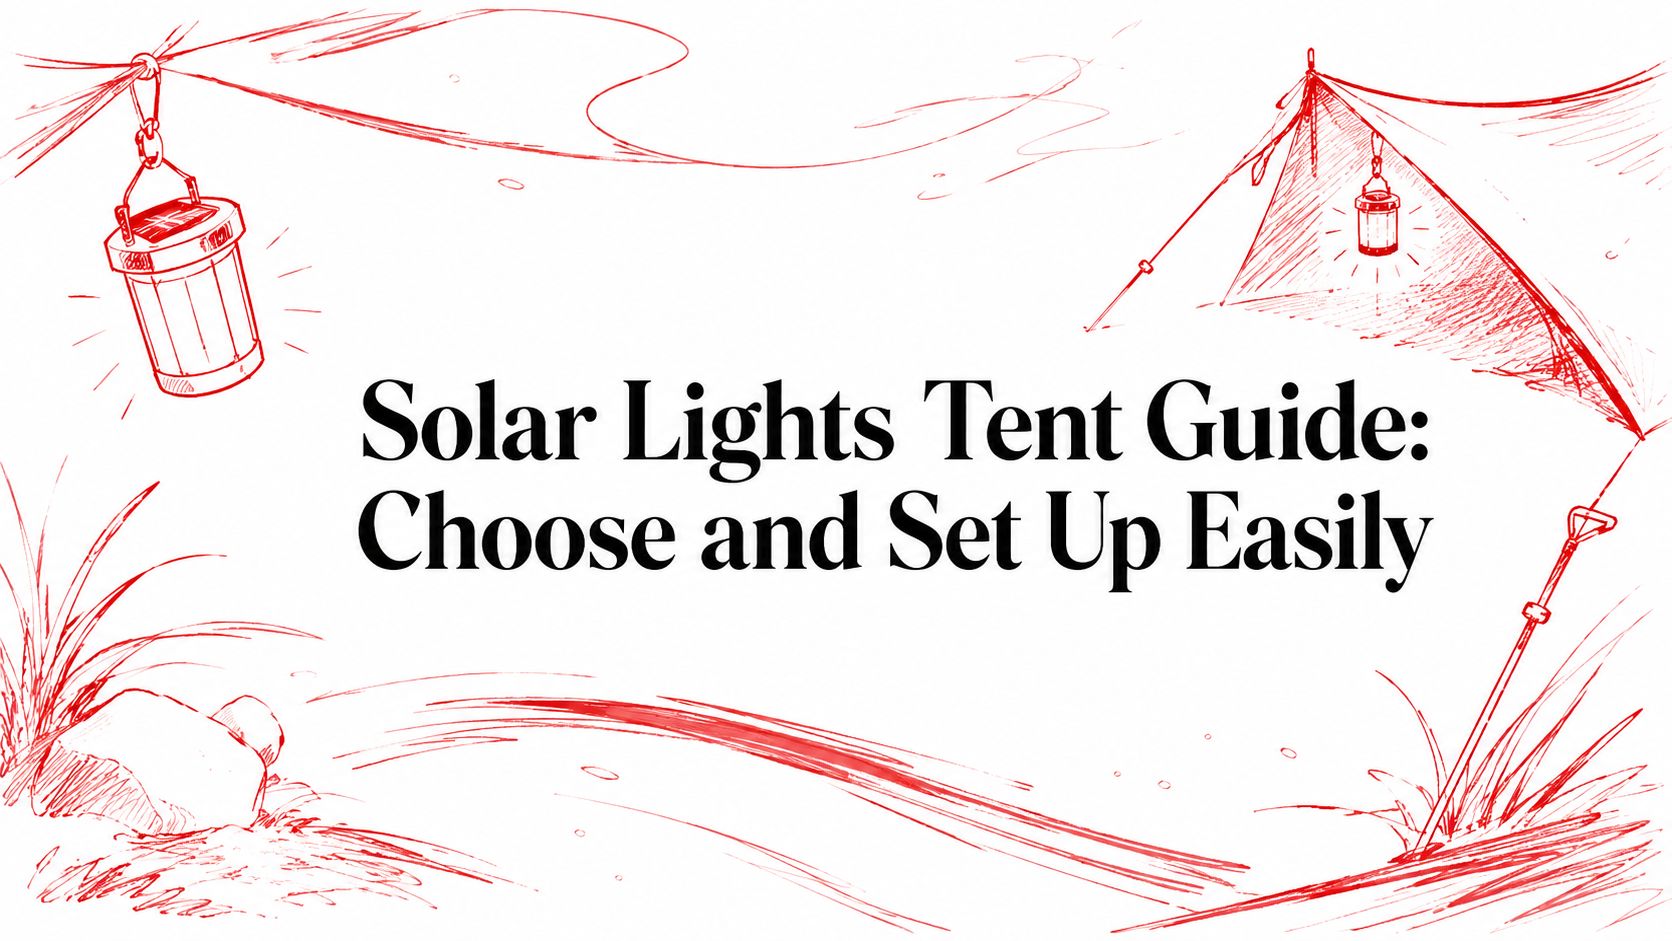
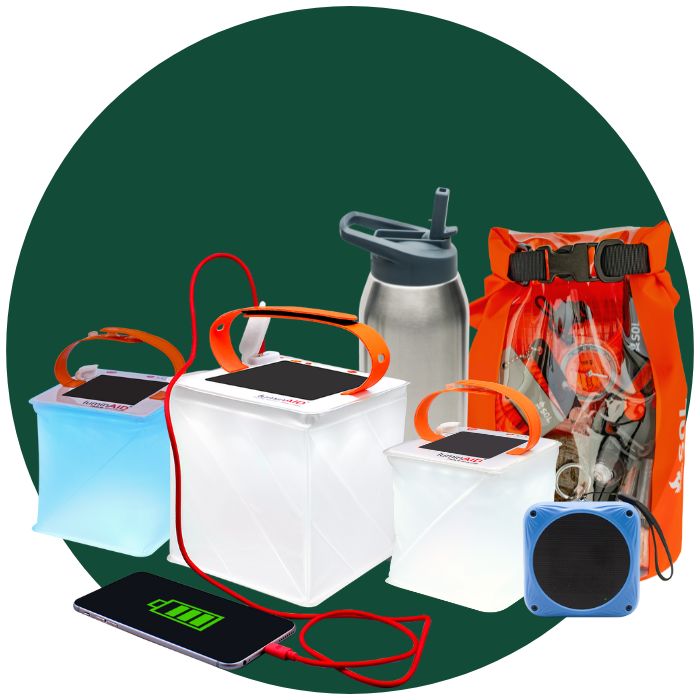
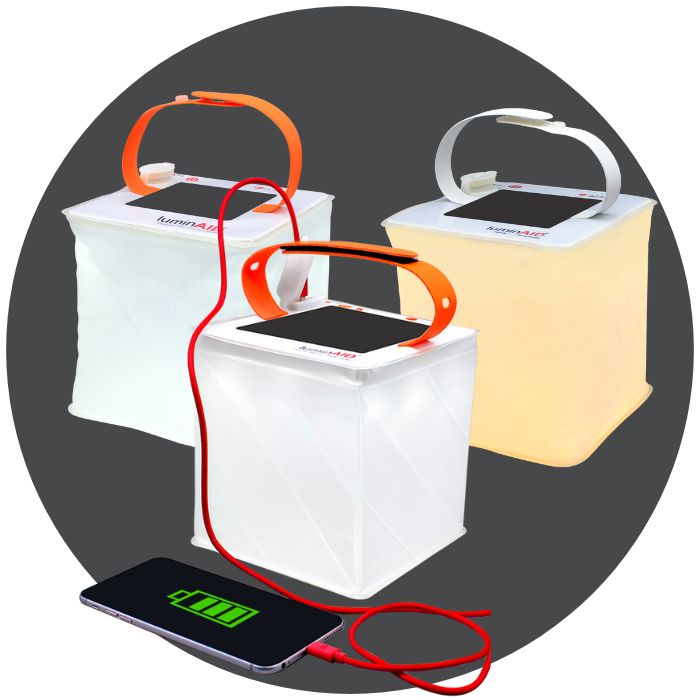
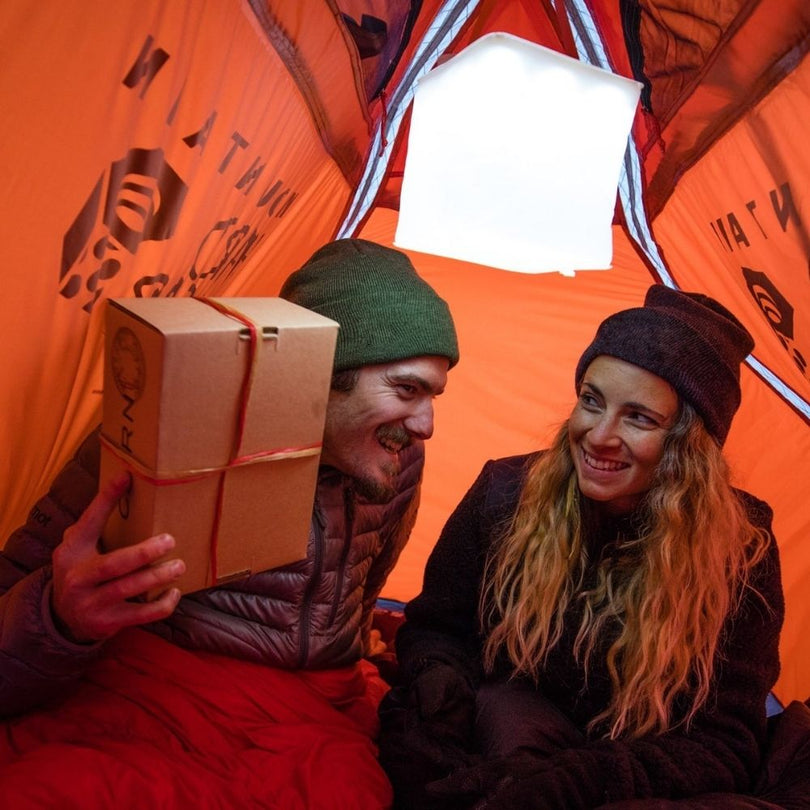
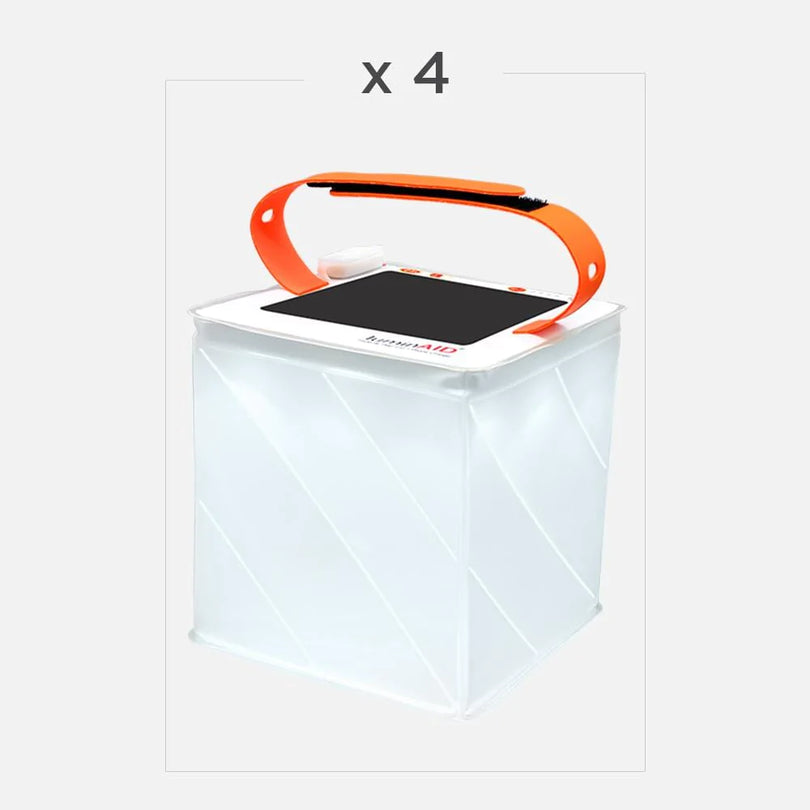
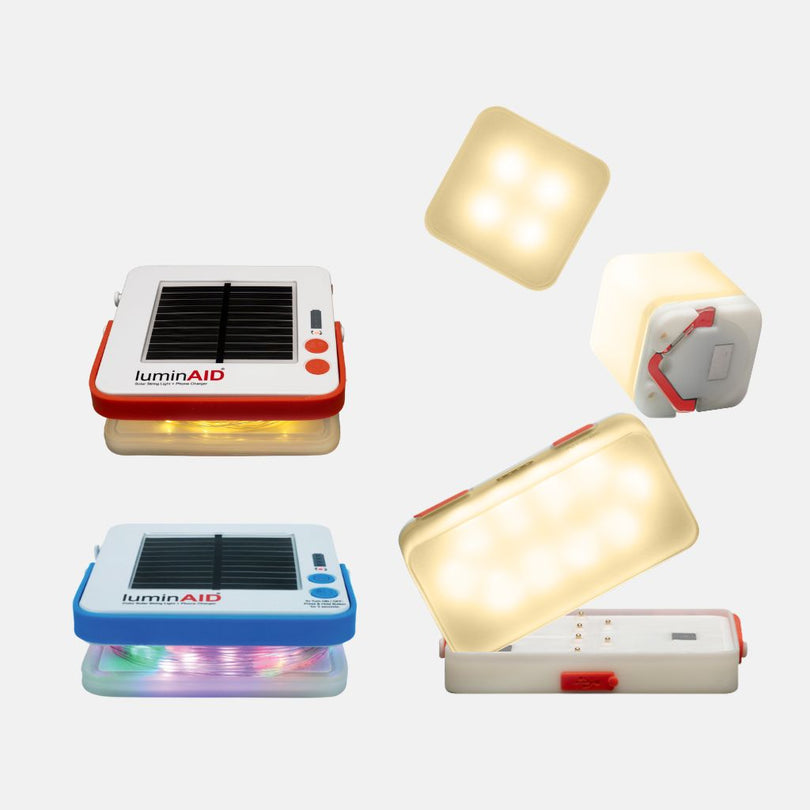
Hardwired 12V LED lighting usually suits daily use better than scattered battery-powered puck lights. It avoids frequent battery changes and keeps switches predictable. Keep an independent light source anyway. A portable solar lantern with phone charging can support cooking, tool searches, and movement through the van if the primary circuit trips.
Use warmer light near the sleeping area and brighter neutral light for food preparation, repairs, and first aid. Keep one light within reach of the bed and another near the exit. Fuse each 12V branch close to its power source, protect cables from abrasion, and size conductors for the expected current and run length. For replacement or troubleshooting of a failed 12V outlet, T1A Auto replacement advice provides a useful starting point.
Redundancy should cover likely failures. If a water pump stops, a filled container and manual method preserve access to water. If the main lights fail, the separate lantern keeps basic tasks possible. A power bank can cover communications while the battery reserve is protected for refrigeration or other equipment that cannot be replaced easily.
When a system fails, check the battery state, master fuse, branch fuse, disconnects, and wiring connections before blaming the appliance. A battery monitor helps distinguish low stored energy from a circuit problem. The strongest setup is one occupants understand well enough to diagnose without dismantling the build.
Water, Kitchen, and Hygiene Systems
Water planning should follow the trip, weather, and resupply options, not an assumption of indefinite independence. A short stay near services may need only food-grade containers, a gravity filter, and a basin. Extended boondocking requires more storage, spill control, filtration, and a gray-water disposal plan. In low-sun periods or after storms, water access must remain usable even if the electrical system is unavailable.

A pressurized electric system is convenient, but it adds wiring, pump noise, failure points, and winterization work. A gravity-fed container or manual foot pump works more slowly, yet keeps basic washing and cooking available during an electrical fault. Use dedicated fill equipment rather than improvised hoses that may carry residues.
Choosing the simplest system that works
A compact setup can combine a jug, gravity filter, collapsible basin, and manual pump. A permanent build may add a fresh tank, sediment filtration, pressure pump, accumulator, gray-water tank, and water heater. Keep every component accessible for cleaning, inspection, and replacement. A hidden fitting can turn a small leak into a wet floor, mold risk, or damaged cabinet.
For drinking water, source quality determines the treatment approach. Sediment filtration removes visible particles, while other methods address different contamination concerns. Follow local guidance for questionable sources instead of assuming one filter handles every hazard.
Kitchen equipment should balance energy use, heat output, ventilation, and cleanup. Propane provides high heat without requiring a large inverter, but it demands safe storage, ventilation, and an appropriate detector. Induction avoids combustion inside the living space and wipes clean easily, although it can draw substantial electrical energy. A nesting pot set, cutting board, knife, and lidded storage container usually cover more real meals than bulky specialty cookware.
A sink trap limits gray-water odors from returning through the drain. Contain gray water and dispose of it according to local rules. Holding-tank cleaning belongs in the maintenance schedule, and sensor-accurate RV tank cleaning offers relevant context for that work.
Hygiene routines vary. Survey data reports that 28% of van lifers use a gym membership for bathing, 21% use a built-in van shower, 39% rely on public restrooms, and 35% have a built-in van toilet (van life hygiene and living statistics). The figures support a practical conclusion: no single bathroom arrangement suits every traveler.
A portable toilet reduces dependence on public facilities, but it requires disciplined emptying and cleaning. A composting toilet saves water while adding ventilation and solids-management work. Gym or truck-stop routines reduce onboard complexity, yet become unreliable when remote or during severe weather. Winterizing means draining tanks, opening low points, protecting exposed lines, and treating even a short freeze as a plumbing risk.
The video below is useful for visualizing container layouts and water-system choices before committing to a build.
For portable reserve planning, the LuminAID guide to camping water containers provides practical container-selection guidance. Choose storage that can be lifted safely, secured during travel, and accessed when fixed plumbing is out of service.
Prioritizing Gear by Budget and Trip Length
A van doesn't become sustainable by adding every desirable component at once. The right purchase order depends on whether the vehicle supports occasional weekends, a long trip, or full-time living. The figures below are planning bands, not universal build prices, because vehicle condition, labor, and finish level change the result.
| Gear Category | Shoestring ($2K–$5K) | Moderate ($5K–$12K) | Fully Loaded ($12K+) |
|---|---|---|---|
| Power | Portable power station and campsite charging | Lithium storage, solar, monitoring, and alternator charging | Larger integrated system with expanded redundancy |
| Water | Food-grade containers, gravity filter, basin | Fixed tank, pump, filtration, and gray water management | Larger storage, hot water, serviceable plumbing, and advanced monitoring |
| Cooking | Compact propane or simple electric setup | Dedicated kitchen with efficient storage | Integrated kitchen with greater capacity and backup options |
| Climate | Insulation, ventilation, layered bedding | Efficient heater and roof fan | Robust heating, ventilation, insulation, and climate controls |
| Safety | First aid, extinguisher, tire tools, emergency lighting | Recovery gear, detectors, communication backup | Comprehensive recovery, medical, security, and monitoring systems |
Weekend travelers can often tolerate campsite hookups and carry portable power rather than installing a complex electrical system. Travelers away for one to three months need stronger charging options, dependable refrigeration, organized water storage, and repairs that can be handled without a workshop. Full-timers should prioritize insulation, ventilation, power redundancy, serviceable plumbing, and a reserve for maintenance before decorative upgrades.
Where to spend and where to compromise
Used cabinets, salvage lumber, secondhand storage bins, and DIY window coverings can save money when their condition is easy to inspect. Tires, electrical protection, gas-related components, fire equipment, and structural mounting hardware deserve greater caution. A cheap component that fails remotely can cost more than the original saving through towing, replacement, and lost travel time.
A portable power station can be sensible for a simple weekend rig. It becomes less attractive when the user needs continuous refrigeration, high electrical loads, or easy alternator charging. Similarly, a manual water pump is excellent for a small system, while a full-time build may justify a pressure pump and serviceable plumbing.
The most useful buying sequence is functional:
- Make the vehicle safe and mechanically reliable.
- Add sleep, ventilation, water, cooking, and sanitation.
- Build power around measured daily loads.
- Add emergency redundancy.
- Improve comfort and appearance only after the systems work.
A categorized camping gear list from LuminAID can help organize purchases, but a checklist shouldn't replace a load audit and a failure plan.
Packing and Organization Strategies for Small Spaces
A van can carry capable equipment and still become difficult to live in when nothing has a fixed place. Good organization cuts search time, stops gear from shifting during transit, and keeps dense loads low. Each storage choice should answer two questions: how often will this item be used, and what could happen if it comes loose on a rough road?

Build zones around real use
Keep daily-use items by the sliding door, kitchen, bed, or driver seat. Store weekly-use gear in overhead compartments or rear cabinets. Fire equipment, first aid, lighting, and tire tools must stay reachable without unloading the van, especially during a breakdown or bad weather.
Overhead nets and magnetic wall mounts recover vertical space, but anything above head height needs a positive restraint. Door organizers suit headlamps, multitools, maps, and small medical supplies. Under-bed drawers work well for heavy tools, recovery equipment, and spare fluids because they keep weight low while making the cargo easy to inspect.
The layout should match the van. A Sprinter with a taller interior can use high cabinets and a full rear garage. A Transit often benefits from narrower modular bins that preserve an aisle. A Promaster's broad interior suits shallow wall storage and flexible soft-sided containers better than deep cabinets that hide small items.
- One-in, one-out: Remove an old item whenever a replacement enters the van.
- Modular containers: Choose collapsible bags or labeled bins that can change as supplies change.
- Secure for transit: Bungees, ratchet straps, latch-locking bins, and drawer catches limit movement on rough roads.
- Keep essentials visible: A clear emergency bin is faster to use than one buried behind clothing.
- Audit regularly: Remove expired consumables, unused clothing, and gadgets that no longer justify their space.
Digital maps and documents reduce paper clutter, but keep a paper map with emergency supplies when devices or power systems fail. Separate convenience storage from survival equipment. If a repair requires access to the electrical compartment, bedding, cookware, and clothing should not have to come out first.
A storage system has succeeded when the van remains usable after a rushed departure, a wet day indoors, and a rough drive on an unpaved road.
Safety and Emergency Preparedness Essentials
Safety equipment is often treated as an afterthought, placed under a seat and forgotten. That approach fails because emergencies don't wait for a convenient time, and remote travel can turn a small problem into a serious one before help arrives.
FEMA's basic emergency supplies guidance calls for one gallon of water per person per day for at least three days, along with non-perishable food, a flashlight, a first aid kit, extra batteries, and a battery-powered or hand-crank radio (FEMA emergency supplies kit guidance). Van occupants should adapt the kit to the people, pets, climate, and remoteness involved.

The readiness checklist
- Fire protection: Mount an appropriate extinguisher where it can be reached quickly, not buried beneath bedding.
- Medical supplies: Include wound care, antiseptic, pain relief, gloves, and tools suited to the traveler's training.
- Carbon monoxide and gas detection: Use detectors appropriate for the installed fuel and heating systems, test them routinely, and replace batteries as needed.
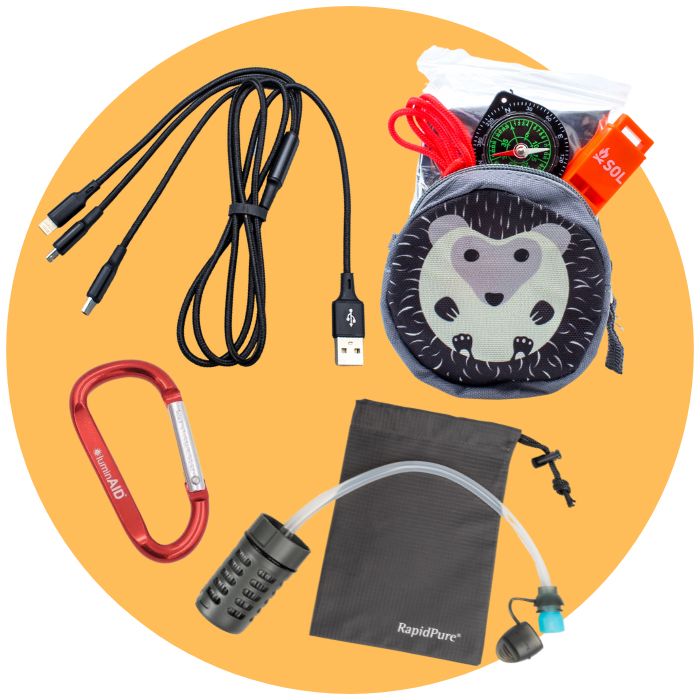
- Vehicle recovery: Carry a tire repair kit, portable compressor, traction equipment, recovery straps, and reflective warning devices.
- Communications: Keep a charged phone, backup power, offline maps, and a communication method suitable for remote terrain.
- Documents: Store a paper map, emergency contacts, insurance details, medication information, and a vehicle maintenance log.
- Weather protection: Carry insulation, warm layers, rain protection, and lighting that works during low-sun periods.
- Personal security: Use reliable locks, blackout window coverings, and campsite selection habits that preserve visibility and exit options.
The American Red Cross includes insect repellent in its camping first aid checklist, which places bite prevention alongside other practical field supplies. Johns Hopkins advises formulations containing 10% to 30% DEET for children, and 30% to 50% DEET for adults, or up to 20% picaridin, with product directions still applying (Johns Hopkins insect repellent guidance). A separate repellent guidance source states that 10% DEET provides about 1.5 to 2 hours of protection, while 30% provides about 5 to 8 hours, with usefulness increasing roughly linearly up to about 50% (repellent concentration guidance).
A safety kit needs practice, not just inventory. Occupants should know how to isolate propane, shut down electrical systems, change a tire, locate the jack points, treat a minor wound, and send their location. The gear that matters most during a crisis rarely photographs well, but it preserves options when comfort systems fail.
Hidden Costs and Long-Term Sustainability
Van life costs persist long after the build is complete. Fuel, campsite fees, maintenance, insurance, internet, filters, tires, repairs, and replacement parts all draw from the travel budget. Recent coverage places full-time U.S. monthly spending around $800 to $2,000, with fuel and campsite fees often making up 40% to 55% of monthly expenses (van life cost breakdown). Other breakdowns estimate totals around $1,300 to $2,080 per month, depending on travel style and comfort level (van life operating cost discussion).
Those ranges differ because travel habits differ. Constant movement raises fuel use, while longer stays can shift spending toward campsites, laundry, internet, or repairs. Build weight also affects operating strain, so every material choice has both an engineering cost and a financial one.
| Essential Category | Budget Gear (2-Year Cost) | Quality Gear (2-Year Cost) | Key Cost Drivers |
|---|---|---|---|
| Power storage | Lower purchase price, uncertain replacement exposure | Higher initial cost, stronger serviceability | Battery wear, charging equipment, installation, and failure location |
| Lighting | Disposable or frequently replaced batteries | Rechargeable or solar-supported backup lighting | Battery replacement, charging access, and reliability |
| Water system | Basic containers and simple filtration | Serviceable tank, fittings, and replaceable filters | Cartridge changes, leaks, sanitation, and winter damage |
| Tires and recovery | Minimal tools and limited redundancy | Correct tires, compressor, repair supplies, and recovery gear | Load, terrain, tread wear, and towing |
| Cooking and heating | Lower entry cost with recurring fuel | Efficient equipment matched to the electrical system | Propane, inverter demand, ventilation, and repairs |
The lowest purchase price can create higher costs later. Marine-grade wiring, protected connections, quality fusing, accessible plumbing, and secure mounting reduce avoidable failures. Insulation can lower demand on heating and cooling equipment, but weather still requires active monitoring of energy reserves.
Sustainability means predictable operation during inconvenient conditions. Track fuel, campground stays, maintenance, filter purchases, propane, and repairs. A monthly spending range becomes more useful when it includes a reserve for tires, brakes, batteries, and unexpected mechanical work.
Cost discipline: A component earns its place when it reduces recurring consumption, prevents a predictable failure, or remains repairable far from a dealer.
The same test applies to lighting and charging. A compact backup light with phone-charging capability preserves basic communication during a failed house system or prolonged low-sun period. LuminAID makes portable solar lanterns and 2-in-1 phone chargers for camping, RV use, and emergency kits, providing one example of packable lighting that can work without an outlet or disposable batteries. Keep this type of unit separate from the main electrical system so a lighting failure does not remove every backup option.
The goal is operational resilience, not a larger gear collection. Choose equipment that continues working through bad weather, limited sun, and extended boondocking, then maintain it before a failure turns into an expensive recovery.