


A lot of backyards are only one lighting decision away from feeling finished.
You may already have the patio, the chairs, maybe even a fire pit. But once the sun drops, the whole space goes flat because the trees disappear into darkness. Wrapping or suspending lights in the right tree changes that fast. The yard feels deeper, the seating area feels intentional, and even a simple side yard starts reading like an outdoor room instead of leftover space.
That's why tree lighting works so well for year-round use. It isn't just a holiday move. It's one of the easiest ways to make evenings outside feel warmer for dinner, conversation, quiet nights, and small gatherings. If you're still shaping the rest of the space, these budget patio and deck ideas pair well with the kind of layered lighting that makes a yard usable after dark.
A good tree-light setup also doesn't require a full outdoor area lighting overhaul. You just need to choose the right type of string light, size the run correctly, hang it without stressing the cord or the tree, and assess power needs thoughtfully. If you want more general backyard mood-setting ideas, LuminAID's guide on how to create the perfect backyard atmosphere is a useful companion.
Creating Magical Backyards with Tree Lights
The strongest tree-light projects don't look like decorations first. They look like part of the natural setting.
A wrapped trunk near a seating area creates structure. A few lit limbs over a dining table pull the eye upward. A soft canopy glow in a larger tree makes the yard feel occupied even when no one's standing under it. That's the difference between hanging lights because you have them and placing lights where they support how the yard gets used.
Where tree lighting changes the space most
Some placements do more work than others:
- Near seating areas: A lit tree beside a patio gives the whole area a visual anchor.
- At the yard edge: One illuminated tree can keep the yard from feeling like it ends at the slab.
- Over a path or lawn transition: Branch lighting helps connect separate zones without adding more fixtures.
Homeowners often start with fence lights or a pergola and then realize the trees still read as black holes at night. Once the tree joins the lighting plan, the space usually feels balanced.
Tree lighting works best when it adds depth, not just brightness.
The year-round difference
Holiday wrapping is usually tight, fast, and temporary. Year-round outdoor string lights for trees need a different mindset. The goal is softer light, cleaner attachment, and enough durability that you're not redoing the whole job after rough weather.
That means paying attention to bulb spacing, wire strength, anchoring points, and how the tree will move over time. It also means thinking about remote trees, because many of the best-looking trees in a yard aren't sitting beside an outlet.
How to Choose the Right Outdoor String Lights
Buying the wrong set creates most installation problems. The cord is too light, the bulb spacing is wrong for the look you want, or the tree is far from power and the light choice assumed a nearby outlet.
Start with three decisions. Power source, bulb style, and build quality.

Pick the power source first
If the tree is close to the house, plug-in lights are straightforward. If the tree sits beyond the patio, near a driveway edge, at the back fence, or out in a field of lawn, solar or battery-supported options make the project much simpler.
Here's the practical comparison:
| Feature | Solar-Powered Lights | Plug-In Lights |
|---|---|---|
| Best use case | Trees far from outlets, campsites, off-grid spots | Trees near a GFCI-protected outdoor outlet |
| Installation flexibility | High, because you don't need to route a long power cord | Lower, because cord routing drives placement |
| Power planning | Requires good panel placement and realistic expectations | Requires outdoor-rated extension and protected connections |
| Appearance impact | Cleaner in remote areas with no visible extension path | Strong option near patios, pergolas, and buildings |
| When they frustrate people | Shaded sites and poor charging conditions | Long runs across walkways or exposed lawn edges |
Most online guides assume you can just run an extension cord. That leaves out a common real-world problem: remote trees in large yards or off-grid setups. The gap is especially noticeable for homeowners and campers trying to compare solar, battery, and other non-mains options for runtime, placement, and durability, as noted in this discussion of off-grid tree-lighting needs.
Match bulb style to the effect you want
Tiny fairy-style LEDs disappear into bark and foliage. They're good when you want the tree itself to glow.
Larger globe or Edison-style bulbs read as visible decorative elements. They're better for suspended lines between branches or for trees near patios where the fixture should be part of the look.
For long-term outdoor use, pay attention to material quality, not just bulb shape. If you want another perspective on heavy-duty setups, this roundup of reliable commercial outdoor lighting advice is worth reading.
Practical rule: Buy for the tree and the weather first. Buy for style second.
Don't ignore cord and spacing specs
Technical details change both appearance and lifespan. Industry guidance recommends 18-gauge or larger wire for better durability, especially for permanent installations. Bulb spacing also matters. Some outdoor sets space bulbs every 3 feet, while other products are much denser. Installers also warn against putting all tension on the light cord itself, because wind can break lines when force is concentrated at one point, according to this installer guidance on wire gauge, spacing, and load distribution.
For a tree, a nice bulb means very little if the cord sags, the spacing looks sparse, or the strand carries structural load it wasn't meant to handle.
A quick note on water resistance: if lights are staying outside for long stretches, look for a rating that fits actual exposure, not occasional fair-weather use. Temporary patio ambiance and season-long tree mounting aren't the same job.
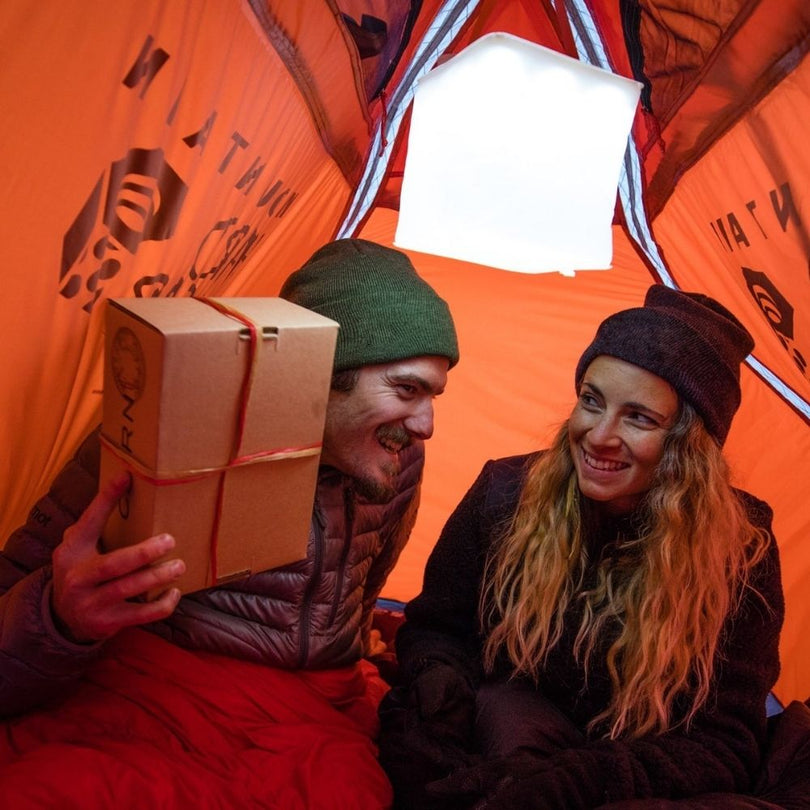
If you also use string lights while traveling or camping, LuminAID has a practical guide to string lights for tents that helps clarify where softer ambient lighting makes sense versus where task lighting is the better call.
Planning Your Tree Lighting Layout and Design
Most disappointing installs start with guessing.
People buy a few strands, climb the ladder, wrap the trunk, and realize halfway up that they're nowhere close. Tree lighting needs a rough plan before the first clip goes on.

Use one sizing rule before anything else
A useful field benchmark is about 100 LEDs, or roughly 5 meters of string, for every 0.6 meters (2 feet) of tree height, based on Festive Lights' planning guidance for tree lighting. By that rule, an 8-foot tree needs about 400 LEDs or around 20 meters of cable, and a 10-foot tree needs about 500 LEDs or roughly 25 meters. That benchmark comes from Festive Lights' tree light sizing guide.
That rule won't answer every layout question, but it gives you a reliable starting point for ordering enough material.
Three layouts that work
The classic trunk wrap is the cleanest place to start. You spiral from the base upward with even spacing. This works well on a specimen tree near an entry or patio because the trunk becomes a vertical light column.
The branch accent focuses on major limbs instead of trying to cover everything. This is the right move when the tree has strong architecture and you want to show shape rather than blanket it in light.
The canopy ceiling uses suspended or draped runs through lower limbs to create glow over a sitting area. It's often the most atmospheric option, but it requires more thought around support points and sightlines.
Spacing changes the mood
Tight wraps create a graphic outline. You notice the spiral pattern and the tree reads brighter.
Looser spacing creates a softer internal glow. That usually looks better for year-round outdoor settings because the light feels integrated instead of seasonal.
A simple planning sequence helps:
- Measure height first: That tells you the likely amount of light needed.
- Identify the viewing angle: The main patio view should drive the design.
- Choose one visual priority: Trunk, limbs, or canopy.
- Sketch the power path: Especially important if the tree is nowhere near the house.
A Step-by-Step Guide to Hanging Your Lights Safely
Test every strand before you climb. That one habit saves more time than any tool.
Lights can fail out of the box, connectors can seat poorly, and a bad section is much easier to catch on the ground than halfway up a ladder with the cord wrapped through branches.

Start with prep, not climbing
Lay out every strand in full. Plug them in. Confirm the whole run lights evenly, then check again once the first section is mounted. Installer guidance specifically recommends ground-testing each strand before mounting and re-checking after hanging so you catch defective bulbs and connection issues before the difficult part.
Before you start, set up the job like a small outdoor project:
- Stabilize the ladder: Place it on firm, level ground.
- Clear the drop zone: Move chairs, planters, and hoses out of the way.
- Keep a first-aid kit nearby: A compact outdoor-ready option from Adventure Medical Kits makes sense whenever ladders, branches, and hand tools are involved.
- Sort attachment hardware first: Clips, soft ties, carabiners, and guide wire should be in a pouch or bucket, not scattered around the yard.
Use the right method for the tree
A bare deciduous tree usually takes a wrap method well. Start low, attach gently, and work upward with steady spacing. Follow the trunk first, then move to selected major limbs.
Dense evergreens are different. Wrapping every branch rarely looks clean, and it takes far more material than often realized. In those trees, draping or zig-zagging through visible outer structure usually gives a better result with less clutter.
A real-world example from Yard Envy shows how much material a fully wrapped tree can take. They used 25 sets of 70-count warm white string lights on one tree, with 1 set on the main trunk and 24 sets on major limbs. They also note that 50- to 70-light strings typically run about 25 to 35 feet, and that leaving extra space between wraps creates a softer interior glow. That example comes from Yard Envy's tree-light installation article.
Don't let the cord carry structural load
Many DIY installs fail because people secure one end, pull the strand tight, and expect the light cord to behave like support cable. It won't.
Use clips, guide wires, or carabiners to spread the load where needed. Let the lights hang or wrap as illumination, not as the primary structural element. Trees move in wind, and cords under tension usually fail at the connection points or where they rub.
If a line needs to stay taut between two points, support the span first. Then attach the lights to that support.
A quick visual walkthrough helps before you get high into the branches:
A clean install sequence
For most homeowners, this order works:
- Mount the power-side end first: Don't leave cord routing as an afterthought.
- Light the trunk or primary branch line: Establish the visual center.
- Step back often: The yard view matters more than the ladder view.
- Adjust spacing before adding more runs: Fixing spacing early is easier than unwinding a finished section.
- Re-test after hanging: Catch problems before teardown becomes necessary.
Smart Powering Strategies for Any Location
The hardest tree to light is often the one you want to light most. It's the oak at the back fence, the shade tree over the hammock, or the tree near the driveway where there's no convenient outlet.
That's why power planning deserves as much attention as the lights themselves.
When plug-in power makes sense
If the tree is close to the house, plug-in power is still the most straightforward route. Use an outdoor-rated extension cord, keep connections off saturated ground when possible, and protect plug unions with weather-resistant covers. A GFCI-protected outdoor outlet is the right starting point for this kind of setup.
Plug-in works especially well around patios, decks, pergolas, and side yards where the power path stays short and obvious. Once cords start crossing open lawn, edging beds, or walking routes, the setup tends to look improvised.
Why solar solves the remote-tree problem
Most tree-lighting content still assumes the answer is “just run an extension cord.” That's exactly where many projects break down. Remote trees need a different approach.
Solar works well when the panel can be placed for reliable charging and the tree itself is too far from utility power to justify visible extension runs. It's also useful for campsites, RV setups, and blackout-ready backyard lighting where flexibility matters more than tying everything to the house.
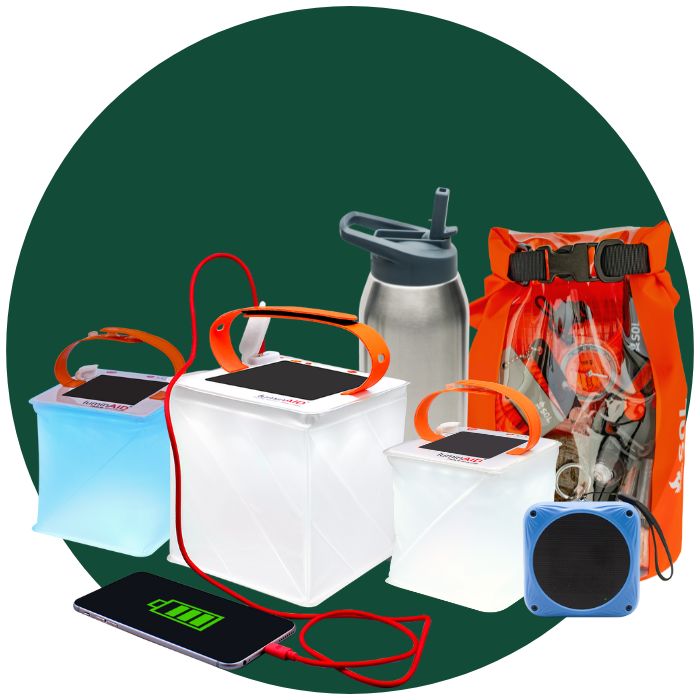
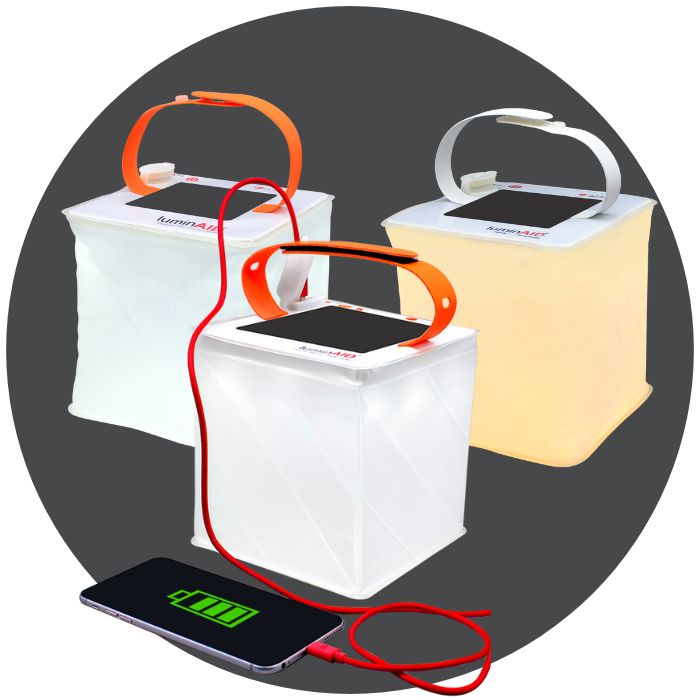
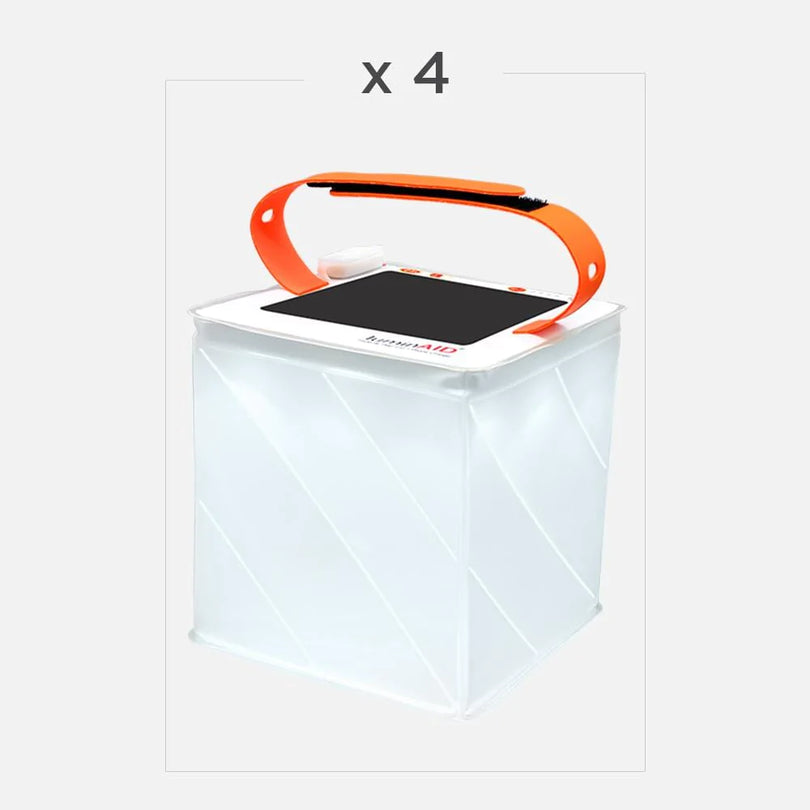
One practical option is the LuminAID Solar String Light 4 Pack, which fits this off-grid use case because it avoids disposable batteries and outlet dependency. That makes it relevant for homeowners lighting distant trees and for people who want the same lights to pull double duty in emergency kits or at camp.
Where solar works well and where it doesn't
Solar is a smart choice in these conditions:
- Open-sky charging locations: The panel needs dependable sun.
- Trees far from structures: You avoid long extension-cord runs.
- Temporary and movable layouts: Good for events, seasonal shifts, or camping.
Solar is less convincing when the panel sits in heavy shade most of the day or when the homeowner expects a remote tree in dense canopy to perform like a hard-powered patio installation without compromise.
Remote trees usually look better on solar than on a long, obvious extension cord stretched through the yard.
Long-Term Care and Maintenance Tips
A good install shouldn't stop at “it lights up.” It should still look clean later, and the tree should still be healthy later.
That matters more with year-round outdoor string lights for trees because trunks and branches don't stay static. They grow, flex, and shift with wind and temperature.
Protect the tree first
Arboriculture guidance warns that wrapping too tightly can restrict growth and damage bark over time. For longer-term installations, the safer approach is to leave slack, use weather-resistant fasteners instead of nails or staples, and periodically inspect for girdling as the tree grows, according to Green Drop's guidance on leaving outdoor lights on trees.
That's the biggest difference between a temporary decorating mindset and a permanent outdoor lighting mindset. You're not attaching to a fence post. You're attaching to a living structure.
A simple maintenance routine
Check the installation at regular intervals and after rough weather.
- Look for tightening points: The wire shouldn't bite into bark.
- Inspect for rub damage: Wind movement can wear insulation where strands touch branches.
- Check connectors and clips: Loose hardware causes sagging and uneven lines.
- Test dead sections on the ground when possible: Troubleshooting is easier before re-hanging.
For seasonal takedown, coil lights loosely and keep each run separate. Don't twist multiple strands into one bundle. That usually leads to damaged sockets, kinked wire, and a frustrating reinstall.
A tree-light job ages well when the cord has breathing room and the attachment points are easy to inspect.
If you want tree lighting that works away from outlets as well as around the backyard, LuminAID makes practical off-grid lighting tools for ambient outdoor use, camping, and emergency backup. That's a useful combination when the same string lights may need to handle a patio dinner one week and a power outage or campsite the next.