

A lot of outdoor movie nights fail for boring reasons. The screen catches wind, the picture looks washed out, the speaker dies halfway through the opening scene, or someone realizes too late that the outlet on the patio can't handle everything plugged into it.
A good outdoor movie setup isn't complicated, but it does need to be planned as a complete system. Screen, projector, sound, power, lighting, seating, and weather all affect whether the night feels smooth or improvised. The same gear also needs to work in different places. Backyard one weekend. Campsite the next. Maybe even during a power outage when you want something comforting and normal.
The setups that hold up are usually the simplest ones. Fewer adapters. Fewer failure points. Better cord management. Enough light where people walk, but not where the screen is. Enough power for the whole setup, not just the projector.
The Magic of Movies Under the Stars
Outdoor movies still work because they tap into something older than streaming convenience. People like gathering outside when the air cools off, the bugs settle down a bit, and the screen lights up in a space that normally has no reason to feel cinematic.
That tradition isn't new. The modern format traces back to Richard Hollingshead's first patented drive-in, which opened on June 6, 1933 in New Jersey, and the format has lasted long enough that over 300 drive-ins are still in operation today, according to the history of drive-in movie theaters from NYFA. That's a good reminder that watching a movie outdoors isn't a gimmick. It's a durable way to spend time together.
The home version is more portable now, which changes the appeal. You don't need a permanent structure or a big event budget. You need a decent screen surface, a projector matched to your light conditions, audio people can effectively hear, and enough power to run the whole thing without improvising in the dark.
For many, the atmosphere matters almost as much as the gear. Warm lighting around the seating area, a clear path to snacks, and a comfortable place to sit do more for the night than chasing perfect theater specs. If you want ideas for that side of the experience, this guide to creating the perfect backyard atmosphere is useful.
Outdoor movie nights feel special because the setting does half the work. Your job is to remove friction so nobody notices the setup.
Choosing Your Screen and Projector
The screen and projector decide whether your outdoor movie setup looks intentional or makeshift. People often overspend on one and underthink the other. In practice, they need to match your yard, your storage space, and the amount of ambient light you can't control.

Picking the right screen style
If you only host once in a while, a taut white sheet can work. It's cheap, easy to store, and fine for casual family viewing. The downside is obvious the moment a breeze picks up. Wrinkles show. Movement shows. A little sag in the middle makes the whole image look softer.
Dedicated screens solve that problem in different ways:
- DIY sheet or fabric screen works when budget matters most and you can tension the material well.
- Inflatable screen packs easily and feels event-friendly, but wind and blower noise are real trade-offs.
- Fixed-frame or rigid portable screen gives the cleanest image and the most stable surface, though it takes more storage space and usually more setup discipline.
What works best depends on how often you'll move it. In a backyard with predictable space, a more stable screen is worth it. For camping or a rotating setup, portability matters more than perfection.
Brightness matters more than the spec sheet hype
For outdoor use, lumens matter first. Resolution matters too, but a sharp image no one can see isn't helpful.
One practical guide recommends at least 2000 lumens for a clear image after sunset, and it also shows a modest backyard setup with a $99 smart projector, a $39 collapsible screen, and two Bluetooth speakers for $46, keeping the core equipment cost under $200 while allowing the screen to go up in less than 5 minutes in that example from this outdoor movie night setup guide. That's useful because it shows you don't need a premium build to get started.
The catch is that brightness needs to scale with conditions. A projector that looks fine in full darkness can struggle badly if you start too early or have spill light from the house, neighboring yards, or campground fixtures.
Practical rule: buy for your worst light condition, not your ideal one.
A more detailed sizing guide breaks that out clearly. It recommends 1,600 to 2,000 lumens for a 100-inch screen at night, but 3,000 to 4,000 lumens for that same 100-inch screen in afternoon light. It also recommends at least 40 ft-L for moderate ambient light, 60 ft-L for high ambient light, and 60 ft-L or more if the movie starts at dusk. On larger screens, the demand climbs fast, with 5,400 to 7,200 lumens estimated for a 200-inch screen at night in the ProjectorScreen outdoor theater guide.
That's why people get disappointed when they go oversized. A big screen looks impressive before the movie starts, but if the projector can't fill it with enough light, the image feels flat.
What to prioritize in buying order
If you're comparing options, this is the order I'd use:
-
Light conditions first
Backyard with porch lights nearby needs a brighter projector than a dark campsite. -
Screen size second
Bigger isn't automatically better. A smaller, brighter image usually looks better than a dim giant one. -
Placement constraints third
Throw distance matters because some yards are shallow. Know where the projector can sit without putting it in a walkway. -
Resolution after that
Full HD is a sensible target for movie watching, but brightness and placement affect the experience more outdoors.
A solid outdoor movie setup usually starts with a realistic screen size, then matches the projector to the actual environment instead of the marketing photo.
Sourcing Reliable Sound and Power
Bad audio ruins movie night faster than a slightly dim picture. Bad power ruins everything.
People tend to budget for the projector and then assume the rest will sort itself out. That's how you end up with a bright image, weak dialogue, and a dead streaming device because everything is sharing the wrong extension cord.
Sound needs to fit the space
For a small group sitting close to the screen, one decent portable speaker can be enough. In a wider yard or a campsite with ambient noise, that same speaker starts sounding thin fast. Voices get lost first. Action scenes still sound loud, but nobody catches the dialogue.
A Yamaha guide is useful here because it frames speaker choice around area, not guesswork. It notes roughly 60 watts per speaker below 300 sq ft, 100 watts for 300 to 500 sq ft, and 100 to 175 watts for 600 to 800 sq ft, while also recommending a GFCI circuit and quick-cover tarps for rain in its advice on better audio for outdoor movie night.
That same source also points to a common miss on the power side. A portable power station with at least a 300 W output is a practical baseline for a projector plus a streaming device. That's before you add speakers, phones that need charging, or ambient lights.
Build power like a system
Think in layers, not a single plug.
- Core load includes the projector and media source.
- Support load includes speakers, charging cables, and control devices.
- Comfort load includes string lights, lanterns, and pathway lighting.
If you only plan for the first layer, the setup works right up until you want the rest of the night to feel comfortable and usable.
A portable station is cleaner than dragging cords across the lawn, and it makes more sense for campsites and mixed-use gear. If you also camp or keep blackout supplies at home, it's smart to overlap those categories. The same battery bank that powers a movie night can support a phone, a light source, and small electronics later. This article on choosing a solar power bank for camping is a good place to think through that overlap.
Plan for the devices people forget. The speaker, the streamer, the phones, and the lights are what usually turn a clean setup into a power scramble.
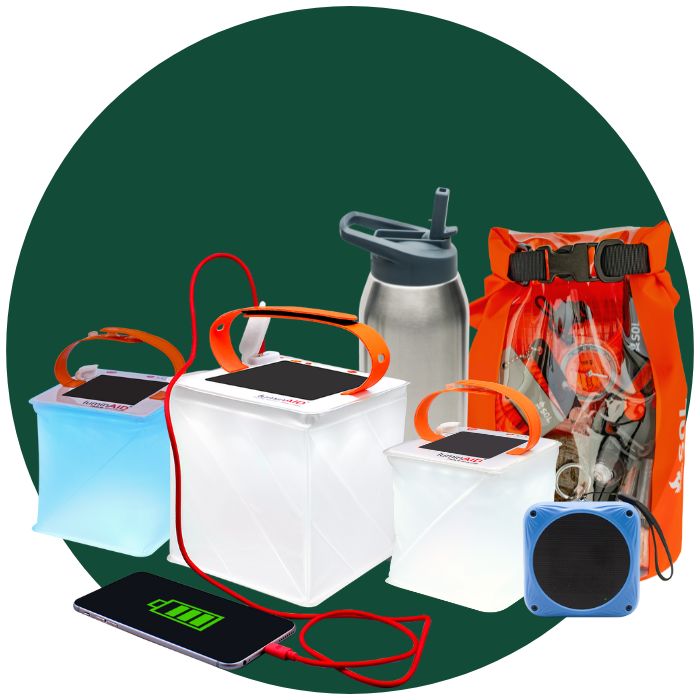
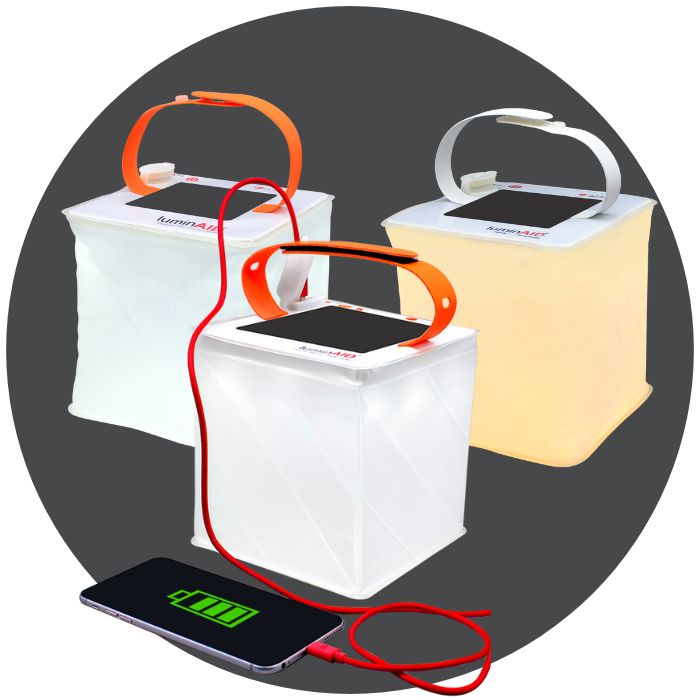
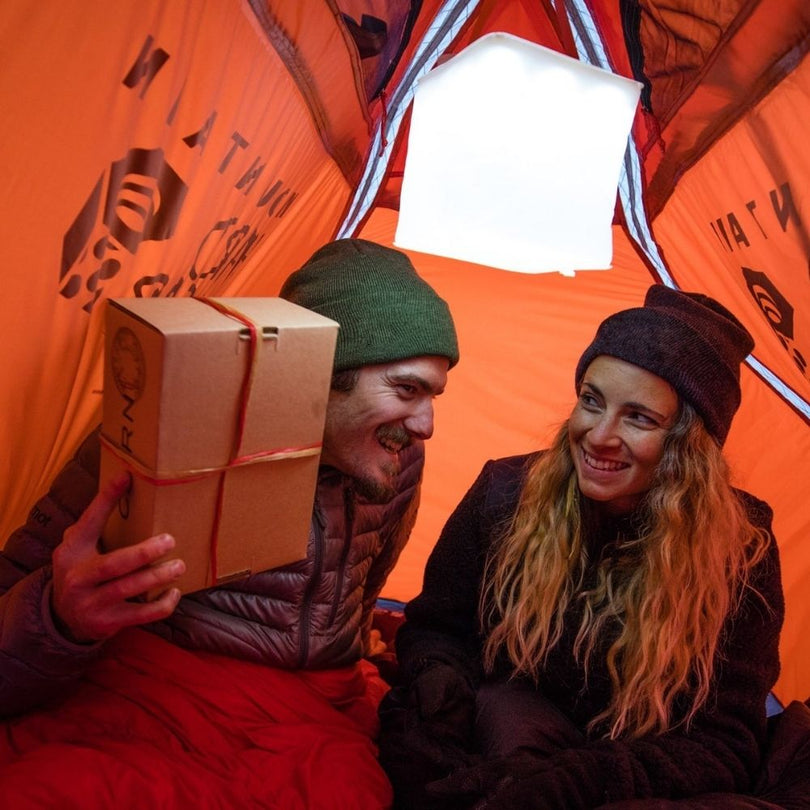
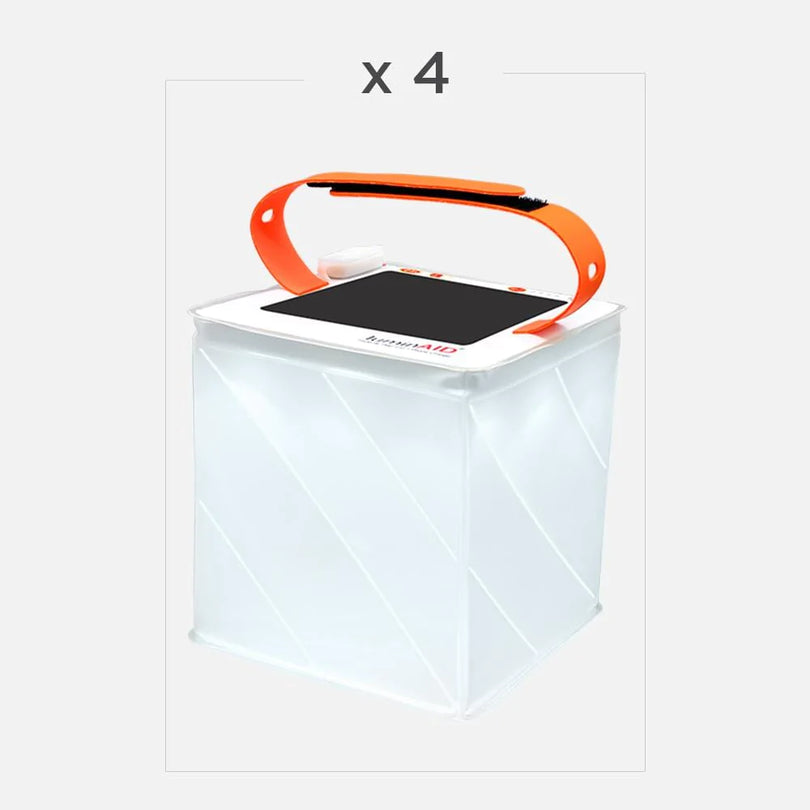
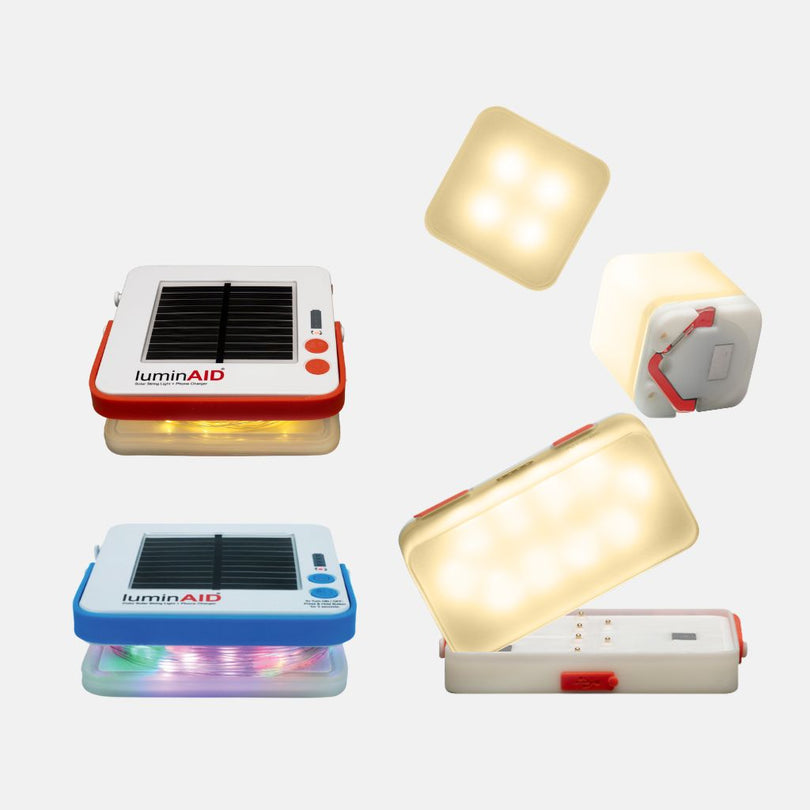
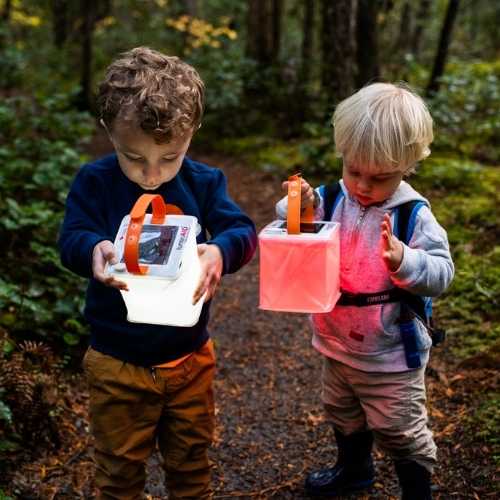
One practical option in that ecosystem is a solar-rechargeable lantern and charger. A LuminAID Power Lantern, for example, can provide area light and USB phone charging without needing a wall outlet, which makes sense for campsites, backyards with limited outlets, and emergency kits.
What doesn't work well
A few patterns cause repeat headaches:
- One overloaded patio outlet leads to resets, heat, or awkward cable routing.
- Bluetooth-only thinking can be fine for casual use, but it's less reliable when multiple devices need pairing.
- Unprotected power in wet grass is asking for trouble.
- No rain plan means one passing shower sends everyone into panic mode.
The setups that hold up aren't flashy. They just have enough clean power, enough sound, and fewer surprises.
Crafting the Perfect Viewing Environment
The difference between a functional setup and a memorable one usually comes down to how the space feels after dark. People remember whether they were comfortable, whether they could see where they were walking, and whether the area felt inviting instead of improvised.

A simple backyard can feel polished with a few changes. Put lower seating like blankets and floor cushions up front. Keep camp chairs behind them. Leave side aisles open so late arrivals don't cut in front of the projector beam. If kids are coming, give them a blanket zone near the front edge instead of mixing them into adult seating where sightlines get messy.
The same logic applies to campsites. Use the flattest patch you have for the audience, not necessarily for the screen. People tolerate a slightly awkward projector position more easily than a seat that tilts backward for the whole movie.
Lighting that helps instead of hurting
Most outdoor movie setups need more lighting than people think, just not near the screen. You want enough illumination for movement, snacks, and gear checks, while keeping the viewing area itself dark.
That usually means:
- Path lighting along the route from the house, tent, or picnic table
- Low ambient light near blankets and chairs
- No direct light spill behind the screen
- No bright bulbs facing the audience
For a backyard, string lights are usually best when they define the perimeter rather than hang over the screen area. Wrapped around trees, fences, or the far edge of the seating zone, they give the space shape without washing out the image. If you want layout ideas, these outdoor string lights for trees examples are a helpful reference.
If you're also thinking about the broader yard, these design tips for North Georgia outdoor spaces are worth a look because they translate well to any setup where seating, traffic flow, and atmosphere need to work together.
Keep the brightest light behind viewers, not behind the screen. That single choice fixes a lot of avoidable glare.
Comfort and backup prep
The practical layer matters just as much as the cozy one. Keep extra blankets where people can grab them without asking. Put drinks and snacks off to one side so no one stands in front of the lens every ten minutes. Have one covered spot ready for gear if dew, mist, or light rain starts rolling in.
Bugs deserve more planning than they usually get. Repellent from Ben's or Natrapel helps keep the audience settled, especially at campsites or wooded backyards. A compact first-aid kit from Adventure Medical Kits is worth having nearby for the usual outdoor stuff, like scrapes, splinters, or someone stepping wrong in the dark.
The best viewing environments feel relaxed because the host already solved the little annoyances before anyone sat down.
Your Day-Of Setup and Troubleshooting Guide
On setup day, order matters. If you build in the wrong sequence, you end up moving the same gear twice and troubleshooting things that weren't broken.

Follow a calm setup order
A practical checklist from XGIMI recommends building the system in phases. Assemble or inflate the screen first, then place and level the projector, then connect audio and power, and finally run a full test before guests arrive in its ultimate outdoor movie night setup checklist. That same guide recommends starting the movie 30 to 45 minutes after sunset, turning the projector on at least 30 minutes before guests arrive, and using a viewing distance of 11 to 18 feet for a 100-inch screen.
That sequence works because each step depends on the one before it. The projector can't be aligned correctly until the screen is final. Audio cable lengths don't make sense until projector placement is fixed. Seating shouldn't go down until you know where people need clear lanes to walk.
Here's the simplest reliable order:
-
Set the screen in its final position
Check wind exposure, overhead branches, and slope before staking or weighting anything. -
Place the projector and level it
Don't rely on keystone to fix a badly placed projector. Start physically aligned. -
Run power and audio
Tape cords flat where people walk and keep connectors away from damp ground. -
Do a real test run
Play actual content, not just a menu screen. Dialogue, motion, and dark scenes reveal problems fast.
What to check before anyone sits down
A short pre-show check saves the night:
- Focus should be sharp in the center and corners.
- Keystone should make the image rectangular without extreme digital correction.
- Audio sync should match lip movement.
- Centering should look right from the main seating area, not just from beside the projector.
- Ambient light should be reduced as much as your space allows.
Don't trust a setup that “looks close enough” in daylight. Most alignment problems become obvious only when the image is actually on screen.
Fast fixes for common problems
When something goes wrong, it's usually one of a handful of issues.
| Problem | Likely cause | Fast fix |
|---|---|---|
| Image looks dim | Too much ambient light or oversized screen | Kill nearby lights, wait for darker conditions, or reduce screen size |
| Screen shakes | Wind or weak anchoring | Re-tension, add weights, or move to a more sheltered spot |
| No sound | Wrong output or speaker power issue | Check source output, speaker battery, and cable path |
| Guests trip near gear | Poor cord routing | Retape cords and redefine the walking path |
| Image is crooked | Projector placed off-axis | Reposition projector physically before overusing keystone |
The smoothest hosts aren't the ones with perfect gear. They're the ones who test early enough to fix small issues without an audience watching.
Outdoor Movie Kits for Any Occasion
A practical outdoor movie setup changes depending on where you'll use it. The core idea stays the same, but the priorities shift. Backyard setups lean toward comfort. Campsite setups lean toward portability. Emergency kits need to do double duty without taking up much space.
Outdoor Movie Setup Bundles
| Component | The Cozy Backyard | The Campsite Cinema | The Emergency Entertainment Kit |
|---|---|---|---|
| Screen | Portable framed screen or well-secured collapsible screen | Compact collapsible screen or taut sheet | Small easy-store screen or sheet |
| Projector | Brighter unit sized for backyard ambient light | Portable projector that packs easily | Compact projector that's simple to deploy |
| Audio | Larger speaker setup for wider seating area | One or two portable speakers with easy charging | One reliable speaker that works with minimal setup |
| Power | Portable power station plus safe cord routing from home power if needed | Portable power station with solar-friendly recharge habits | Stored power station kept ready for outages |
| Lighting | Path and perimeter lighting around seating | Low-draw camp lighting around the site | Lantern and minimal pathway lighting for safety |
| Seating | Chairs in back, blankets and floor cushions in front | Camp chairs and ground blankets | Flexible seating using what's already on hand |
| Weather prep | Covers for dew and light rain, anchor points for wind | Tarps, stakes, and a fast pack-down plan | Gear stored together for quick indoor or outdoor use |
| Best use case | Family nights and neighborhood gatherings | Travel, campground use, and off-grid evenings | Power outages, storm recovery, and morale boosts |
The best bundle is the one you'll set up more than once. Simple gear that stores well and works without fuss gets used. Overbuilt gear often sits in a closet because it feels like a project.
If you want to make your outdoor movie setup more self-sufficient, LuminAID is worth a look for solar lanterns, phone-charging lights, and ambient outdoor lighting that fit backyard nights, camping trips, and blackout kits without adding much bulk.