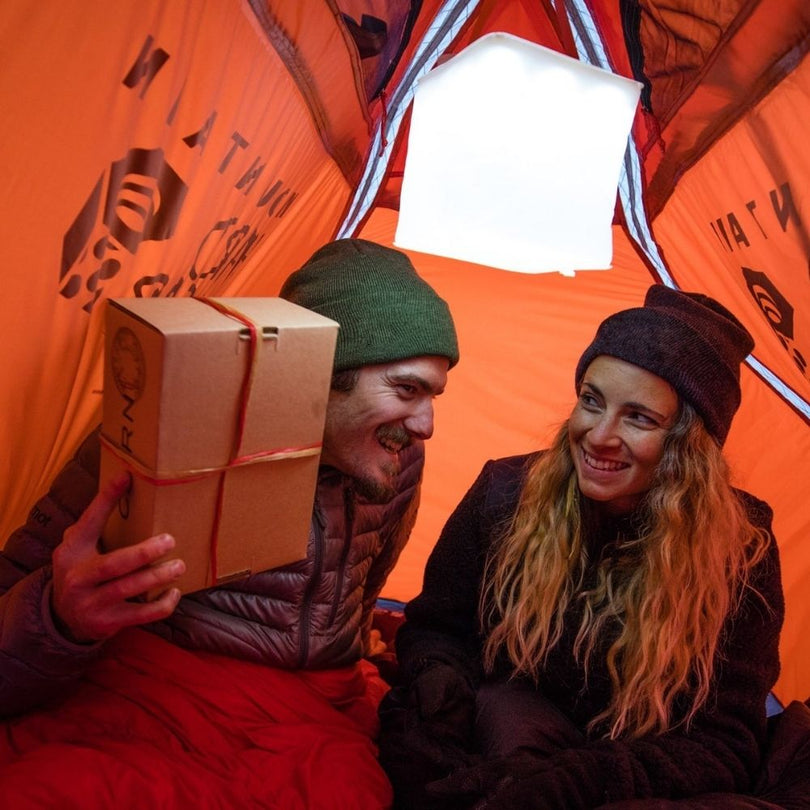

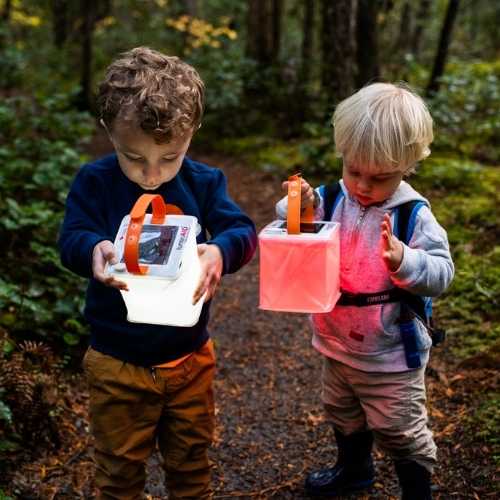

You arrive after sunset, tired, carrying bedding in one hand and a cooler in the other. The campsite looked charming in daylight, but now the tent entrance is hard to find, the cooking area is too dark, and every trip to the bathroom means searching for shoes and a flashlight. A beautiful campsite can become inconvenient quickly when the layout doesn't work after dark.
The strongest glamping setup ideas begin with practical decisions. A comfortable sleep system, weather-aware materials, clear activity zones, and layered lighting matter more than decorative extras. Essential light should come first, followed by lighting for cooking, dining, pathways, and relaxation. Decorative details can wait until guests can move safely and find what they need.
This guide turns eight accommodation styles into 20 recreatable setups. Each style adapts sleeping, dining, comfort, décor, and off-grid power to a different space. The framework stays consistent: place essential light first, define sleeping and activity zones, pack for changing conditions, and add atmosphere only after safety and comfort are covered.
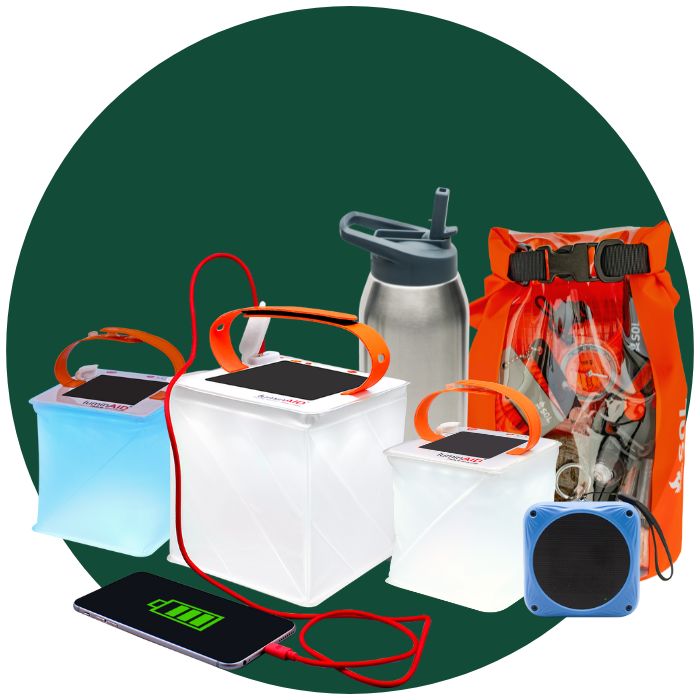
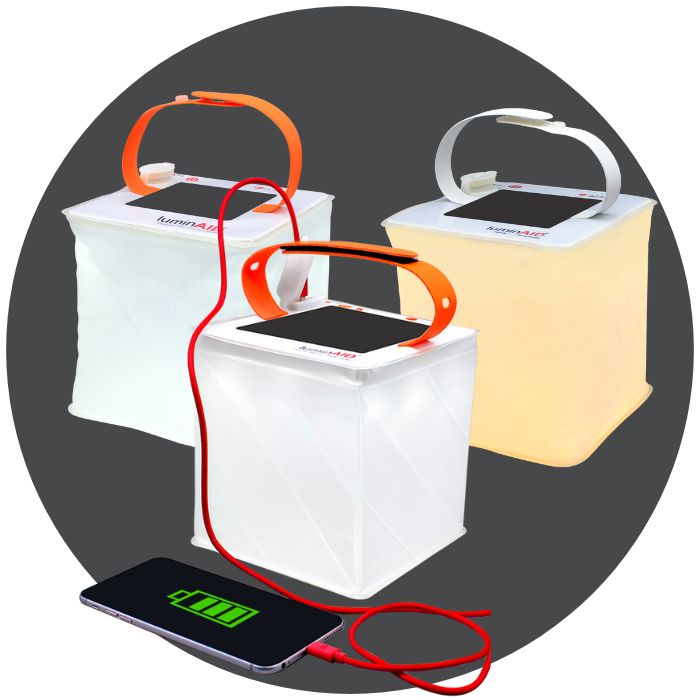
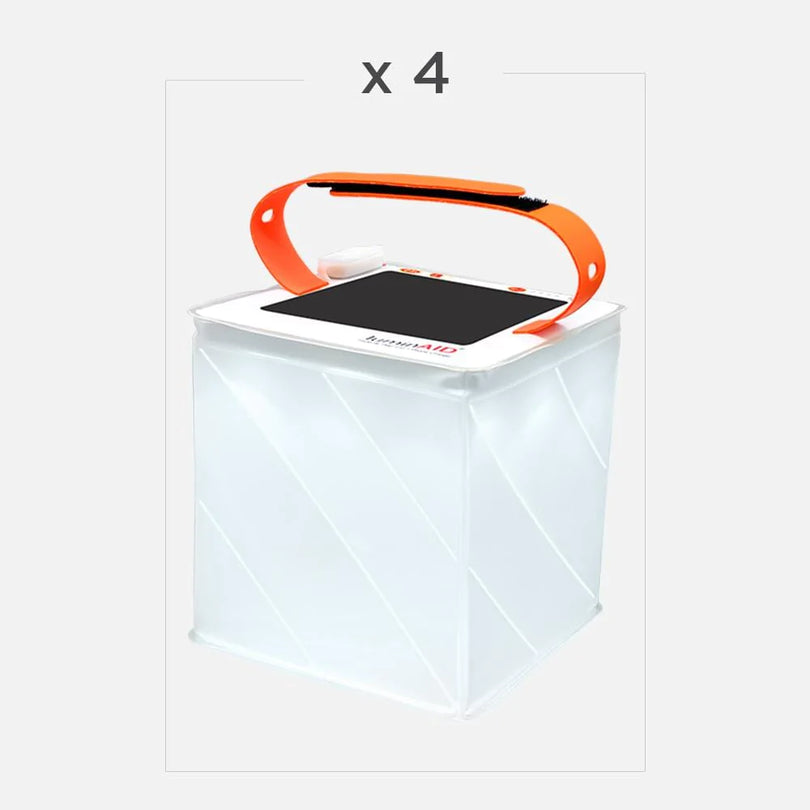
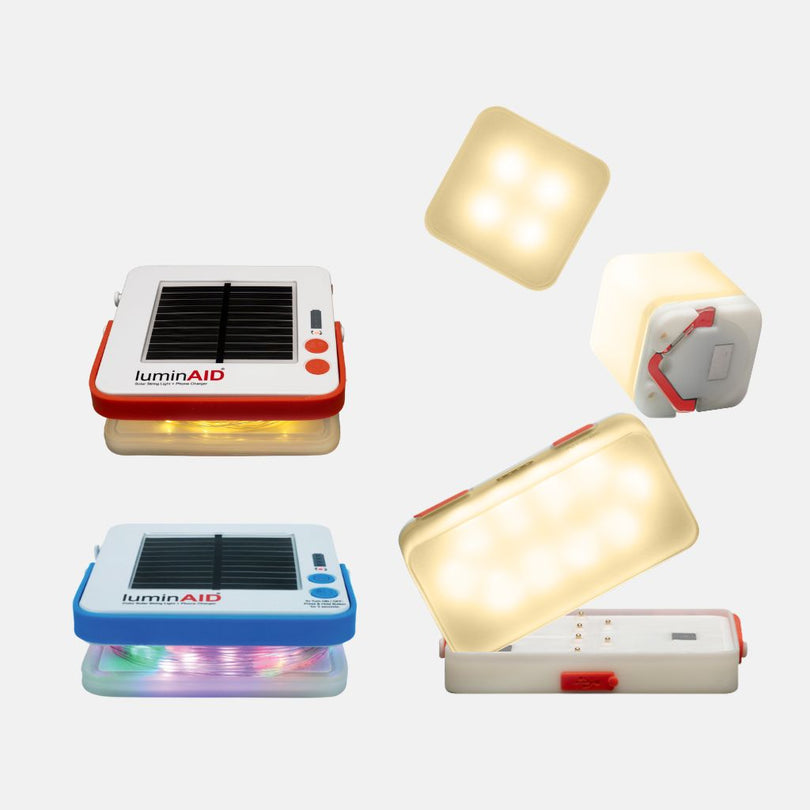
Portable options such as LuminAID Power Lanterns and Solar String Lights can support an off-grid arrangement without disposable batteries or an outlet. Solar charging won't perform equally well in every weather condition, so a practical kit also includes backup power and a low-battery plan. Anyone adding a fire feature should also review local requirements and how to install a fire pit before building the layout around it.
Table of Contents
- 1. Solar-Powered Bell Tent Setup
- 2. Airstream and Vintage Trailer Glamping
- 3. Canvas Cabin and A-Frame Glamping
- 4. Glamorous Desert Yurt Setup
- 5. Treehouse and Elevated Platform Glamping
- 6. Luxury Tent Glamping with Integrated Solar Infrastructure
- 7. Geodesic Dome and Bubble Tent Glamping
- 8. Off-Grid Wellness and Retreat Center Glamping
- 8-Option Glamping Setup Comparison
- Choose the Setup That Fits Your Stay
1. Solar-Powered Bell Tent Setup
A bell tent creates an inviting base for a romantic campsite, but its central pole and sloping walls make placement important. Set the bed or cots toward the rear curve, leave a clear path from the entrance, and keep bags beneath the sleeping platform or against the perimeter. A low table near the door can hold shoes, lanterns, and phones without turning the sleeping area into a storage zone.
Position the tent where it receives useful morning and afternoon sun for charging, while still considering shade, wind, drainage, and privacy. A clean panel charges more effectively than one covered with dust, leaves, or debris. Cloudy weather can reduce charging, so a backup power bank or second charging method is sensible for phones and emergency use.
Build the evening light in layers
Use one adjustable portable lantern as the working light. It should illuminate the tent entrance, bedding, and gear without forcing guests to rely on decorative lighting. Lower brightness preserves stored power during a multi-day stay, while a brighter setting helps with setup, packing, or finding a misplaced item.
String lights belong around the perimeter or along the guy lines, not across a walkway where they can snag clothing. Warm light around the entrance makes the tent feel finished, while a darker interior supports rest. A guide to solar-powered camping gear can help organize portable lighting and charging around the shelter.
Practical rule: Decorative lighting should guide movement and define the tent, not replace the light needed to handle food, footwear, or an emergency.
For dining, place a folding table outside beneath a separate shade structure if possible. Keep cooking equipment outside the sleeping shelter, and use battery-powered light inside rather than candles or flame-based lanterns. A washable mat at the entrance, two sturdy chairs, bedding, a lantern, string lights, charging cables, and a backup light form a useful bell tent pack list. Resorts in Sedona, festival grounds, and safari-style camps often use the same visual language, but a private campsite needs the same attention to access and weather.
2. Airstream and Vintage Trailer Glamping
An Airstream or vintage trailer already supplies a firm sleeping surface, interior storage, and protection from weather. The challenge is avoiding visual clutter in a compact shell. Keep the bed or dinette clear, assign one cabinet or basket to lighting equipment, and place a charging station where cables won't cross the floor.
A trailer can support a cozy interior with efficient LED fixtures, but outdoor living still needs its own system. Hang exterior string lights around the awning or seating area, then place a portable lantern on the dining table for food preparation and cleanup. The lantern should be easy to carry back inside if rain or wind arrives.
Make mobility part of the design
Roof-mounted solar infrastructure can work well for a permanent or frequently used trailer, but it needs secure installation and professional attention. A mobile vintage trailer also benefits from collapsible lanterns that store flat, portable phone charging, and a simple battery monitor. Orienting the trailer toward useful sun exposure can help charging, but the ideal position may conflict with shade, access, or the view.
A trailer in Montauk, Desert Hot Springs, or a pop-up event may prioritize a different feature. A hot climate requires shade and airflow. A festival setup needs clear exterior paths and gear storage. A private road-trip stop may prioritize fast setup over a fully installed system.
Use a guide to RV outdoor lighting ideas when deciding where exterior lights, entry lighting, and charging points should sit. The most effective arrangement separates three tasks:
- Interior comfort: Use efficient lights for reading and moving around.
- Exterior dining: Light the table and food area without flooding the whole site.
- Navigation: Mark the step, hitch, and route to the bathroom with low, visible light.
Avoid running multiple extension cords through the doorway. They create trip hazards and make the trailer harder to close securely. A practical pack list includes a collapsible lantern, string lights, spare charging cables, a power bank, clips that won't damage the awning, folding chairs, a compact table, and weatherproof storage for outdoor cushions.
3. Canvas Cabin and A-Frame Glamping
Canvas cabins and A-frames offer more weather protection than a lightweight tent, which changes how the interior can be furnished. A raised bed, small bedside surface, rug, and dedicated clothing area can make the space feel residential without blocking ventilation or emergency access. In an A-frame, low furniture usually works better than tall pieces because the roofline steals usable wall height.
Place the structure for useful solar exposure, but don't sacrifice drainage or wind protection to chase direct light. A nearby ground-mounted panel can be easier to clean and adjust than equipment fixed to the roof. Keep roof and panel surfaces clear, especially where pine needles, dust, or moisture collect.
Use daylight and ventilation as design tools
Skylights and transparent roof sections can reduce the need for daytime lighting, but they can also increase heat and glare. Light-filtering fabric gives guests control over privacy and temperature. Canvas needs airflow to limit moisture buildup, so furniture shouldn't press against walls or cover vents.
Inside, a dimmable lantern can shift from bright setup light to a softer reading level. Outside, string lights can define the route between the cabin, dining table, and bathroom. A battery monitor helps the operator understand how much energy lighting and charging consume, particularly when several guests share the same system.
The accommodation can function as a quiet farm stay, a mountain base, or a small eco-resort unit. Each use calls for a different outdoor zone. A farm setting benefits from a boot-cleaning area and a durable table. A mountain site needs a covered place for wet layers. A remote retreat needs clearly labeled charging and emergency equipment.
A reliable cabin setup includes raised bedding, a warm blanket, two chairs, a compact dining surface, a portable lantern, exterior pathway lights, a charging bank, ventilation access, and dry storage. The décor should withstand damp clothing and muddy footwear. Delicate textiles may look appealing in photographs but become a maintenance problem when guests need to live in the space.
4. Glamorous Desert Yurt Setup
A desert yurt can feel open and theatrical, yet its layout must handle intense sun, dust, temperature swings, and limited shade. Position the entrance to catch prevailing airflow where the site permits, then place an awning or shade sail outside. Keep bedding away from the hottest wall, use breathable fabrics, and leave a direct path between the sleeping area and entrance.
A roof-mounted central lantern spreads light across the circular room more evenly than a corner lamp. Choose adjustable brightness for unpacking, reading, and evening conversation. Low-glare string lights around the entrance mark the threshold without shining into the sleeping space.
Control heat before adding décor
Shade structures and reflective or breathable textiles usually improve comfort more than decorative additions. Sand-filled containers or other thermal-mass options can moderate temperature changes, but they add weight and need stable placement. Keep the center clear of the entrance, ventilation points, and sleeping route.
Dust is part of daily operation. Clean panels whenever wind leaves grit on their surface, and store lanterns in a closed container between uses. Solar charging may work well under clear skies, but clouds, dust, or changing weather can reduce available power. Pack a battery bank so phone charging does not compete with evening lighting.
For insects, choose an EPA-registered repellent, apply it to exposed skin and outer gear before dusk, and store it with the first-aid kit rather than inside the sleeping tent. Screened openings, long clothing, and fully closed doors still reduce the number of insects entering the yurt.
A practical pack list includes a shade canopy, breathable bedding, a central lantern, low-glare string lights, a dustproof storage bin, water for cleaning panels, a battery bank, eye shades, and a soft entrance mat. Keep cooking and fuel-burning equipment outside, with adequate ventilation and clear separation from the sleeping area. This arrangement protects air quality while leaving the interior available for rest, dining, and storage.
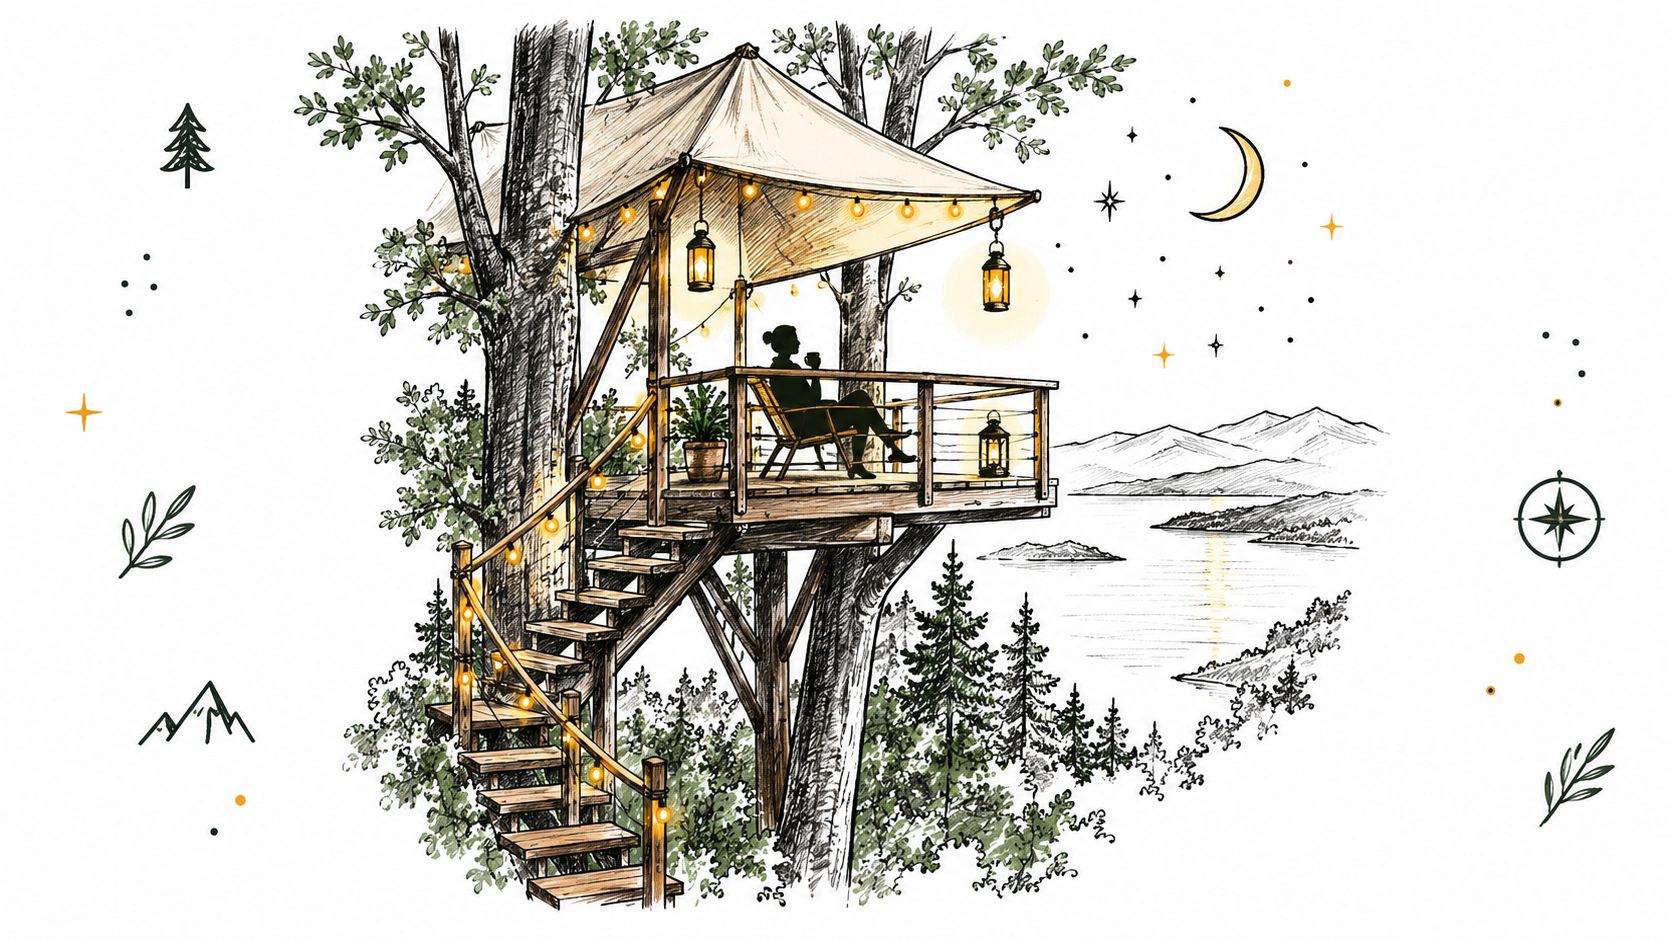
5. Treehouse and Elevated Platform Glamping
A raised platform changes every packing and layout decision. Carrying bulky furniture increases handling effort, while heavy items may create access or structural concerns. Start with a lightweight sleeping pad, compact bedding, folding chair, small table, and portable lantern. Add décor only after the sleeping, dining, and storage zones are working.
Keep solar panels on a ground-level support or an approved nearby platform, rather than fastening hardware to living trees. Choose a position with useful sun exposure, then account for canopy shade, seasonal changes, and forest moisture. Charging can be less predictable in woodland settings, so use weather-resistant equipment and pack a battery bank for phones and backup lighting.
Light the route, not just the room
Place one lantern inside for reading and close work. Use low pathway lights to mark steps, railings, and the route to the bathroom. Motion-sensitive lights can reduce battery use, provided their brightness and detection range do not disturb sleeping guests or nearby wildlife.
Before each arrival, inspect cords, fixtures, steps, railings, and the platform. Keep cables away from walking routes, secure lanterns against movement, and confirm that the access route is dry and clear. Keep a stocked first-aid kit, a headlamp, and a written emergency-contact card in a dry box at the base of the access ladder. Check the contents against a checklist before every booking.
A wet Pacific Northwest site needs covered storage and slip-resistant access. A tropical platform needs airflow, insect screening, and protection from humidity. A lake-view treehouse benefits from low-glare lighting that leaves the view as the main feature. The same accommodation style therefore requires different equipment choices by site.
Keep décor light and secured with clips. Fabric bunting and small cushions suit the setting better than glass, loose ceramics, or hanging pieces that can swing in wind. Place one working lantern beside the bed and another at the door, so guests can move safely without crossing the room in darkness.
6. Luxury Tent Glamping with Integrated Solar Infrastructure
An integrated luxury tent needs more than attractive fixtures. It needs a power plan that accounts for lighting, phone charging, refrigeration, communications, and any future equipment. Professional solar installers familiar with hospitality or remote infrastructure can evaluate panel placement, battery storage, cable protection, and maintenance access.
A site analysis should consider shade, dust, salt air, storms, guest movement, and the distance between panels, batteries, and accommodation units. Battery capacity should reflect cloudy periods rather than a perfect sunny day. A backup generator may still be appropriate in a cloud-prone region, but it belongs outside enclosed sleeping areas and must be operated safely.
Design for monitoring and expansion
Smart lighting can switch off unoccupied areas and provide warmer, lower light during quiet hours. Monitoring equipment lets an operator see production and consumption before a guest notices a problem. Systems should also leave room for later additions such as water heating or cooling, without forcing a full redesign.
The interior can use recessed or protected fixtures, bedside USB charging, and a separate brighter light near the entry. Outside, a covered dining area should have table lighting, pathway markers, and a dark zone for looking at the sky. A luxury safari camp in Kenya or Tanzania may need a different balance than a wine-country retreat, but both benefit from clear guest-facing instructions.
A detailed off-grid solar power guide can support early planning for portable and fixed lighting concepts. For a recreation-focused installation, LuminAID Power Lanterns can also serve as movable backup lights, even when the tent has built-in fixtures.
Design principle: Guests accept an off-grid system more readily when the site explains what is powered, where charging happens, and what to do if weather reduces available energy.
The pack list for this style shifts toward infrastructure: installed panels, protected batteries, monitoring, efficient lighting, backup charging, weatherproof cable management, and a clearly marked emergency light. A decorative upgrade only earns its space if housekeeping can clean around it and guests can use it without confusion.
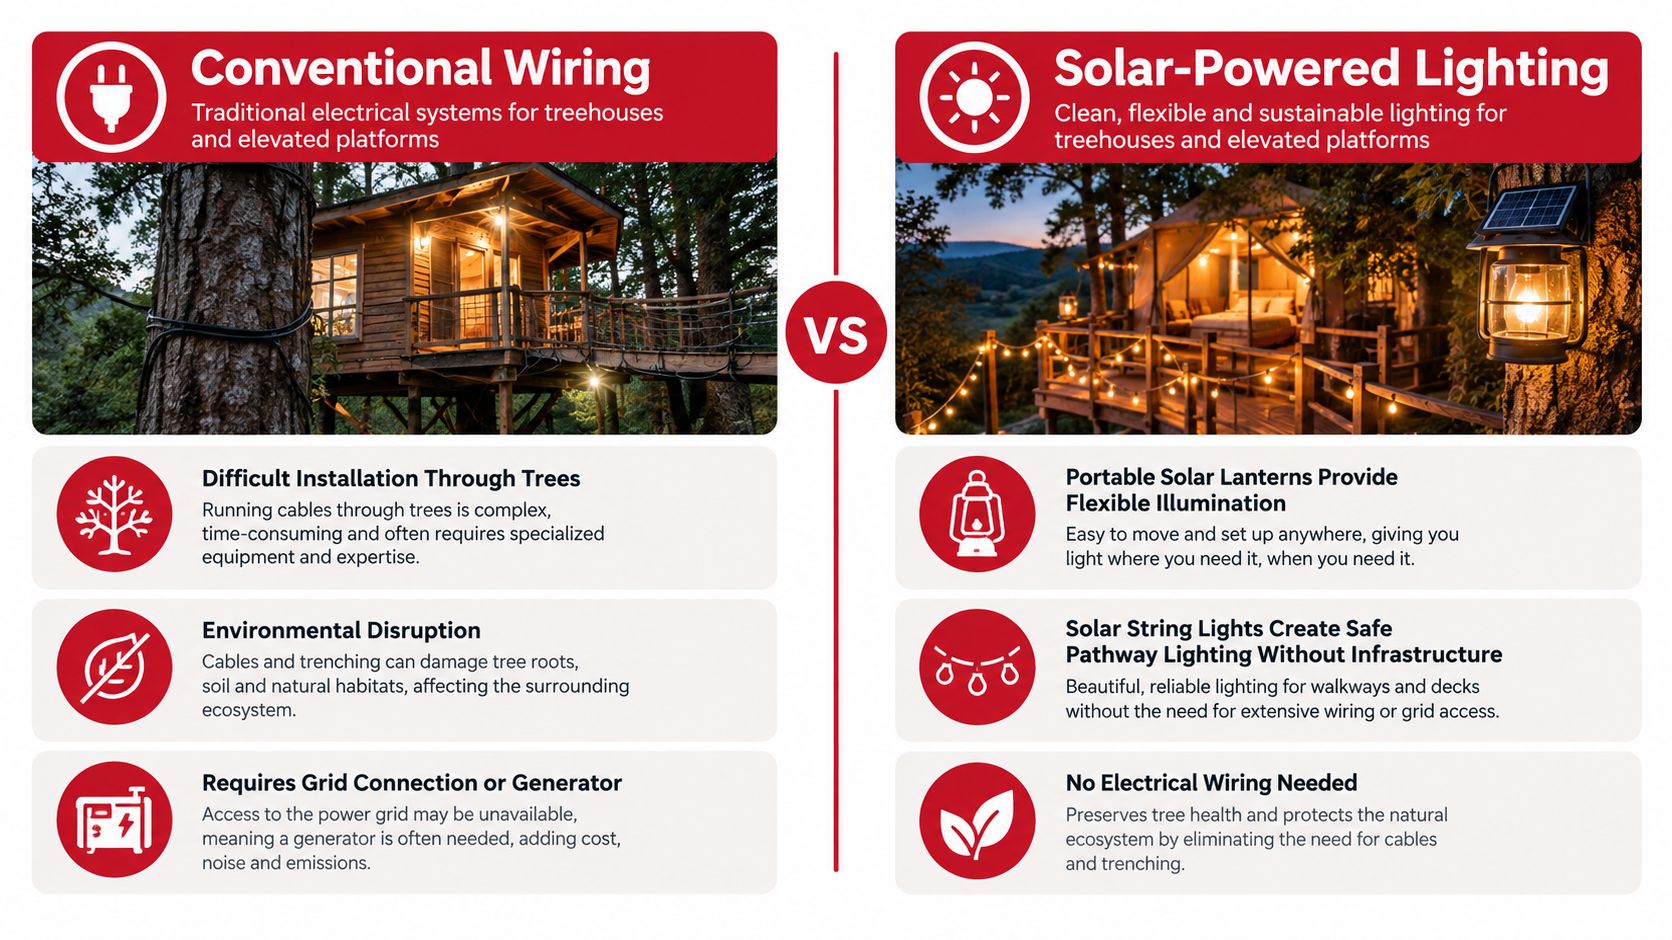
A visual explanation can help guests understand why the site uses independent lighting and charging systems.
7. Geodesic Dome and Bubble Tent Glamping
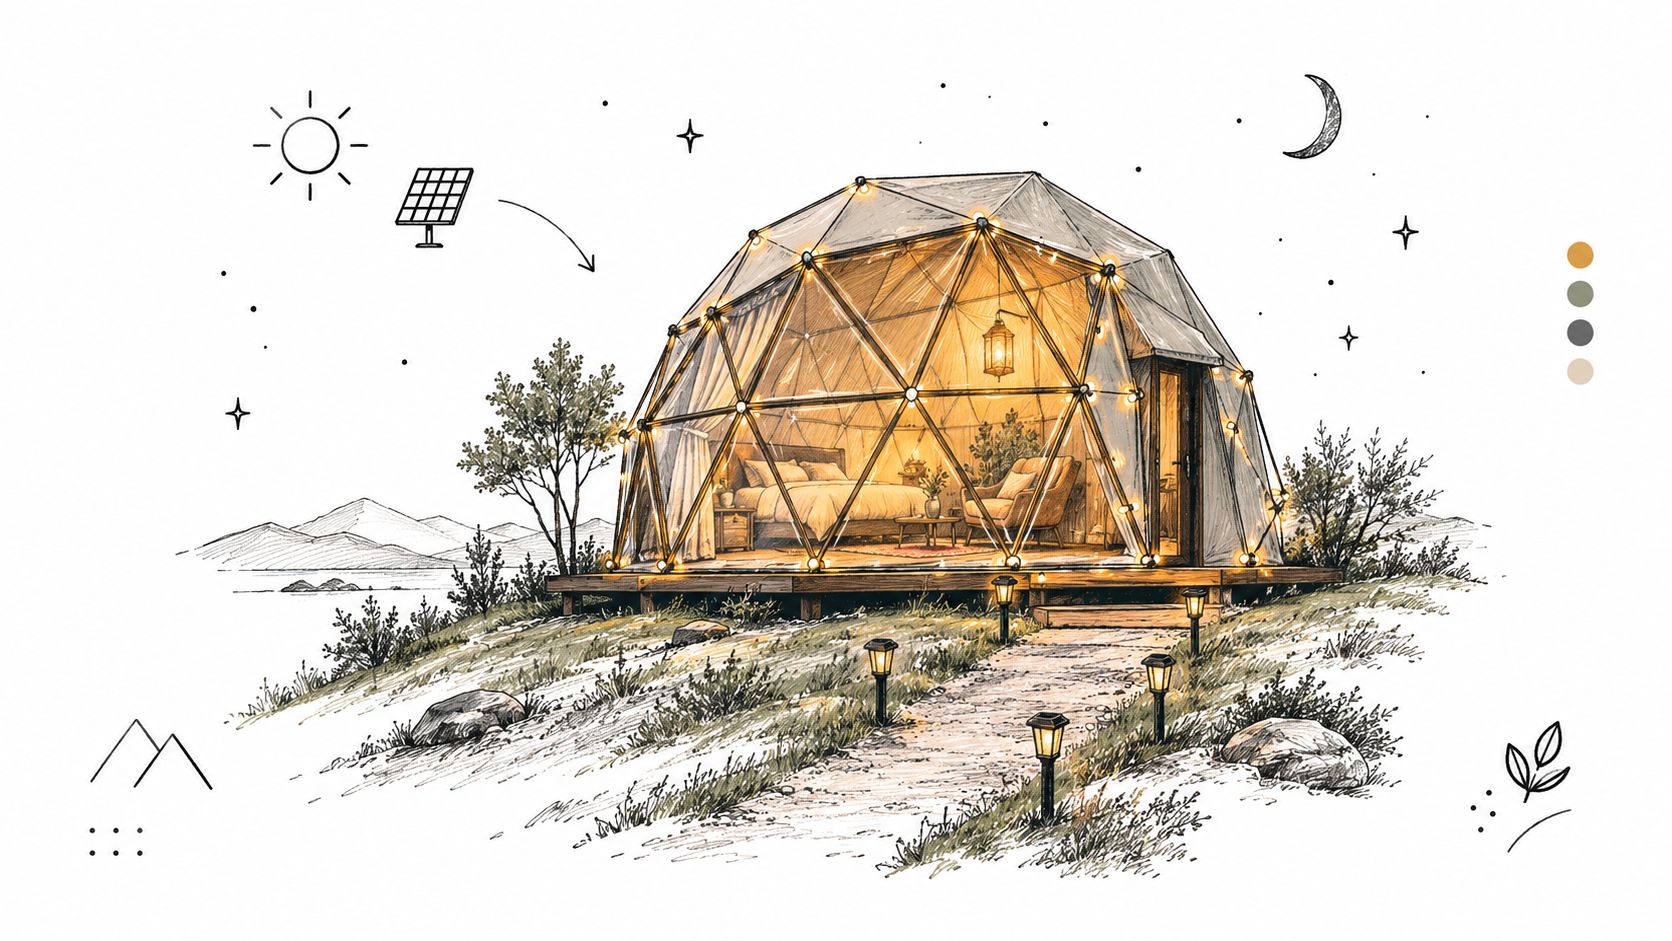
A dome or bubble tent sells the view, so the layout should protect it. Place the bed where guests can see the sky without stepping over bags, and keep the center open for movement. Low tables, floor cushions, and compact seating preserve the architecture better than tall furniture that interrupts the panorama.
Terrain that offers a good view can improve sightlines and reduce nearby artificial light, but the site still needs stable access, drainage, and protection from strong wind. Solar panels placed on an adjacent ground structure preserve the transparent appearance. They also make cleaning, adjustment, and maintenance easier than panels attached directly to the viewing surface.
Prevent glare from taking over
Warm-toned lanterns and carefully positioned string lights can highlight the frame without washing out stars. Keep lights below eye level when possible, aim them toward surfaces rather than outward, and offer window treatments for guests who want darkness or privacy. A transparent structure can become hot during the day, so interior fabric, shade, and ventilation need to be planned before the first decorative purchase.
Cleaning is part of the guest experience. Dust, condensation, fingerprints, and rain spots can quickly reduce the quality of the view. Operators need a regular cleaning routine and a safe method for reaching all transparent surfaces.
Bubble accommodation in Iceland, Scandinavia, British Columbia, Alberta, and national park gateway communities may attract guests who care more about astronomy than bright ambience. That makes low-glare lighting a service feature, not merely an aesthetic choice. A compact lantern by the bed, a dim light at the entry, and discreet pathway markers are usually enough.
The dome pack list should include a low bed, small side tables, blackout or privacy fabric, warm adjustable lanterns, frame-mounted or adjacent string lights, a ground-level charging setup, cleaning supplies, and thermal comfort layers. Avoid candles and open flames inside the structure. The view is the centerpiece, and the lighting should support it rather than compete with it.
8. Off-Grid Wellness and Retreat Center Glamping
A wellness retreat operates on a different lighting rhythm than a festival campsite. Guests may travel between sleeping units, yoga decks, dining areas, and treatment rooms, so the layout needs soft light where people pause and clearer guidance along walking routes. Use dimmable, warm-toned fixtures for meditation and yoga, then keep brighter task lights available for staff, food service, cleaning, and repairs.
Build the power plan around full occupancy and priority loads. Lighting, refrigeration, communications, water systems, and emergency equipment come before decorative fixtures. A battery monitor lets staff see remaining capacity, while a simple power-management plan helps reduce optional use during cloudy weather. Keep guests informed rather than promising constant connectivity or unlimited charging.
Make the off-grid system part of the welcome
Explain the charging points, lower-light periods, and power limits during arrival. Guests can accept reduced consumption when the rules are clear and the site follows them consistently. Use a printed card in each unit, plus a short reception briefing for changes caused by weather or maintenance.
Design shared spaces to work with daylight through window placement, pale surfaces, and daytime activity schedules. Link sleeping areas with low, shielded path lights that guide feet without shining into tents or cabins. Put emergency lights on a separate circuit, mark their locations, and test them on a fixed schedule.
Site conditions determine the maintenance plan. Coastal retreats need protection from moisture and salt, while mountain centers may require backup capacity for storms and difficult access. Post a laminated emergency card at reception with the nearest urgent-care location, the on-site responder, and the radio channel. Restock the first-aid station on a fixed schedule, and keep insect protection suited to the site's exposure and guest activities.
A practical retreat pack list includes adjustable lanterns, shielded path lights, spare charging cables, guest instructions, blackout options, weatherproof storage, first-aid supplies, and a written power-use procedure. Pack small red-light torches for staff checks if guests are sleeping nearby. Separate speakers, heaters, and other optional loads from the essential circuit, so one comfort feature cannot reduce lighting, refrigeration, communications, or water service.
Reserve one charging shelf near reception for staff equipment and another, clearly labeled, for guests. Store batteries and cables in ventilated, weather-protected containers. This arrangement keeps sleeping areas uncluttered and makes faults easier to identify during a busy arrival period.
8-Option Glamping Setup Comparison
| Accommodation | Implementation complexity | Resource requirements | Expected outcomes | Ideal use cases | Key advantages |
|---|---|---|---|---|---|
| Solar-Powered Bell Tent Setup | Moderate, tent assembly + portable solar gear | Canvas bell tent, portable panels/lanterns, batteries, USB ports | Ambient off-grid lighting, limited device charging | Romantic glamping, festivals, short sunny stays | Elegant aesthetic, low noise, eco-friendly lighting |
| Airstream and Vintage Trailer Glamping | Moderate, roof mounts and 12V integration | Trailer roof panels, compact batteries, collapsible lanterns | Mobile off-grid lighting, reduced generator use | Road-trip rentals, mobile resorts, festivals | Mobility, iconic design, efficient in small spaces |
| Canvas Cabin and A-Frame Glamping | Medium–High, structure setup + battery systems | Canvas/A-frame materials, panels, battery storage, wiring | Reliable multi-day lighting, comfortable interiors | Family glampsites, remote eco-resorts, seasonal rentals | Better weather protection, spacious, amenity support |
| Glamorous Desert Yurt Setup | Moderate, yurt erection + central lighting system | Yurt frame/canvas, central lantern, panels, dust maintenance | Efficient central illumination, strong daytime light | Desert resorts, experiential stays, boutique events | Distinctive look, good wind resistance, central lighting |
| Treehouse and Elevated Platform Glamping | High, engineered build + elevated solar placement | Structural materials, safety railings, lightweight solar gear | Immersive canopy stays, safe off-grid lighting | Forest resorts, luxury eco experiences, canopy retreats | Panoramic views, reduced ground pests, premium appeal |
| Luxury Tent Glamping with Integrated Solar Infrastructure | Very high, permanent solar install and wiring | Fixed panels, large battery banks, hardwired LEDs, pro services | Hotel-level reliability, supports HVAC and appliances | High-end resorts, safari camps, long-term luxury stays | Seamless guest experience, scalable and reliable power |
| Geodesic Dome and Bubble Tent Glamping | High, specialized assembly and panel siting | Dome/bubble materials, adjacent panels, lanterns, cleaning | Dramatic night visuals, panoramic views, marketing boost | Aurora viewing, design-led resorts, premium events | Striking visuals, panoramic sightlines, strong branding |
| Off-Grid Wellness and Retreat Center Glamping | Very high, multi-structure solar & facility integration | Extensive panels, large batteries, power management, trained staff | Consistent multi-space power, wellness-oriented ambiance | Wellness retreats, multi-facility eco-resorts, year-round ops | Full off-grid autonomy, supports wellness amenities, strong sustainability |
Choose the Setup That Fits Your Stay
The right structure depends on what guests value most. A bell tent or yurt delivers atmosphere through canvas, circular space, warm light, and a close connection to the surroundings. A trailer suits travelers who want mobility, built-in shelter, and a nostalgic interior. A canvas cabin or A-frame offers stronger weather protection and more usable indoor space, especially when guests need room for clothing, equipment, and wet-weather recovery.
A treehouse creates elevation and immersion, but it demands careful attention to access, weight, structure, and pathway lighting. A geodesic dome or bubble tent makes the view the main attraction, so low-glare illumination and temperature control matter more than elaborate décor. An integrated luxury tent is a better fit for dependable infrastructure, guest charging, monitoring, and future expansion. A wellness center suits visitors seeking a complete retreat with yoga, meditation, spa services, and managed off-grid systems rather than a simple overnight campsite.
Market data helps explain why comfort-led design has become central to glamping. One estimate places the global glamping market at USD 3.79 billion in 2025, with a projection of USD 7.87 billion by 2033 and a projected 9.5% CAGR from 2026 to 2033. The same source reports that cabins and pods represented more than 43% of revenue in 2025, while tents were projected to grow at a 10.6% CAGR from 2026 to 2033. These figures point toward a broad accommodation category, not one fixed tent aesthetic. (Grand View Research glamping market analysis)
Spending patterns reinforce the operational lesson. One market summary reported average glamping spending of USD 251 per day in 2024, compared with USD 200 per day for camping households overall. That USD 51 difference, or roughly 25.5% more, helps explain why guests notice lighting, power access, furnishings, and outdoor dining rather than treating them as optional decoration. (Market overview of glamping demand and spending)
A practical selection process keeps the investment controlled:
- Sketch the zones first: Mark sleeping, dining, cooking, charging, storage, bathroom access, and walking routes before placing furniture.
- Separate essential and decorative light: Start with a working lantern and path visibility, then add Solar String Lights after the layout proves itself.
- Check sun and weather: Look for useful charging exposure, shade, drainage, wind protection, dust, humidity, and cloudy-weather backup.
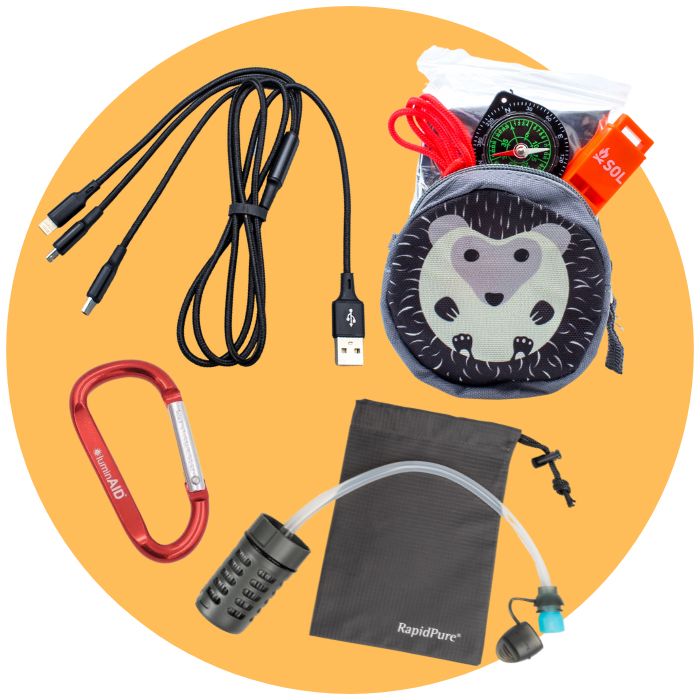
- Pack for failure points: Include a backup light, charging bank, spare cables, dry storage, warm layers, and a way to protect equipment from rain.
- Verify local rules: Check requirements for fire pits, generators, fuel appliances, semi-permanent structures, electrical work, and wastewater before installation.
- Clarify guest logistics: State whether electricity, Wi-Fi, cell service, bathroom access, housekeeping, bedding, and cooking equipment are included or need to be supplied.
Operational details often determine whether a setup feels premium. Travelers commonly want clear answers about electricity, Wi-Fi, cell service, bathrooms, housekeeping, and what to bring, while newer glamping formats also need to serve romantic stays, family trips, and remote work. (Questions to ask before a glamping trip) A polished bed won't compensate for an unmarked bathroom route or a missing charging plan.
Lighting deserves particular care because it supports both comfort and safety. Rechargeable lithium-ion lighting represented 57.2% of the outdoor camping light power-source segment in 2025, and the wider camping-lighting equipment market was projected to rise from USD 1.13 billion in 2026 to USD 1.72 billion by 2034. USB-C charging, solar-plus-battery systems, adjustable brightness, and adjustable color temperature all support different parts of a glamping evening, but weather and battery limits still need to be managed. (Outdoor LED camping light market analysis)
The safety layout should remain simple. Keep stoves, heaters, charcoal grills, lanterns that burn fuel, and generators outside sleeping areas unless an appliance is permanently fitted and specifically designed for that enclosed space. Michigan guidance recommends placing portable generators at least 20 feet from people and enclosed or partially enclosed spaces such as tents, canopies, and vehicles. (Camping safety guidance from the Camping and Caravanning Club)
Allow at least six metres between tents and caravans where the local setup follows Cheshire Fire & Rescue Service guidance. Never use candles in or near a tent, keep ventilation openings clear, and don't leave a campfire unattended or burning while people sleep. (Outdoor camping safety guidance from Cheshire Fire & Rescue Service) For insect control, use EPA-registered repellents exactly as directed. The EPA states that DEET is approved for children with no age restriction, and the CDC describes EPA-registered repellents as safe when used as directed, including for pregnant and breastfeeding women. (EPA information about DEET, CDC mosquito and arthropod guidance)
The safest sequence is also the most economical. Start with one reliable portable light, then test the sleeping arrangement, walking routes, dining surface, and charging location. Add rugs, cushions, décor, and extra string lights only after the essential system works in darkness and changing weather. For a private event or hosted stay, a tent rental option may be more practical than buying a structure that will see limited use.
A LuminAID Power Lantern can provide movable light and phone charging, while Solar String Lights can define an entry, dining area, or campsite perimeter. The best glamping setup isn't the most decorated one. It's the arrangement that lets guests sleep comfortably, find their way, prepare food, stay connected when needed, and enjoy the outdoors without treating basic logistics as an afterthought.
LuminAID offers portable solar lanterns, 2-in-1 phone chargers, and Solar String Lights for camping, emergency kits, RVs, backyards, and glamping layouts. Visit LuminAID to choose packable off-grid lighting for the essential zones first, then add warm outdoor ambience once the setup works after sunset.