


You pull into a full campground near dusk, already thinking about dinner, only to find a sloped parking pad, a tent site partly occupied by the fire ring, and a lantern buried beneath the cooler. The temperature is dropping, daylight is fading, and every item in the vehicle seems to be blocking the one item needed next.
That scramble isn't caused by owning too little gear. It usually comes from treating a car camping setup as a pile instead of a system. With defined storage zones, reachable safety equipment, and a setup order that matches the way a campsite works, a compact SUV or hatchback can support a comfortable weekend without turning a tight site into a warehouse.
Table of Contents
- Why Your Car Camping Setup Matters Before You Hit the Road
- Preparing Your Vehicle and Loading the Gear
- The Core Car Camping Gear Checklist
- Lighting and Portable Power for Car Camping
- The On-Site Setup Sequence From Arrival to Lights-Out
- Safety, Ventilation, and Leave-No-Trace Essentials
- Troubleshooting and Making Your Setup Emergency-Ready
Why Your Car Camping Setup Matters Before You Hit the Road
A deliberate car camping setup determines whether the first half-hour feels controlled or chaotic. After parking, check the site, pull out the shelter bin, and handle the items that protect the evening from weather and darkness. Inspect the ground, pitch shelter, build the kitchen, place lighting, then add comfort items. Set shelter before dark or rain arrives, keep the cooler and water low, and store sleeping bags and clothing on top for quick access. (Know Outdoor's car camping checklist)
That sequence matters at crowded campgrounds with reserved, tightly spaced sites. A small pad may leave little room for loose gear, while a hatchback can lose most of its cargo space to a sleeping platform. Use modular bins that each serve one function. The kitchen bin, shelter bin, and sleep kit can move from vehicle to campsite intact, so finding a stove lighter or headlamp does not require unloading everything.
The same layout should support an unexpected overnight stop, roadside delay, or power outage. Weekend comfort and emergency readiness can share the same gear, including stored water, first-aid supplies, spare lighting, charging cables, blankets, and basic vehicle tools. Battery-operated flashlights and lanterns provide useful illumination during outages without household electricity, according to Utah State University Extension's outage guidance.
Practical rule: Store any item that could help during a blackout, roadside delay, or unplanned overnight stay where it can be reached without emptying the car.
A compact setup works best when it protects access, not when it carries every possible comfort. In a smaller vehicle, leave a clear path to shelter, light, water, and safety supplies. That access still matters when rain, a crowded site, or an unplanned stop removes the convenience of perfect conditions.
Preparing Your Vehicle and Loading the Gear
Vehicle preparation starts the day before departure, not at the campground gate. A 24-hour check should cover tire pressure, oil level, washer fluid, the spare tire or inflator kit, and the cargo area. Vacuum out food scraps and wipe down spills, since forgotten snacks can attract wildlife during a trip.
Clear the vehicle completely before loading it. This exposes missing equipment, prevents random items from filling the spaces needed for sleeping, and makes it possible to assign every piece of gear to a known zone.
Build bins around functions
Use one large bin for the kitchen, one for shelter, and one for sleep. A soft bag works better for clothing because it can compress into irregular gaps. Keep a separate safety and lighting pouch in the cabin, within arm's reach of the driver or passenger.
A useful loading order runs from front to back and bottom to top:
- Heavy items first: Place camp chairs, tools, and firewood low on the floor behind the rear axle. Firewood should follow local rules and stay secured during travel.
- Sleep gear next: Keep the mattress, sleeping pad, sleeping bag, and pillow near the rear sleeping area so the bed can be made without moving the kitchen.
- Kitchen near the tailgate: The kitchen bin, cooler, water, and dish basin should come out together. Water and the cooler belong low, where they're stable and less likely to crush lighter equipment.
- Safety in the cabin: Put headlamps, a first-aid kit, a phone charger, reflective triangles, and a flashlight where passengers can reach them while seated.
For smaller vehicles, a roof cargo box can handle overflow such as chairs or bulky bedding, but it shouldn't hold items needed during a roadside stop. Backseat organizers are useful for glasses, keys, cables, maps, and wipes. Beside the sleeping platform, reserve a small “night table” spot for a phone, water bottle, headlamp, and glasses.
The car camping essentials checklist from Sonoma County Navigator can help identify omissions before the bins are closed. LuminAID's guide to van life essentials is also useful when a vehicle needs to serve as both sleeping space and mobile storage.
The Core Car Camping Gear Checklist
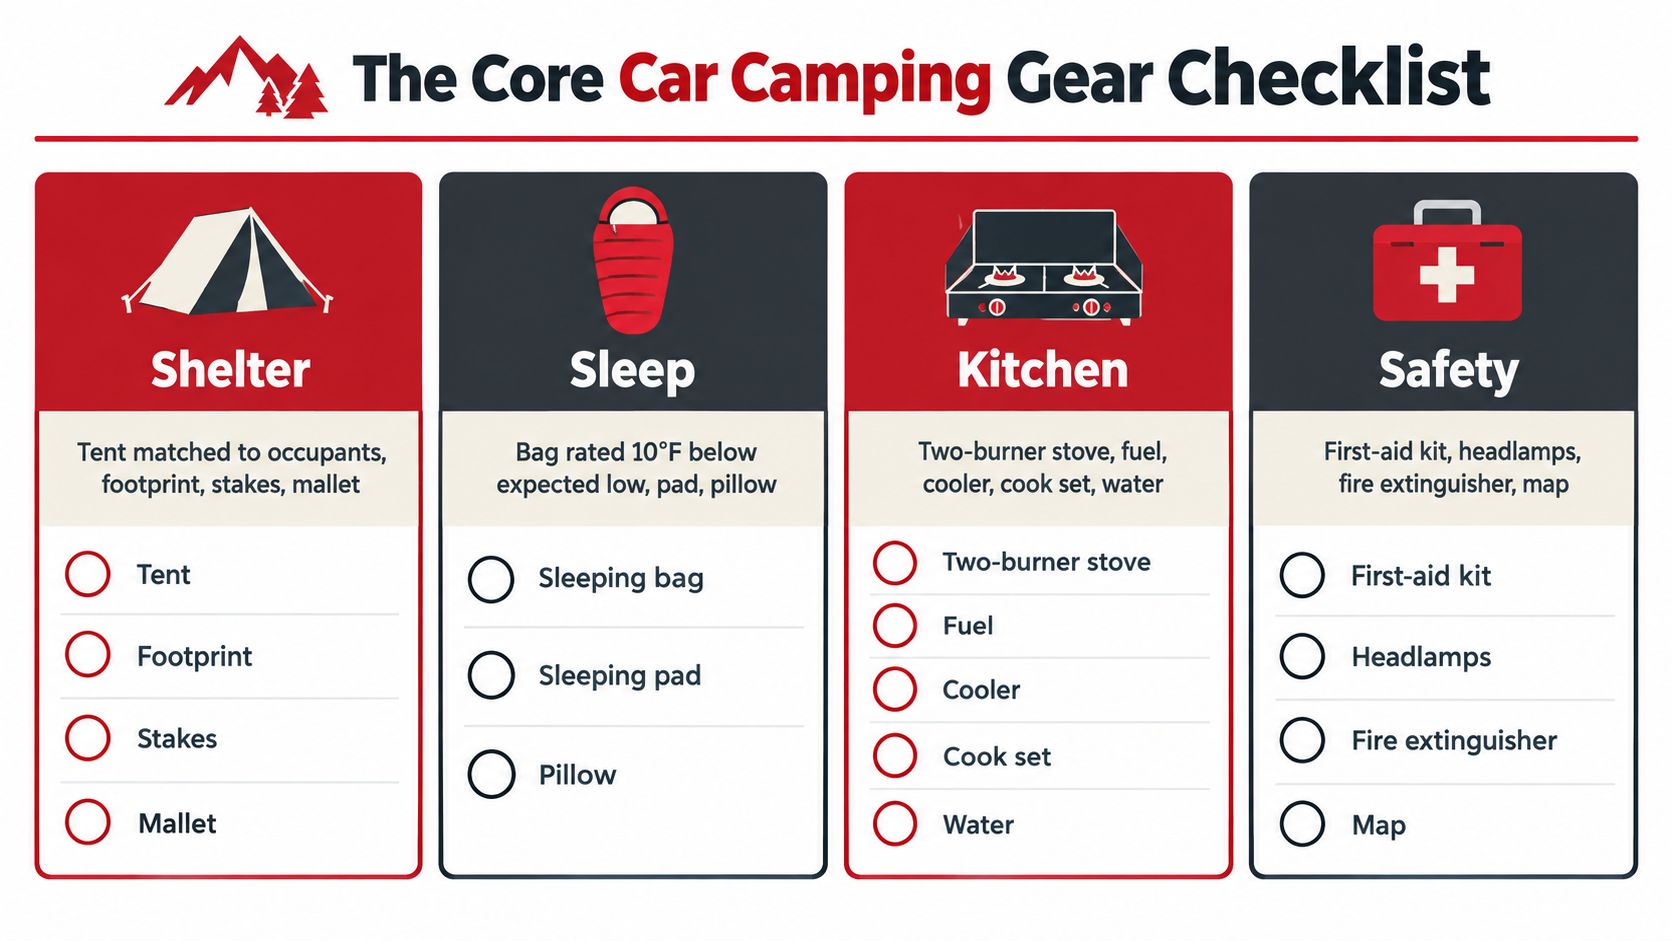
A reliable checklist follows campsite functions, not shopping categories. Each function should work independently, and critical items need a backup when failure would stop dinner, sleep, or safe navigation.
Shelter and sleep
Match the tent to the occupants and the vehicle, then pack the footprint, stakes, and mallet together. A tent that fits the number of sleepers but leaves no room for wet gear can feel cramped, while a much larger shelter consumes space and takes longer to pitch.
The sleep system deserves more attention than decorative comfort items. Use a sleeping bag rated 10°F below the expected low, a sleeping pad with an R-value of at least 3, and a pillow that won't slide off the sleeping surface. In a vehicle, a fitted sheet over the platform or mattress reduces condensation discomfort and makes the sleeping area feel less like cargo.
Kitchen and water
A two-burner propane stove works well for meals that need simultaneous cooking. A single Jetboil suits simpler trips centered on boiling water. Either choice should travel with its fuel, lighter, pot, pan, spatula, knife, cutting board, dish basin, biodegradable soap, and towel.
Pack two water jugs, plus a cooler with block ice. The exact amount depends on the people, weather, cooking plan, and campsite access, so the useful rule is quantity per person and per night rather than a universal container size. Keep food preparation and washing at a dedicated station, away from the sleeping zone.
Personal and safety equipment
Clothing layers, camp shoes, a towel, and a toilet kit cover the comfort basics. A trowel and toilet paper belong in a waterproof pouch where they can be found quickly, not at the bottom of the kitchen bin.
The safety zone should contain a first-aid kit, multi-tool, repair kit, paracord, duct tape, and bear spray where regulations and local wildlife require it. Headlamps are essential because they leave both hands free for tent repairs, cooking, and walking. Add a backup lighter and extra batteries even when the primary lighting is rechargeable.
A duplicate lighter takes almost no room. A missing lighter can turn a packed dinner into an expensive problem.
The car camping must-haves guide from Lounge Wagon offers another perspective for checking comfort and utility items. The key is resisting duplication. One good knife, one pot, and one dish basin usually outperform a large assortment of single-purpose kitchen pieces.
Lighting and Portable Power for Car Camping
Lighting works best in layers because cooking, moving around camp, and relaxing require different kinds of visibility. A headlamp puts light exactly where the hands are working. A lantern illuminates a table, tent, or vehicle interior. String lights add ambient glow and help define the route between the car, kitchen, and shelter.
| Type | Best For | Power Source | Strength |
|---|---|---|---|
| Headlamp | Cooking, repairs, bathroom walks | Rechargeable or disposable batteries | Hands-free task lighting |
| Lantern | Table, tent, and vehicle illumination | Rechargeable, solar, or disposable batteries | Broad, shared light |
| String lights | Camp atmosphere and orientation | Rechargeable battery or USB | Low-profile area marking |
Rechargeable gear reduces the need to carry disposable batteries and works well when the charging routine is reliable. Disposable-battery equipment still earns a place as a backup because a forgotten charge is a common failure, especially on a rushed departure. A balanced kit includes one main lantern, one compact backup, and at least one headlamp per person.
Portable lighting is a substantial camping category. Independent market research estimates the global camping lights and lanterns market at USD 1.4 billion in 2025, projected to reach USD 2.41 billion by 2034, with a 6.2% CAGR. A separate analysis estimates the camping lighting market at USD 1.45 billion in 2025, projected to reach USD 2.66 billion by 2034, with a 6.8% CAGR. (Portable LED camping light market research) The same research reports lanterns at 32.5% of the market in one analysis, LED lanterns at 38.5% in another, and rechargeable lithium-ion batteries at 66.3% of power-source share in a separate study. Those figures support a practical conclusion: rechargeable lanterns are becoming central to modern campsite lighting, but a backup remains sensible.
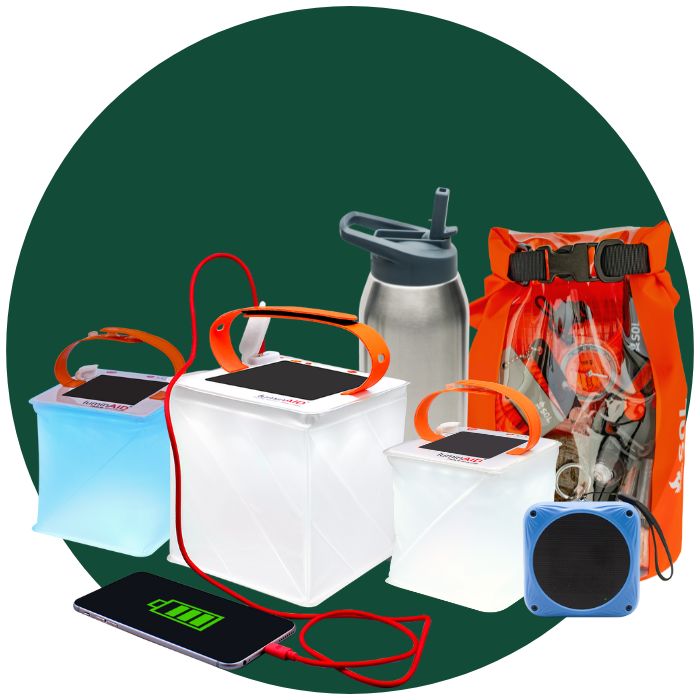
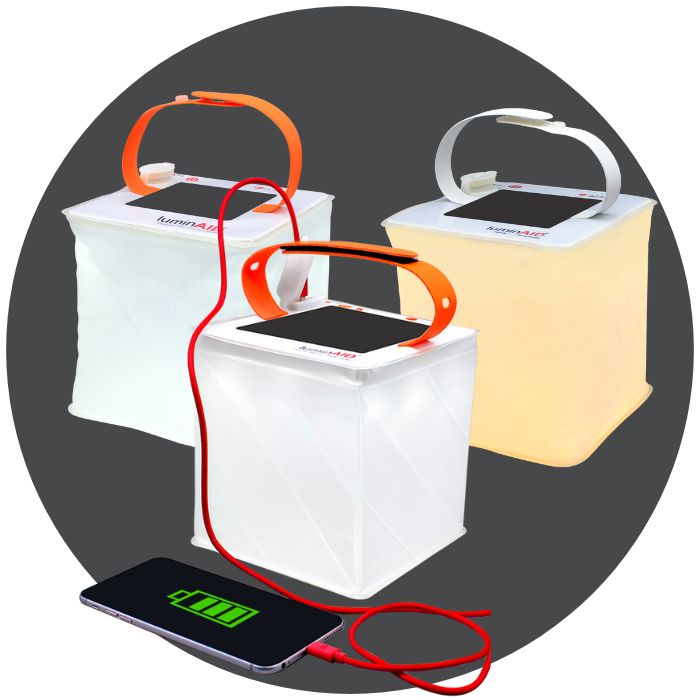
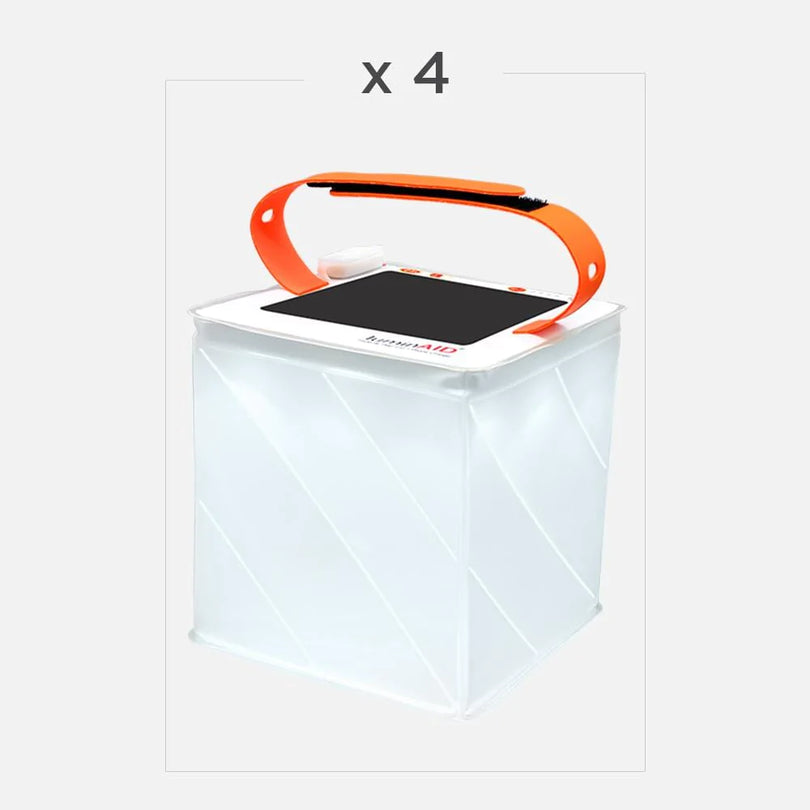
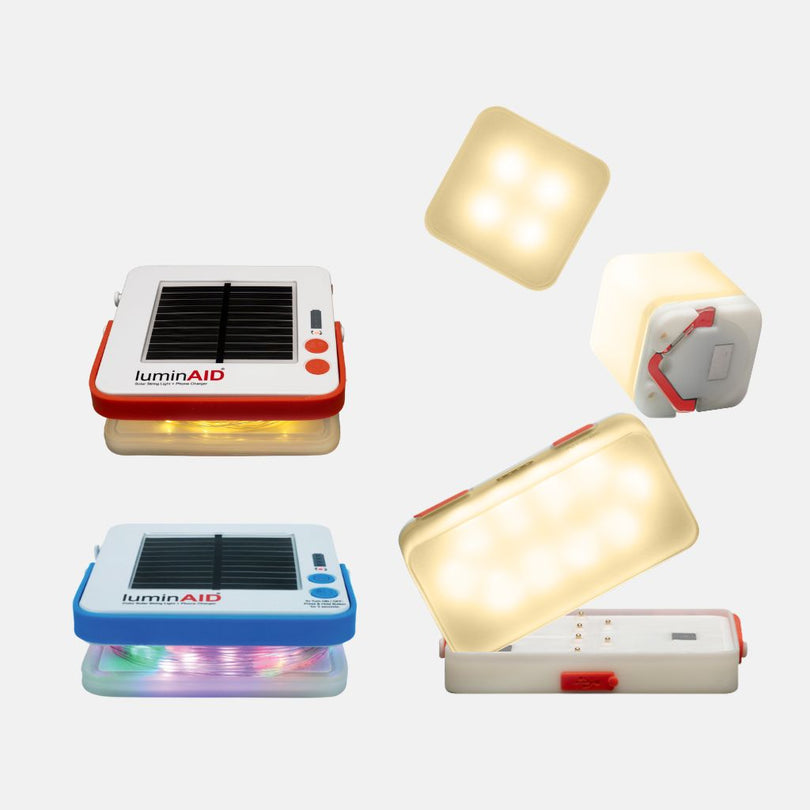
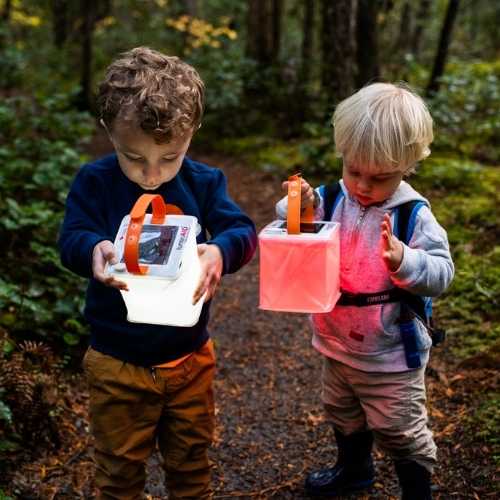
LuminAID fits the pack-flat solar-lighting role with inflatable, waterproof lanterns that can also provide USB phone charging. For a broader layout, the campsite setup ideas guide shows how lighting can support cooking, sleeping, and shared outdoor space without depending on an outlet.
A 300 to 500 Wh power station can cover phones, lights, and a small fan for two nights. Pair the station with a solar panel sized for its input, then prioritize charging phones and emergency lights before entertainment devices. Place the panel where afternoon sun reaches it, while keeping the station shaded and protected from rain.
The On-Site Setup Sequence From Arrival to Lights-Out
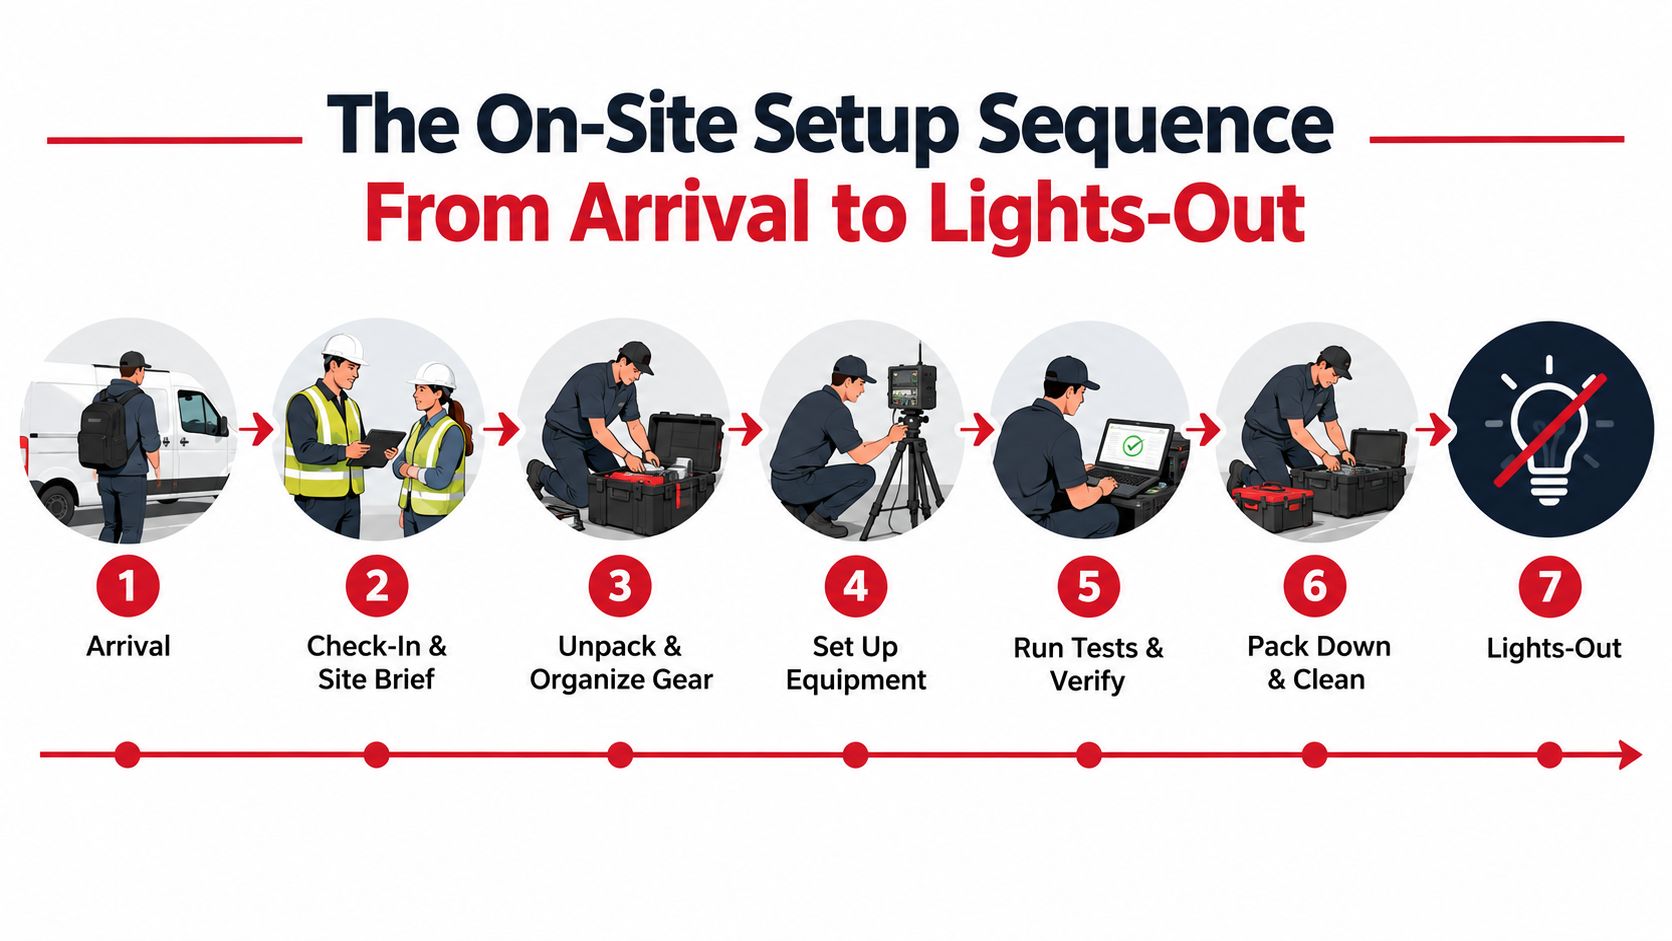
A late arrival exposes weak organization quickly. Before unloading, drive or walk the site and check for level ground, drainage, overhead hazards, soft shoulders, and a clear departure route. Arriving before dark gives you time to spot problems and adjust. Backing in can simplify the morning exit, but follow the site layout and local rules.
Open the hatch and inspect the ground beside the vehicle. Set the parking brake, use wheel chocks when appropriate, and keep enough clearance to leave without moving half the camp. In a small vehicle or a crowded reservation, a modular layout matters. Each bin should serve a job during the trip and remain useful if the vehicle becomes an emergency shelter.
A workable arrival order
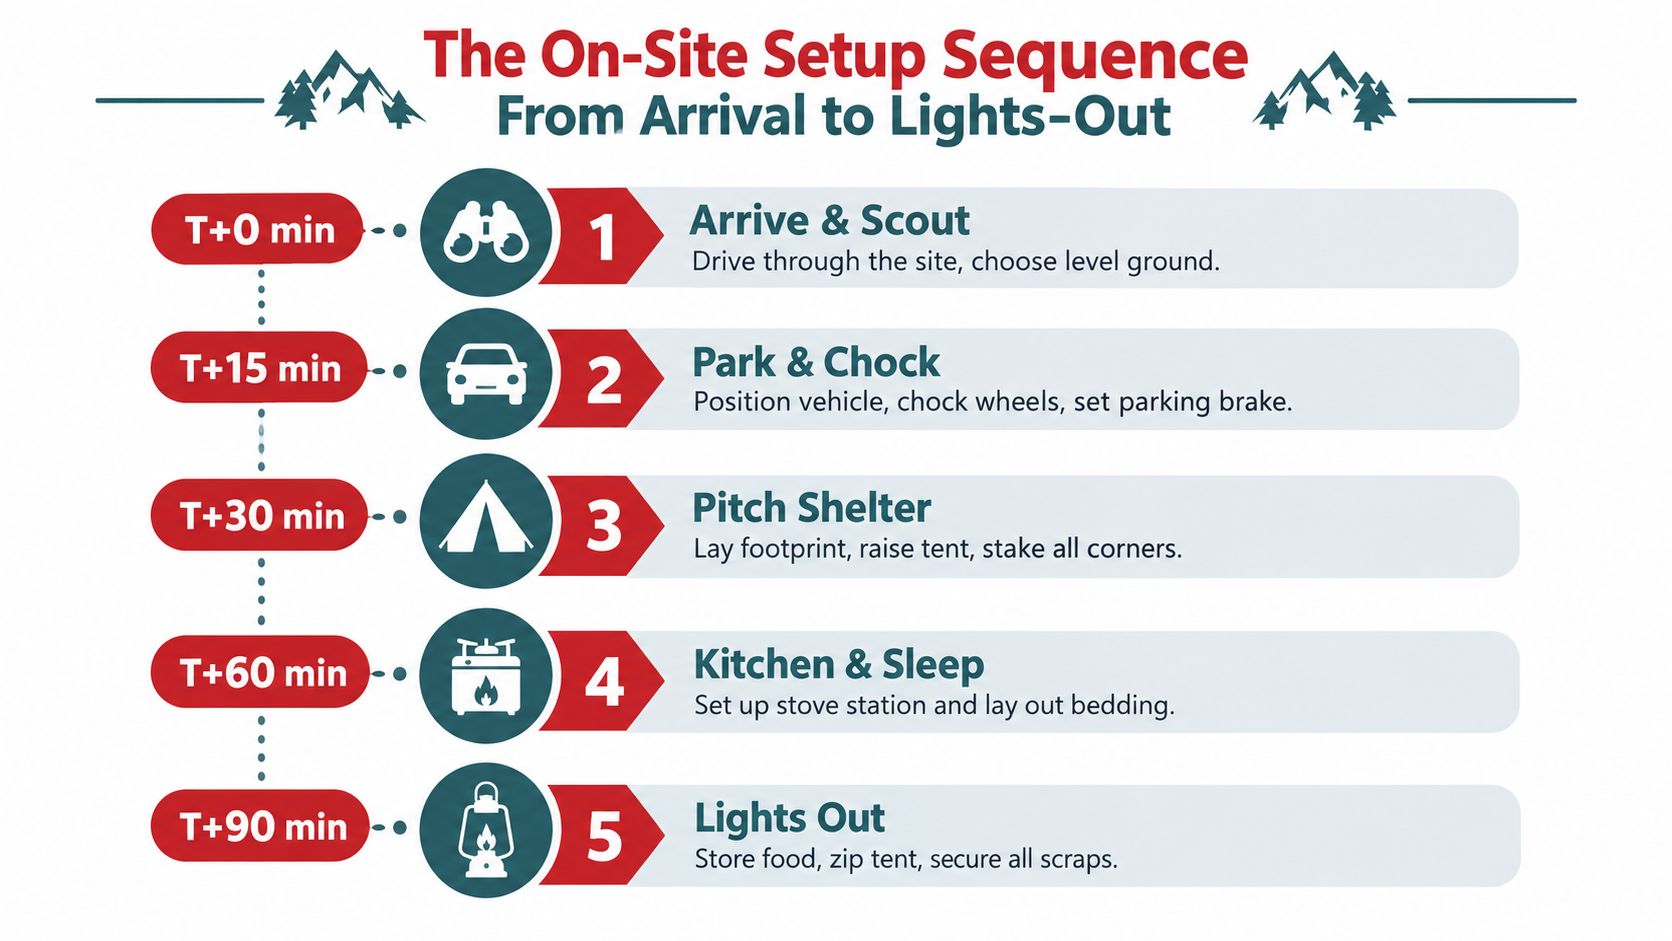
- Arrive and scout. Assign sleeping, kitchen, and lounge zones before carrying anything out.
- Park and secure. Set the brake, chock the wheels if needed, and keep the vehicle away from drainage paths.
- Stage the bins. Put the shelter bin at the tent area, the kitchen bin by the cooking zone, and the sleep bin beside the vehicle or platform.
- Pitch shelter first. Have the tent or rooftop shelter standing within 30 minutes of arrival. It protects bedding and clothing from changing weather and leaves daylight for detailed work.
- Build sleep and kitchen. Install the sleeping platform, then place the stove, water, cooler, and wash station. Keep only the items needed for the first meal outside.
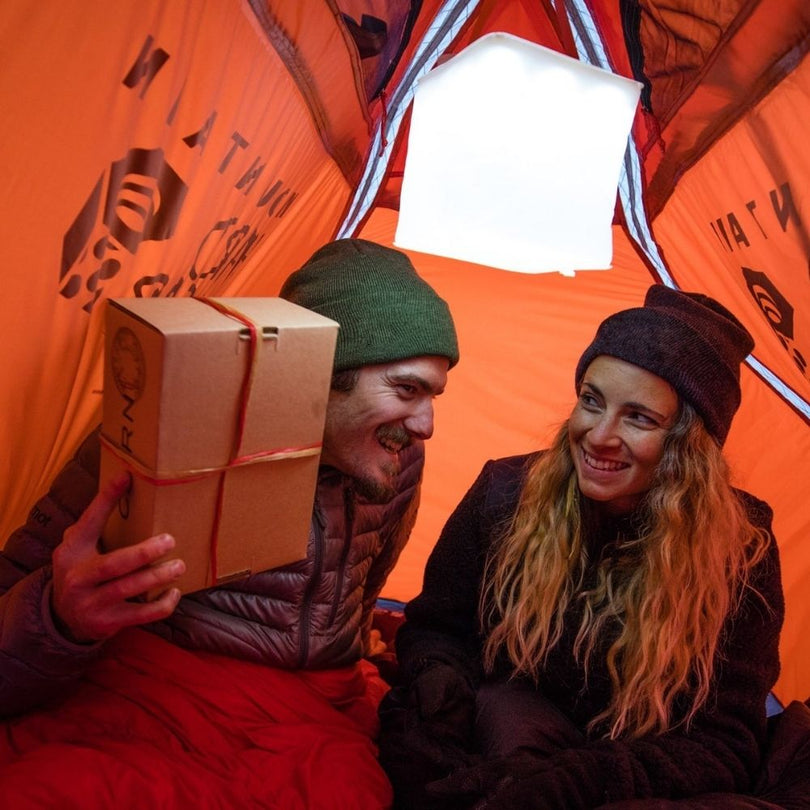
- Place and test lights. Hang the main lantern, put headlamps in accessible pockets, and test the power station before cooking. Lighting should be ready when dinner starts.
- Cook, clean, and secure. Wash dishes away from the sleeping area, store food, remove scraps, zip the tent, and walk the site once before bed.
This order prevents avoidable dependency failures. A stove is useless if its fuel sits beneath bedding, and a lantern cannot help if its cable remains in a sealed roof box. Field guidance suggests that setup time varies sharply with organization, with simple systems taking far less time than overcomplicated ones. Keep the first hour focused on shelter, light, food, and sleep. Decorative extras can wait, and the same bins can support a quick emergency departure.
Safety, Ventilation, and Leave-No-Trace Essentials
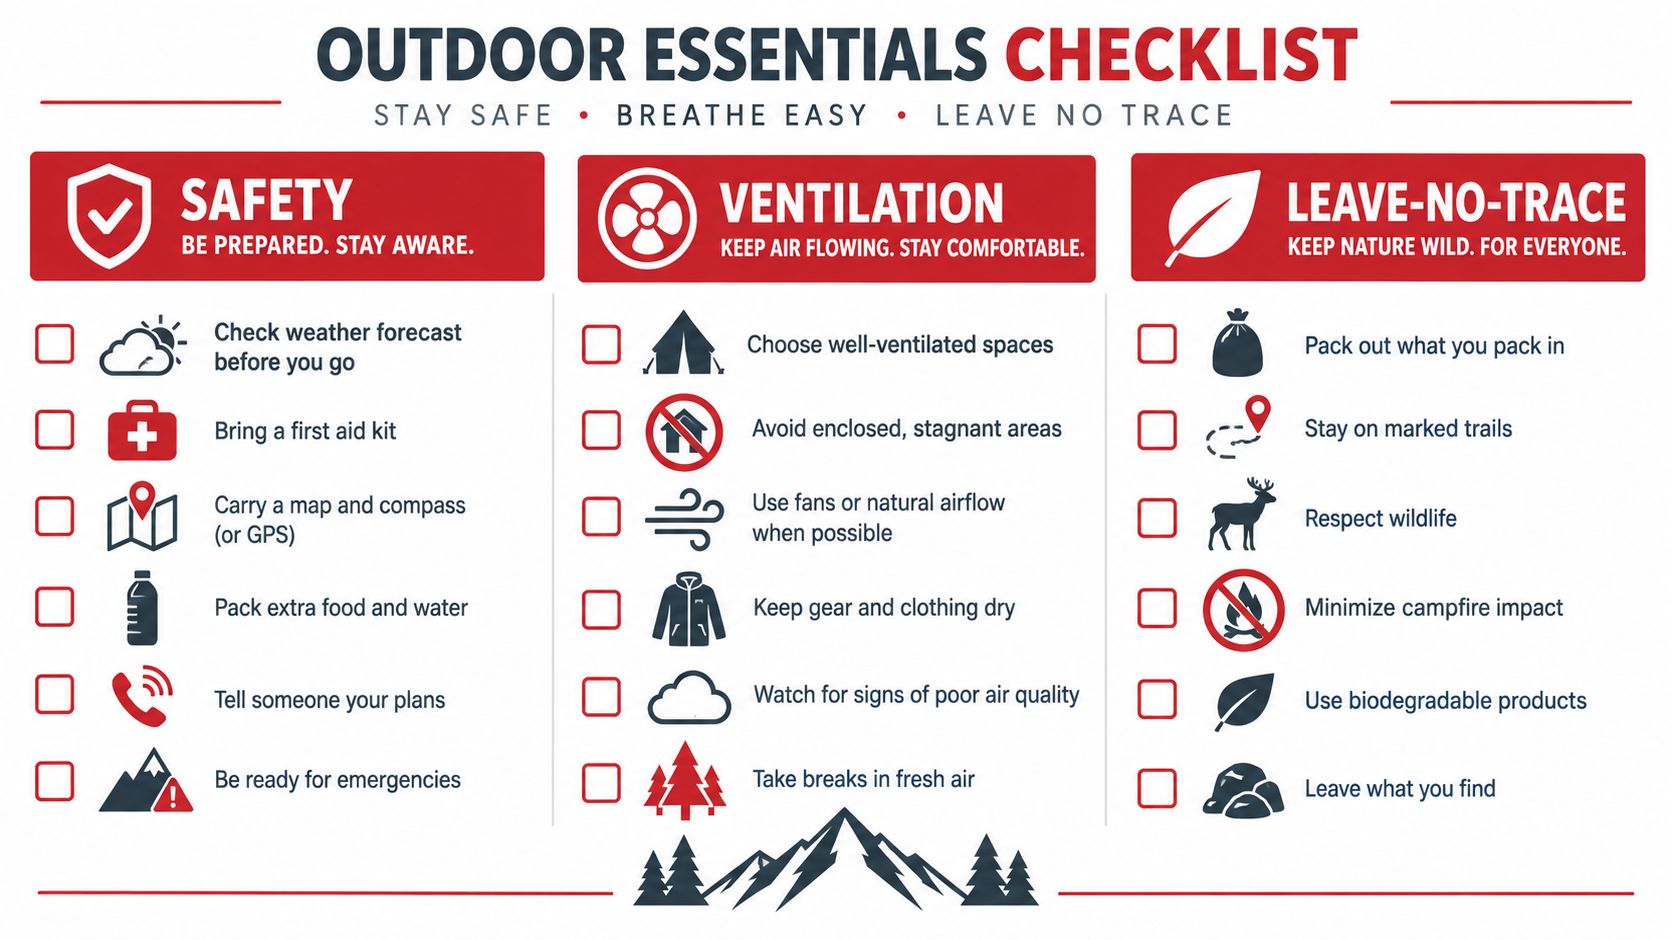
A vehicle feels like shelter, but it isn't automatically a safe sleeping room. Never sleep with the engine running, and don't idle in an enclosed or partly enclosed space. REI specifically warns against running a vehicle while sleeping and recommends choosing a flat, shaded place that permits overnight parking. (REI's guidance for sleeping in a car)
Carbon monoxide can come from vehicles, camp stoves, charcoal grills, fuel-burning lanterns, generators, and similar appliances. Public-health guidance says never use those devices inside tents, RVs, cabins, garages, or other enclosed or partly enclosed spaces. Vehicles should stay out of attached garages, and exhaust outlets must remain clear of snow or blockage. (Carbon monoxide risks in travel and outdoor settings)
Airflow is part of the sleep system
Crack opposite windows to create cross-breeze airflow and reduce condensation inside the vehicle. Roadtrippers recommends opening opposite windows while sleeping and pairing that practice with legal overnight parking locations. (Roadtrippers' car camping guide) Mesh window screens help maintain airflow without inviting insects.
Never improvise combustion heating inside the vehicle. Any fuel-burning device belongs outside, with ventilation and clearance that follow its instructions. A battery-powered heater avoids combustion, but it still needs safe placement and an appropriate power source.
Parking choices also protect the night. Choose level ground, face the vehicle toward a clear exit, avoid low areas that could flood, and use wheel chocks on an incline. Keep food in the vehicle or a required bear canister, stay on durable surfaces, and pack out waste, food scraps, and gray water when site rules require it.
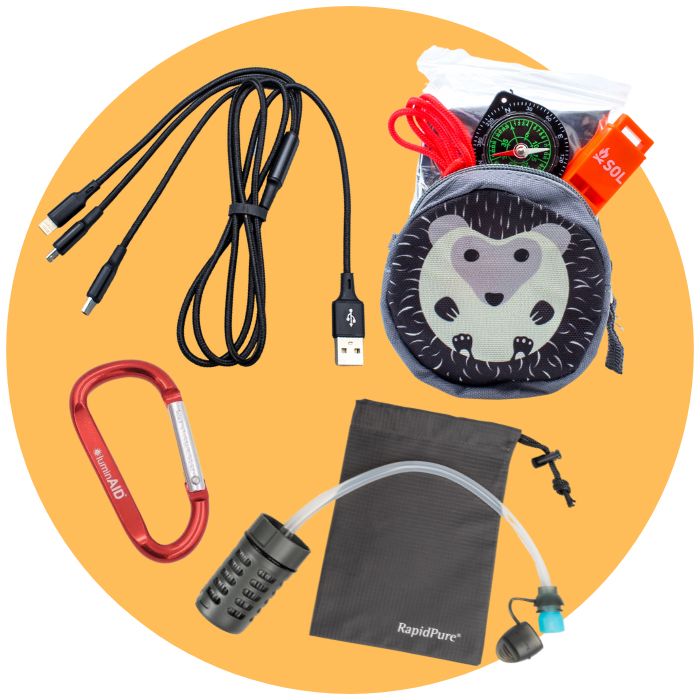
A compact safety kit should include first aid, a fire extinguisher, backup headlamp, printed map, jumper cables, tire repair kit, basic tools, flashlight, flares or reflective triangles, phone charger, blankets, water, and non-perishable food. (EcoFlow's vehicle emergency-kit guidance) LuminAID's camping first-aid kit guide can help organize the medical portion without letting it disappear into general gear.
Troubleshooting and Making Your Setup Emergency-Ready
Most campsite failures are access failures. A lantern with a flat battery is less of a problem when the backup light lives in the cabin safety pouch. A stuck awning is easier to handle when the repair kit contains duct tape, paracord, and a multi-tool. Condensation inside the car calls for airflow, window screens, and a dry towel, not a frantic search through the kitchen bin.
Rain creates a different test. Move wet gear into a designated waterproof bag, keep sleeping insulation off the vehicle floor, and separate soaked clothing from the dry sleep zone. If a stove lighter fails, use the backup lighter stored with the kitchen fuel rather than relying on a single ignition point.
The modular bin system becomes valuable outside recreational trips. Stored water, first-aid supplies, redundant lighting, a charged power bank, blankets, food, and basic vehicle tools can support a power outage, roadside breakdown, or unexpected overnight stay. The camping-equipment market is consumer-led, with personal-use purchases accounting for 76.05% in 2025, according to an independent industry estimate, and the same source projects the broader market from USD 22.08 billion in 2026 to USD 29.49 billion by 2031. (Camping equipment market data) That consumer focus aligns with households building private, reusable kits rather than specialized commercial systems.
Before locking the vehicle, verify:
- Shelter: Tent, footprint, stakes, mallet, and rain protection are together.
- Sleep: Pad, bag, pillow, and fitted sheet are dry and accessible.
- Kitchen: Fuel, lighter backup, water, cooler, food, and washing supplies are present.
- Lighting: Main lantern, backup light, headlamps, spare batteries, and charging cables work.
- Safety: First aid, extinguisher, reflective equipment, tools, map, and phone power are reachable.
- Vehicle: Tires, spare or inflator, fluids, locks, and departure route are ready.
LuminAID offers pack-flat solar lanterns and power-bank lanterns that provide off-grid light and USB phone charging, making them practical additions to a car camping setup that also serves emergency needs. Visit LuminAID to choose portable lighting for the campsite, the vehicle, and the next unexpected overnight stop.
