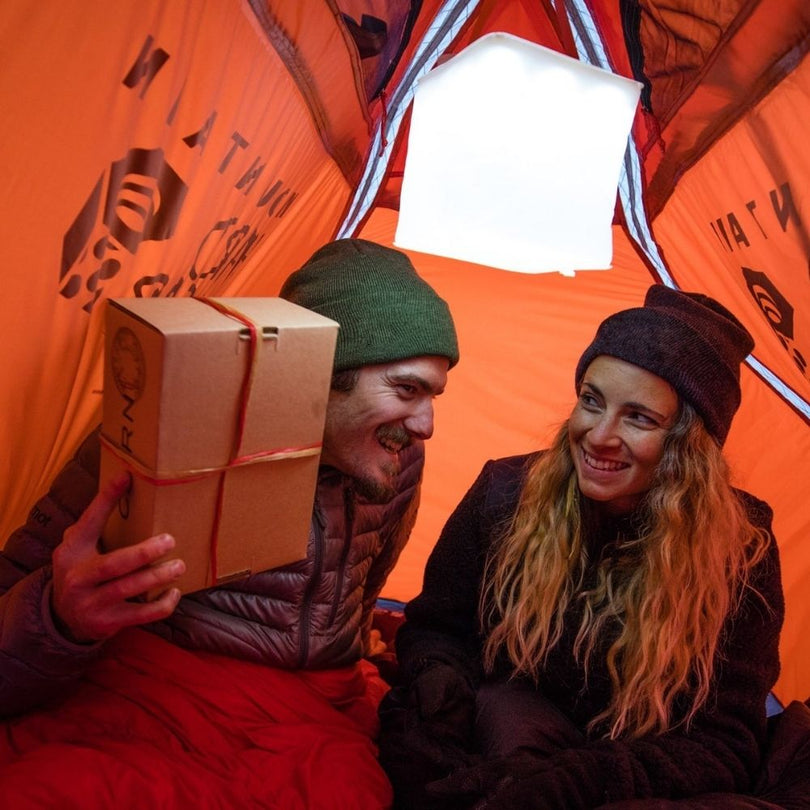


You pull into camp, drop the awning, and the whole outdoor setup turns into a black rectangle. A single harsh light from the rig makes the table feel clinical, throws shadows across the chairs, and still doesn't really help with cooking, reading, or relaxing. That's where camping lights for awning stop being a nice extra and start becoming part of the campsite's actual working space.
The right setup does more than add brightness. It gives the awning a usable shape after dark, keeps glare out of people's eyes, and matches the light to what's happening under the fabric, whether that's meal prep, conversation, or a quick gear check. For anyone sorting through strips, lanterns, and string lights, a custom plan like designing a custom lighting plan is a useful way to think about placement before buying hardware.
A lot of campers also want a setup that doesn't become one more battery problem. That means paying attention to lumens, color, mounting, weather resistance, and how the light behaves when the night gets damp or the house battery isn't full. For broader RV layout ideas, LuminAID's RV outdoor lighting ideas fit well with the same practical mindset.
Table of Contents
- Setting Up Your Awning For Great Lighting
- What Makes Awning Lighting Different From Regular Camping Lights
- Key Features and Specs That Actually Matter
- Mounting Methods and Power Options for Your Setup
- Creating Comfortable Ambience Without the Glare
- Safety, Weatherproofing, and Off-Grid Reliability
- Choosing the Right Lights for Your Camping Style
Setting Up Your Awning For Great Lighting
A dark awning rarely feels useful for long. After the chairs come out and the cooler is parked, the next thing most campers notice is how fast the space turns awkward if the only light source is a single spot on the side of the rig. The fix is less about buying the brightest fixture available and more about treating the awning like a small outdoor room with separate zones.
Start with what happens under the awning
Cooking needs different light than sitting around after dinner. A prep surface benefits from cleaner task lighting, while the edge of the seating area usually feels better with softer spill and less direct glare. If the awning also becomes a place to sort gear, the lighting plan has to cover movement, not just atmosphere.
A smart setup usually begins with one question, what activity happens there most often. That answer decides whether the main goal is broad coverage, task focus, or a blend of both. It also determines whether a fixed strip, a pair of portable lanterns, or a layered mix makes the most sense.
Practical rule: plan the awning around the people first, then the fixtures. If the light makes dinner easier but leaves everyone squinting, the setup is wrong.
Build the layout before the hardware
The awning shape itself matters. Long, shallow spaces need light distribution that doesn't collapse into a hot spot near one end and darkness at the other. That's why a quick sketch of where chairs, cooking gear, and walk paths land can save a lot of rework later.
For campers comparing product ideas, a good field test is to imagine the space at three moments, setup, dinner, and late evening. If the same light feels too aggressive in one of those moments, it probably needs dimming, a warmer mode, or a second source placed elsewhere. That's the kind of thinking that makes awning lighting feel intentional rather than bolted on.
What Makes Awning Lighting Different From Regular Camping Lights
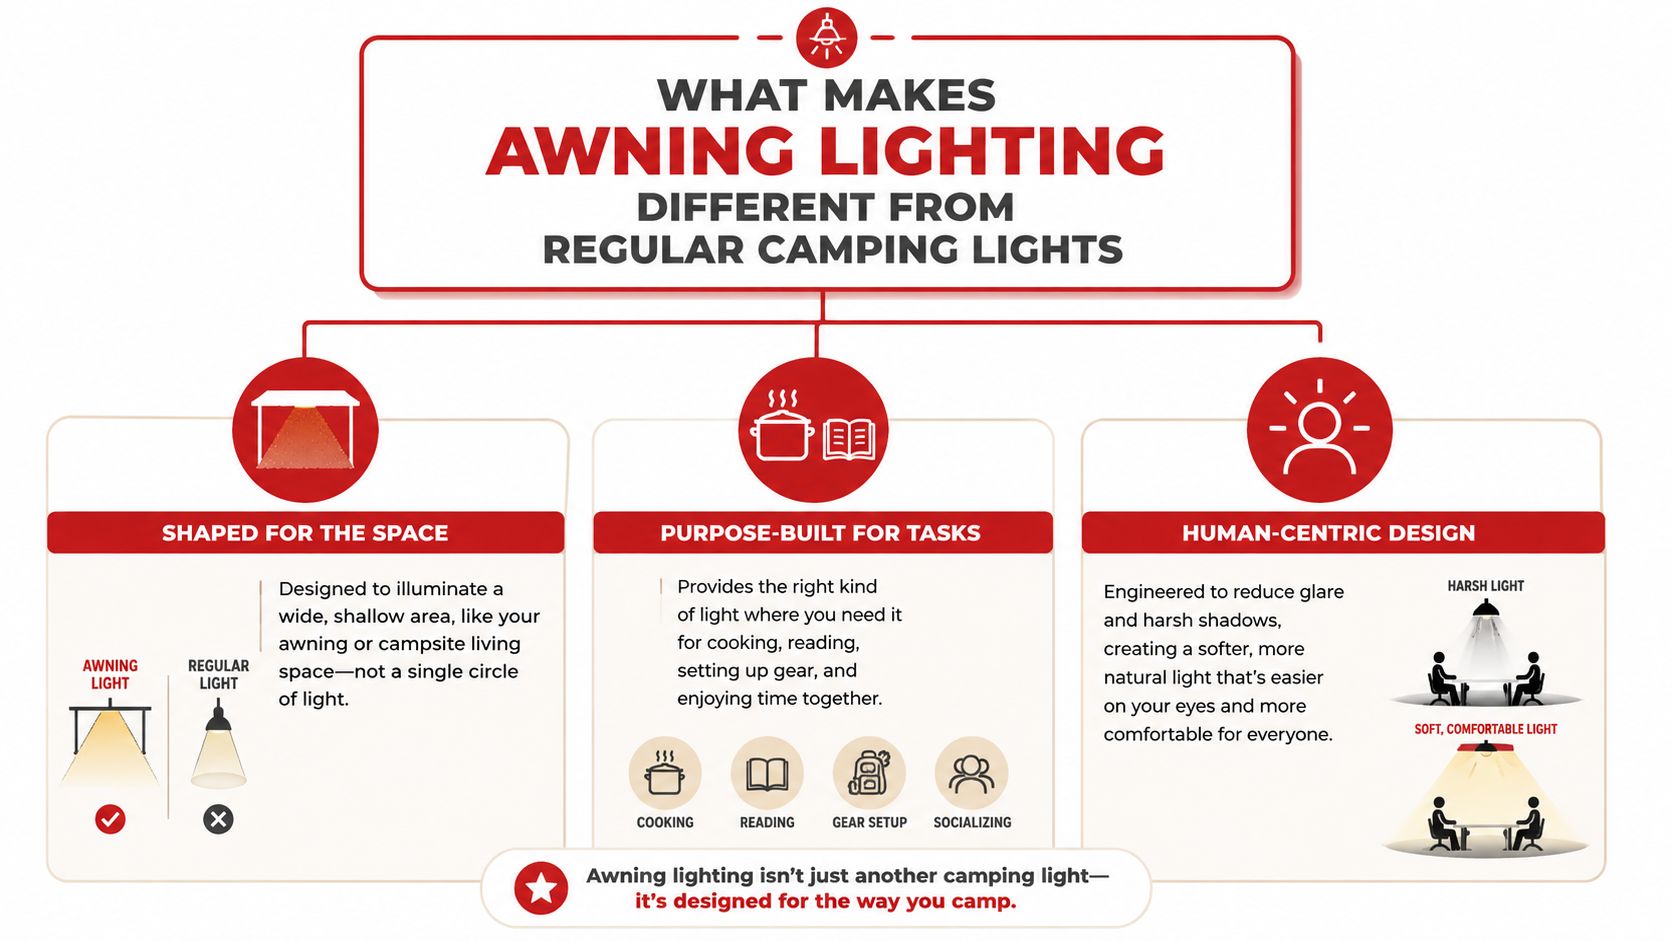
Awning lighting is not just a lantern moved under fabric. A campsite lantern usually tries to light a broad area from one point, while an awning has a long, narrow footprint and more predictable human use. That changes the kind of light that works.
The outdoor-gear market now treats awning and campsite lighting as activity-based illumination, not a single all-purpose blast. One independent guide recommends 500 to 1,600 lumens for a well-lit awning or group area, 2,000 to 3,300 lumens total for a complete campsite setup, and at least 600 lumens aimed at the cooking zone, while also noting that a 2,400 to 2,500 lumen four-bar LED camp light kit can cover most setups without draining the battery too quickly. Those ranges come from best 12V camp lighting guidance, and they show how awning lighting has moved toward task matching instead of one oversized fixture.
Shape changes the job
A bright round pool of light works fine in an open patch of ground. Under an awning, it can leave the far end dim and the seating area too bright. The beam has to travel across width and length, not just hit a central spot. That's why wide distribution usually matters more than raw output.
Task use changes the target
Cooking, reading, and talking do not need the same light quality. The cooking zone needs enough clarity for sharp edges and safe handling, while the seating zone needs a calmer feel. Awnings often support both at once, so the best setup is usually layered, not singular.
Comfort changes the definition of “good”
Search results on awning lighting often chase output, but campsite comfort depends on how the light feels to humans. Broader camping-light guidance notes that many campsites only need about 100 lumens for general use, with 50 to 75 lumens enough for a gentler glow, according to GearJunkie's camping lantern coverage. That doesn't make brighter lights bad, it just means many awning users are buying more than they need for the mood they want.
The gap is clear. Many buyers don't need the most aggressive strip on the market, they need light that serves food, faces, and fabric without turning the awning into a harsh work bay.
Key Features and Specs That Actually Matter
The spec sheet can look impressive and still miss the mark. Under an awning, the features that matter most are the ones that affect daily comfort, not just peak brightness. Color control, dimming range, weather protection, and switch quality change how a light behaves after sunset.
Color options beat one-note brightness
Some awning-light designs offer cool white or amber modes with a dimmable waterproof digital switch and up to 1,200 lumens, while another provides 2700K to 6500K color-temperature levels and is infinitely dimmable from 10% to 100%, according to ARB awning light product details. That kind of range matters because a warm tone feels better for conversation, while a cooler mode can help with cleanup or meal prep.
Weather protection is not optional
Moisture, dust, and condensation are part of outdoor use, even when the forecast looks fine. A light with sealed controls and proper environmental protection is far more likely to survive repeated setup and teardown than a flashy fixture that hates humidity. One practical example in the market is an awning light specified at 388 lumens with IP67 protection and 12/24 volts DC compatibility, which shows how manufacturers often prioritize durability and electrical flexibility together, as seen in Carefree of Colorado's LED light product information.
A brighter number on the box does not fix a bad beam, a poor switch, or a light that fogs up after one wet weekend.
What to check first
- Color flexibility: Look for amber or warm-white options if the awning is mainly for dining and relaxing.
- Dimming control: A wide dimming range helps the light adapt from task work to quiet evening use.
- Protection rating: Favor sealed, weather-resistant hardware for exposed mounting points.
- Control design: A reliable switch matters when the rig is shaking, wet, or cold.
- Beam behavior: Wide, even output beats a spotlight effect under fabric.
For campers comparing portable options, LuminAID's portable solar camping light resource is a useful reference point because it keeps the focus on light quality and off-grid convenience, not just maximum output.
Mounting Methods and Power Options for Your Setup
Mounting decides whether the setup feels clean or temporary. Power decides whether the light keeps working when the battery is tired, the weather turns, or the rig moves. The best awning-light choice has to satisfy both, because one without the other usually becomes a compromise you notice every night.
Fixed, removable, and packable all solve different problems
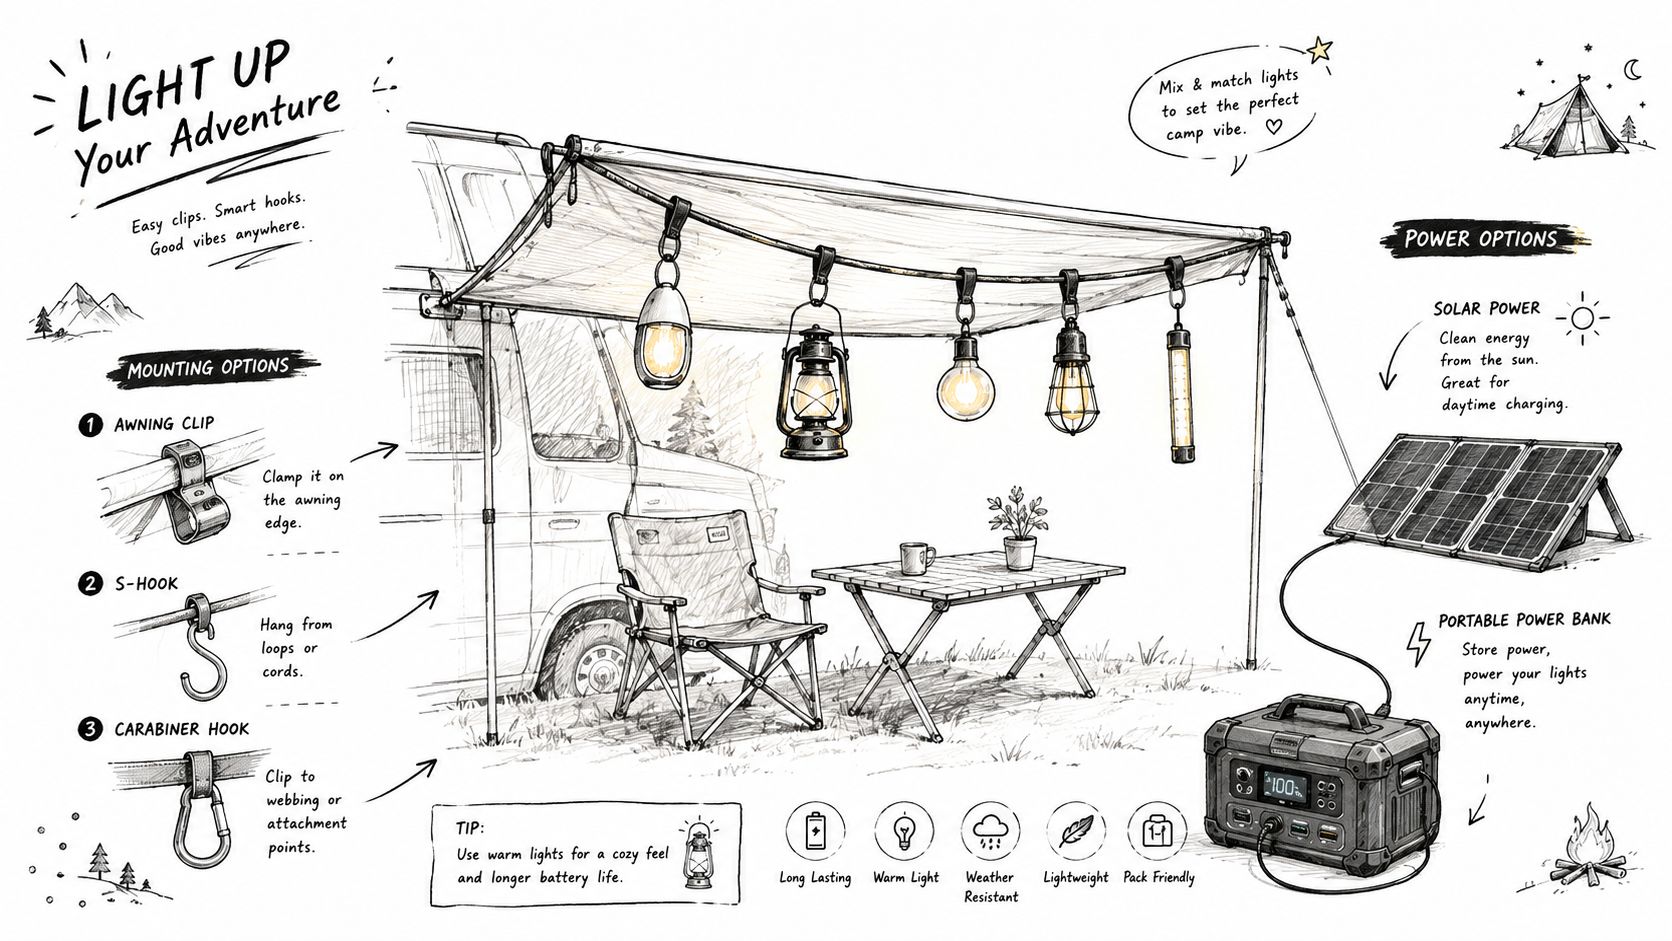
Adhesive strips are neat when the surface is clean and the owner wants a low-profile look. Magnetic bases work well on compatible metal surfaces but can shift if the rig flexes or the road gets rough. Clamp systems give more adjustability, while hook-style setups are often easier for campers who want lights that move from awning to awning.
The right choice depends on whether the awning is permanent, seasonal, or shared with multiple vehicles. A full-time RV owner usually benefits from a more integrated setup, while a weekend camper may prefer gear that packs into a tote and comes out only when needed.
Power paths need to match the rig
Commercial awning-light products commonly use 12V or 12/24V DC systems, and that tells you a lot about the intended use case. One awning light is specified for 12/24 volts DC, 388 lumens, and IP67, while another awning strip fits awnings from 10 to 21 feet and includes both a 12V DC receptacle and a 110V AC adapter, according to Carefree of Colorado's LED light listings. That kind of flexibility is useful, but only if the camper confirms compatibility before installation.
Compatibility matters more than convenience. A light that wants a stable DC supply can act unpredictably if the rig's power situation is messy or undersized.
For those thinking about climate and long-term wear, awning fabric for Utah climate is a good reminder that fabric and fixture have to survive the same conditions. Heat, dust, and hard use can punish both.
Setup checks that prevent trouble
A quick bench test before the first overnight is worth the time. Check the light at full output, at the lowest dim setting, and after the mounting method has been adjusted once or twice. Cord routing should avoid pinch points, and any wired path should stay clear of walkways and awning arms.
Creating Comfortable Ambience Without the Glare
Bright is easy. Comfortable takes more planning. The awning that feels best at night usually isn't the one blasting the most light, it's the one that lets people sit, talk, and eat without feeling lit from the front like they're on stage.
Match output to the mood
A broader campsite can function with surprisingly little light, and many awnings do not need to stay at maximum brightness all evening. The earlier comfort guidance from GearJunkie's lantern coverage notes that 100 lumens can be enough for general use, with 50 to 75 lumens often creating a gentler glow. Under an awning, that softer level often works well once the cooking is done and the space shifts into conversation mode.
Placement matters as much as color
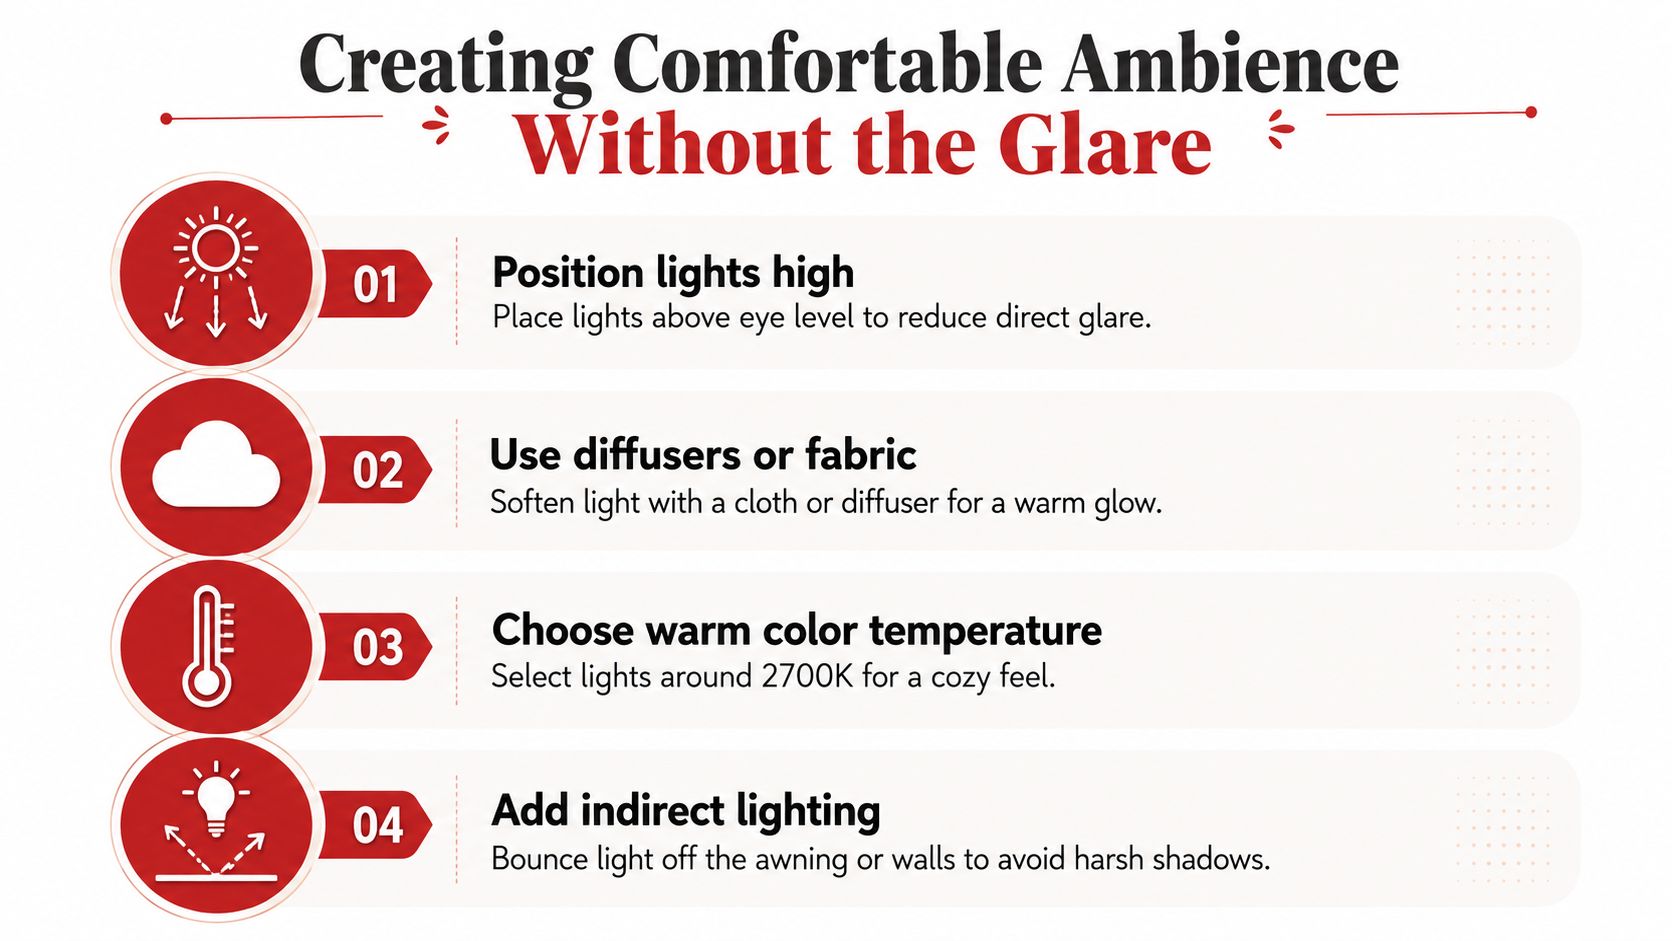
Lights mounted too low tend to glare into eyes and bounce off tabletops. Lights placed higher and slightly forward can wash the seating area without spotlighting faces. Warm modes feel better for evening use, while cooler settings are better reserved for food prep or cleanup.
Use layers, not one hard source
A single fixed bar can do the job, but it often creates flat, harsh illumination. A pair of smaller sources, or a string-light style setup with softer spill, can feel more natural around chairs and tables. That approach also makes it easier to dim one zone while keeping another area bright enough for tasks.
The best awning lighting usually disappears into the background. People notice the space feels right before they notice the fixtures themselves.
Safety, Weatherproofing, and Off-Grid Reliability
Outdoor lighting fails in predictable ways. Moisture gets in, wires get pinched, batteries sag, and a setup that looked fine in the driveway starts acting differently after a few wet, dusty, or cold nights. That's why weather resistance and power tolerance deserve more attention than a huge lumen claim.
Reliability beats peak output
The strongest awning-light content in the market tends to emphasize 10 to 16V DC compatibility, IP65 weather protection, and wide operating temperatures, which tells you what buyers are really worried about, brownouts, moisture, and extreme conditions. The practical reading is simple, a light has to work when the house battery isn't perfectly charged and when the campsite weather is less than polite, as reflected in RV awning light options coverage.
Lower-output portable lights can make more sense
A lower-lumen, packable lantern or string-light setup can often match what most campsites need, while avoiding wiring complexity and reducing strain on the electrical system. That's especially true for campers who want light for dining, reading, and casual movement rather than a permanent patio-style installation. LuminAID's weather-resistant solar lights resource fits that use case because it keeps the focus on portability and off-grid use.
Safety habits keep the setup usable
- Route cords carefully: Keep cables away from awning arms, door swings, and foot traffic.
- Avoid tight bends: Pinched wire paths are a common failure point on repeated setup.
- Check attachment points: Fabric and trim can shift under wind or repeated rolling.
- Plan for darkness anyway: A separate flashlight or headlamp should still be nearby in case the awning light fails.
Off-grid reliability is not just about whether the light turns on tonight. It's about whether it keeps doing the same job after a week of real use, with weather, battery state, and handling all working against it.
Choosing the Right Lights for Your Camping Style
The right awning light depends on how the campsite gets used. A weekend camper, a full-time RVer, a prepper, and a gift buyer are all shopping for different kinds of convenience, even if the product category looks the same on the shelf. Matching the light to the use case keeps the purchase from becoming overbuilt or underwhelming.
Match the product to the camping pattern
Weekend car campers usually do better with something packable, simple to hang, and quick to stow. A permanent RV setup makes more sense with a hardwired strip or a more integrated mounting system. Emergency kits need lights that are easy to store, quick to deploy, and independent of outlets, while gift buyers usually want something practical that feels immediately useful instead of niche.
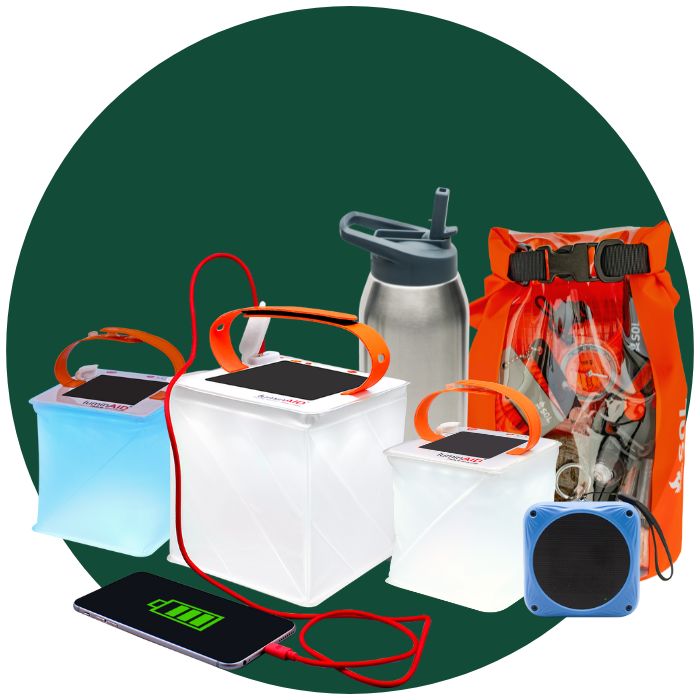
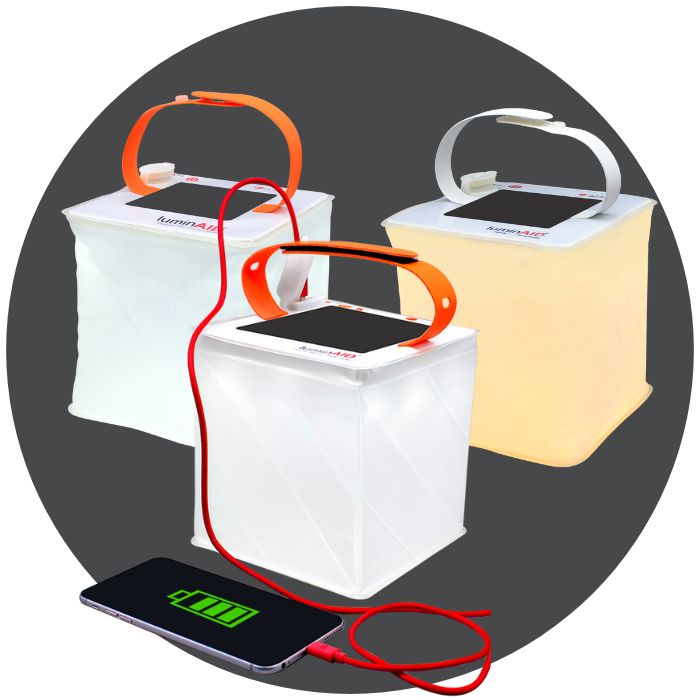
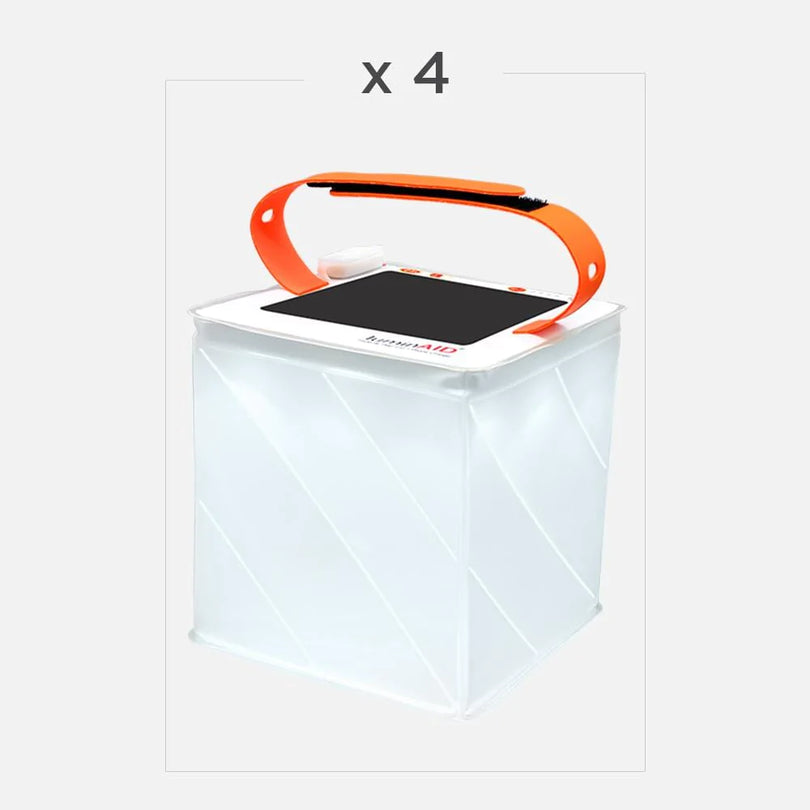
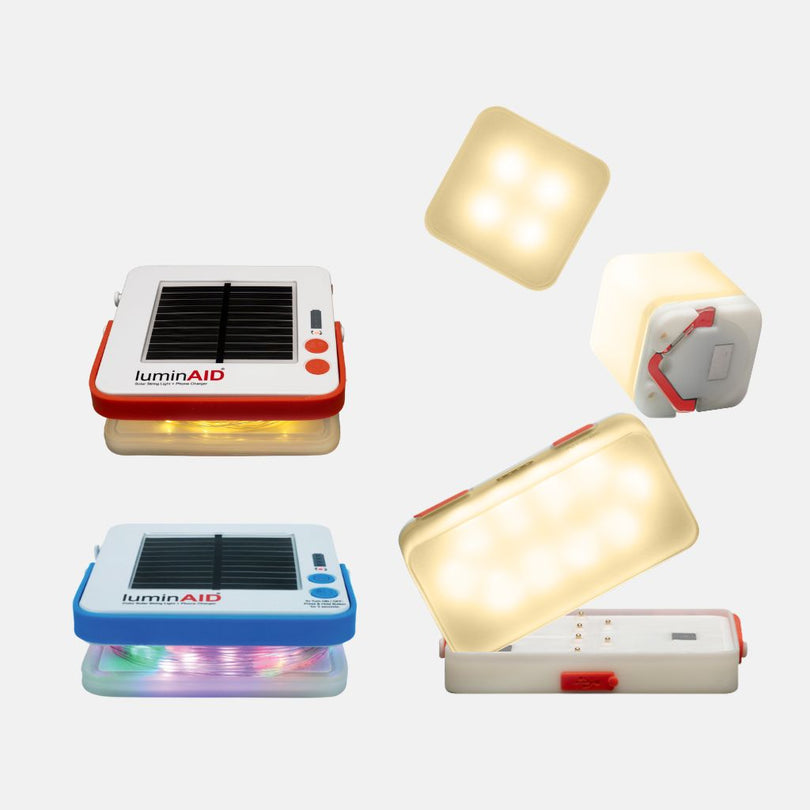
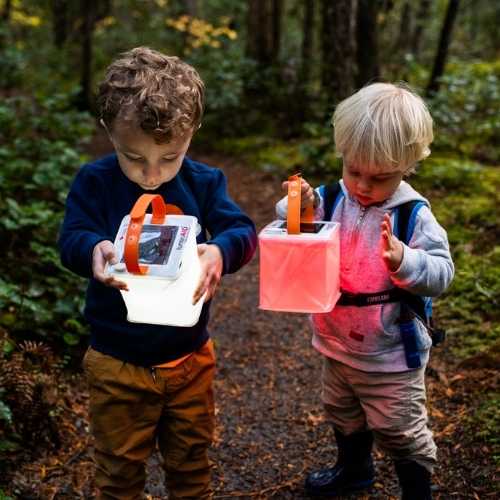
LuminAID's product line fits that last group of needs because it focuses on portable solar lanterns and solar string lights that work off-grid without disposable batteries or an outlet. That makes it a sensible option for people who care more about flexibility and easy storage than a permanent installation.
Quick buying checklist
- Brightness target: Favor output that matches the actual task, not just the biggest number on the box.
- Weather protection: Choose sealed, outdoor-ready hardware for exposed awnings.
- Power fit: Confirm whether the setup needs DC wiring, AC support, or a fully self-contained option.
- Mounting compatibility: Make sure the fixture works with the awning type and the rig surface.
- Mood control: Look for dimming, warm modes, or adjustable color if the space doubles as a lounge.
For comparison shopping, the best awning light is often the one that removes friction. If it hangs fast, powers cleanly, and feels comfortable after dark, it will get used more often than the flashiest unit in the catalog.
If the goal is dependable light that packs easily, runs off-grid, and still feels good under an awning, LuminAID has portable solar lanterns and solar string lights built for that kind of use. Visit LuminAID to compare options that fit campsites, RV patios, emergency kits, and outdoor spaces that need practical ambient light without disposable batteries.