

You pull into camp after dark, hungry enough to skip the polite version of dinner, and the kitchen bin is a jumble. The stove's buried under utensils, the can opener is missing, the cooler is half-open, and the wash basin is still in the car. That's the moment camp kitchen organization stops being about neatness and starts being about whether dinner happens before tempers do.
The fix isn't buying more stuff. Camp kitchens have always worked best as systems, from Charles Goodnight's 1866 chuckwagon with its drawers, shelves, and fold-down table to the structured military cooking areas formalized by the late 18th century, including the 1779 rule that U.S. troops dig kitchens 40 feet behind company tents and the earthen firebox dimensions used to manage heat and airflow efficiently (chuckwagon history, historical camp kitchen study). The same logic still holds, whether the setup is a backpack stove, a truck-bed drawer, or a family picnic table.
A practical kitchen also has to answer the constraints of outdoor cooking, water, wildlife, and cleanup. For a solid camping breakfast reference that fits into that planning mindset, the Cartograph Coffee camping breakfast guide is worth a look because it pairs well with a compact, repeatable setup.
Table of Contents
- Why Camp Kitchen Organization Matters More Than Gear
- Pre-Trip Planning for a Functional Camp Kitchen
- Choosing the Right Layout for Your Camping Style
- Setting Up Your Campsite Kitchen Zones
- Food Storage and Wildlife Safety Rules
- Cleanup Routines and Off-Grid Lighting
- Your Complete Camp Kitchen Checklist
Why Camp Kitchen Organization Matters More Than Gear
A camp dinner usually falls apart before the food does. The usual failure points are practical, a spoon buried in the wrong bin, the stove set where the wind hits it, or wash water with nowhere to drain. Good camp cooking feels controlled because each item sits where the next task needs it, not because the kit is expensive.
The old problems are still the current ones
The historical record is plain about why organized cooking matters. As camps lost running water and electricity, meal prep became harder, and many camps eventually put a properly equipped kitchen in the first permanent building on site. The same pressure shows up in a tight campsite today, where wind, dust, limited water, and a cramped footprint all slow the cook down (historical camp kitchen study).
Practical rule: if cooking, prep, and wash all fight for the same small space, the kitchen will feel disorganized even when every item is packed.
That is why the old chuckwagon layout still matters. Charles Goodnight's rolling kitchen kept pots, pans, utensils, spices, and cooking gear together in one compact unit, and that same logic shaped later camp-kitchen storage used by campers, scouts, and overland travelers (chuckwagon history). The point is direct, a kitchen works when the cook can reach the right tool at the right moment.
The real win is repeatable workflow
That same logic scales across trip styles. A solo backpacker may only need one pot and one stove, while a family weekend may need a larger bin system, but both still need the same core rhythm, recipe, ingredients, utensils, and cleanup. A compact setup leaves less room for extra gear, which is often a benefit because it cuts decision fatigue when everyone is tired, wet, or ready to sleep.
The best camp kitchens also respect the environment around them. Wind, weather, wildlife, water access, and darkness all change the layout. The Cartograph Coffee camping breakfast guide fits that same planning mindset because breakfast works better in a compact, repeatable setup than in a loose pile of gear. A real camp kitchen is built around those constraints from the start, which is how outdoor cooks keep meals moving when conditions get rough.
Pre-Trip Planning for a Functional Camp Kitchen
A camp kitchen should be planned like a sequence of decisions, not a loose pile of items. The first decision is the menu, because every meal creates its own needs for pot size, burner time, storage, and cleanup. The second is water, because handwashing and dishwashing depend on having enough clean water staged before cooking starts.
Menu, water, fuel, and rules
Menu planning works best when it starts with shelf life and cook time. Meals that hold up in a cooler or pantry bin are easier to manage than recipes that demand fragile ingredients, and a short ingredient list usually means fewer containers to wash later. A good planning pass also assigns each meal to a specific pot, knife, board, and cleanup step so nothing gets forgotten at home or buried in a bin.
Water planning has to be treated as a system, not a jug beside the stove. OSHA's housing checklist says each camp's water supply should provide at least 35 gallons per person per day, with distribution lines able to support normal pressure for simultaneous operation, and it prohibits common drinking cups (OSHA housing checklist). That matters even for informal camp kitchens, because washing hands and utensils gets much easier when potable water and gray water have separate containers and the wash routine isn't squeezed into a single bottle.
Fuel choice should follow the menu, not the other way around. A simple simmering dinner wants a different burner setup than a one-pot backpacking meal or an RV layout with integrated power. At the same time, bear-country rules may force a sealed food-storage plan before the stove ever comes out of the tote.
Build the checklist around the trip style
A useful planning tool is a decision matrix that matches the setup to the trip. A full chuck-box style fits longer trips and larger groups. A modular bin system works well for car camping, especially when the vehicle can carry separate prep, cook, and wash gear. A minimalist kit makes more sense for backpacking, where weight and volume matter more than comfort.
The most common planning failure is overpacking gear that never gets used. A camping meal plan that maps the meal to the burner, the board, and the cleanup step prevents that, and it also cuts down on the “forgot the can opener” problem because the trip is built around tasks instead of loose objects. For meal structure ideas that help with this kind of prep, the AI Meal Planner meal prep collection can be useful, and the broader camping packing list from LuminAID fits well beside it.
| Camp Kitchen Planning Decision Matrix | |||
|---|---|---|---|
| Trip Style | Group Size | Recommended System | Key Trade-Off |
| Backpacking | Solo or duo | Minimal kit | Lowest weight, least margin for extra gear |
| Car camping | Small family or group | Modular bins | More comfort, more pieces to manage |
| RV or overlanding | Varies | Slide-out or anchored system | High capacity, but space must be kept disciplined |
Choosing the Right Layout for Your Camping Style
The wrong camp kitchen layout usually fails because it copies a picnic-table model that assumes extra room, extra tables, and extra patience. Compact camping doesn't work like that. A backpacker, a van traveler, and a family at a drive-in site are all cooking outdoors, but they're solving three different space problems.
Car camping, backpacking, and RV setups are not interchangeable
Car camping can support a true three-station layout, prep, cook, and wash. That usually means a folding table, separate bins, and enough room to keep the cooler out of the way of the stove. The benefit is obvious, counter space and smoother workflow, but the trade-off is bulk, and once the bin count climbs, loading and unloading starts to feel like moving a small kitchen.
Backpacking is the opposite. A single-pot, single-burner system has to stay lean enough to fit into a bear canister or hang bag when that's part of the route, and every item needs to earn its place. A 10-liter dry bag can serve as the entire kitchen for a solo traveler if it holds the stove, fuel, pot, spoon, and a tiny wash kit without wasted space.
RV and overlanding setups sit in the middle. The vehicle becomes the anchor, and the kitchen can live in a slide-out drawer, a shelf, or an integrated power setup. That gives more gear capacity than backpacking, but only if the layout stays disciplined and doesn't turn into a rolling junk drawer.
A kitchen that fits the route is more useful than a kitchen that looks complete on paper.
The footprint determines the workflow
Mainstream picnic-table advice breaks down when the footprint shrinks. The question stops being “what should be in the kitchen” and becomes “how does one box or one shelf do the work of three stations?” That's why compact and modular systems matter so much for backpacking, overlanding, and van life, where setup time and clutter matter just as much as total capacity.
A practical rule of thumb is simple. If the trip depends on walking gear in and out of camp, keep the system modular. If the kitchen will stay inside the vehicle most of the time, build around fixed compartments. If the whole kitchen has to fit in a small bag, every duplicate tool gets ruthlessly cut.
Setting Up Your Campsite Kitchen Zones
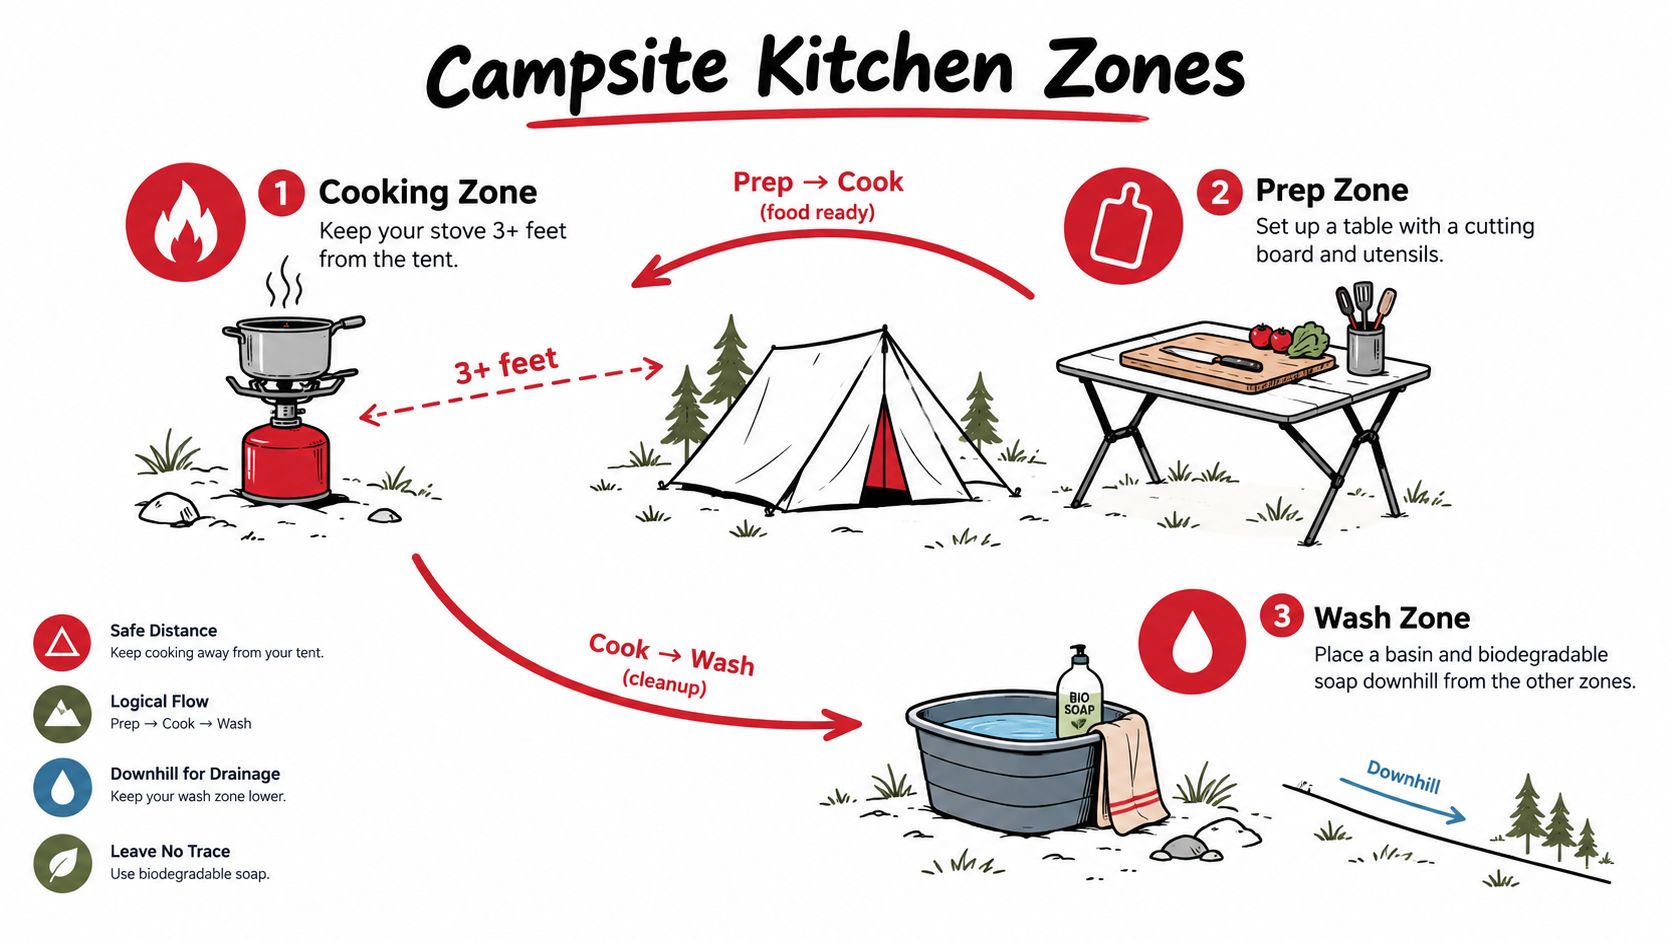
A campsite kitchen works best when the three zones stay separate. Cooking needs heat and clear space. Prep needs a flat clean surface. Wash needs enough distance from both so dirty water and clutter don't drift back into the food area.
Keep the stove, prep, and wash areas from competing
A stove should sit at least 3 feet from tents, and the wash station belongs downhill from the cooking area so gray water moves away from the living space. A collapsible sink basin, biodegradable soap, and a gray-water strainer make that routine easier, but the gain comes from keeping the zones separate and predictable. Raw meat prep should happen on its own board, and utensils should live in a clean bin or hang in a clean spot, not mixed with the wash gear.
The setup also benefits from staging ingredients before the burner is lit. That keeps the prep zone clear and shortens the time food spends sitting out. In a camp kitchen, clutter isn't just untidy, it slows the meal and increases the odds that something gets contaminated or knocked over.
A strong campsite setup guide is useful here, and the LuminAID campsite setup ideas page pairs well with this kind of zoning approach.
A compact layout needs exact placement
A 10-foot-by-10-foot car-camping kitchen can work with the stove on one side of the table, the cooler just behind prep, and the wash bins placed downhill and a little off to the side. That arrangement keeps the food flow moving in one direction, ingredients in, meal out, dishes away. On a 4-foot RV slide-out, the same logic shrinks to a strict order of use, prep nearest the cook surface, wash gear stored beneath, and nothing extra left on the counter.
The most common mistake is trying to squeeze every action into the same patch of space. Better camps don't feel spacious because they're bigger. They feel spacious because each task has a place.
Food Storage and Wildlife Safety Rules
Food storage at camp is a wildlife problem before it's a convenience problem. Bears, raccoons, mice, and birds all exploit loose food, scented toiletries, and dirty cookware, so the kitchen has to be organized around odor control as much as meal prep. Once that's accepted, the rules make sense instead of feeling fussy.
The food zone belongs away from sleeping gear
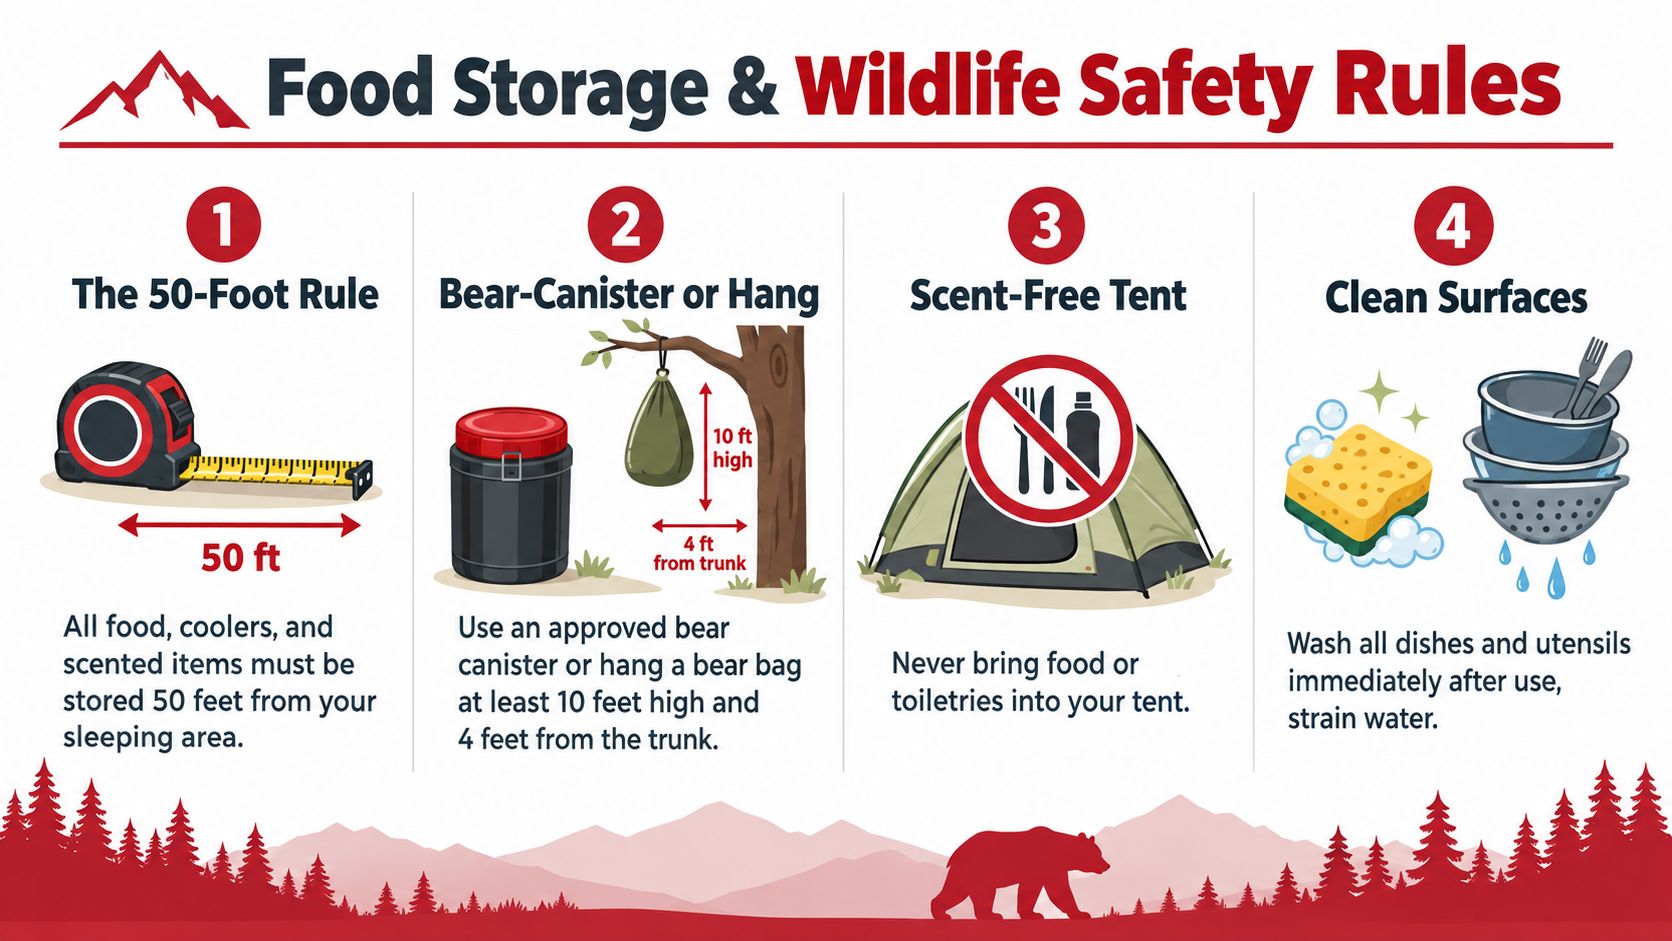
The U.S. Forest Service says all food, trash, toiletries, and scented items should fit inside the bear-resistant canister the first night, and the canister plus kitchen should be kept 50 feet from the sleeping area (U.S. Forest Service bear canister guidance). That sets a clean divide between the food zone and the tent zone, and it still works as a planning model in places where a canister is not required.
National Park Service rules point the same way. In certain areas, food, trash, toiletries, and other odorous items must be stored in an IGBC-approved canister (North Cascades and related bear storage rules). North Cascades National Park requires canisters at nine backcountry camps and six cross-country zones from June 1 to November 15, while New York's Adirondack Eastern High Peaks Wilderness Area requires bear-resistant canisters from April 1 to November 30 and says scented items such as food, toiletries, medication, garbage, and pet food should be stored inside them. Olympic National Park adds that food, trash, toiletries, and scented items should be stored in a hard-sided vehicle, food locker, or approved animal-resistant container, and says those containers are the best available tool to prevent wildlife from getting food.
Organize for odor first, convenience second
That means the kitchen should be packed so all smell-bearing items live together. Cooler, dry goods, trash bags, soap, toothpaste, and cookware all need a single storage point that can be closed fast before dark. Hanging food isn't the universal fix it once was, and in many regulated areas, sealed storage is the safer, clearer choice.
Practical rule: if a scent can attract an animal, it belongs in the same locked or sealed system as the food.
For readers who want a preparedness-focused bear-safety reference, Counter Assault and Adventure Medical Kits fit that off-grid planning mindset. The core rule stays the same, keep the food zone sealed, centralized, and separate from sleep.
Cleanup Routines and Off-Grid Lighting
Cleanup works best when it's short, automatic, and finished before anyone drifts away from the kitchen. The routine should follow the same order every time, wash, sanitize, air-dry, then pack. That rhythm protects the next meal and keeps gear from disappearing into someone's tent or vehicle by accident.
Make the post-meal routine a closed loop
Camp guidance for kitchen workflow emphasizes a short repeatable cycle, consult the recipe first, lay out ingredients and utensils before cooking, and then immediately wash, sanitize, and air-dry cookware after each meal (camp kitchen checklist). The same guidance warns against re-serving potentially hazardous leftovers and against long unrefrigerated holding times because bacterial growth risk rises quickly. That means leftovers need a decision right away, eat, chill, or discard.
A 3-minute cleanup routine can be assigned by role in a family of four. One person scrapes and packs leftovers, one washes, one rinses and sets the drying rack or line, and one clears the prep table and returns tools to the clean bin. That division keeps the pace moving without putting the whole job on one tired person.
Light the work, not the sleeping area
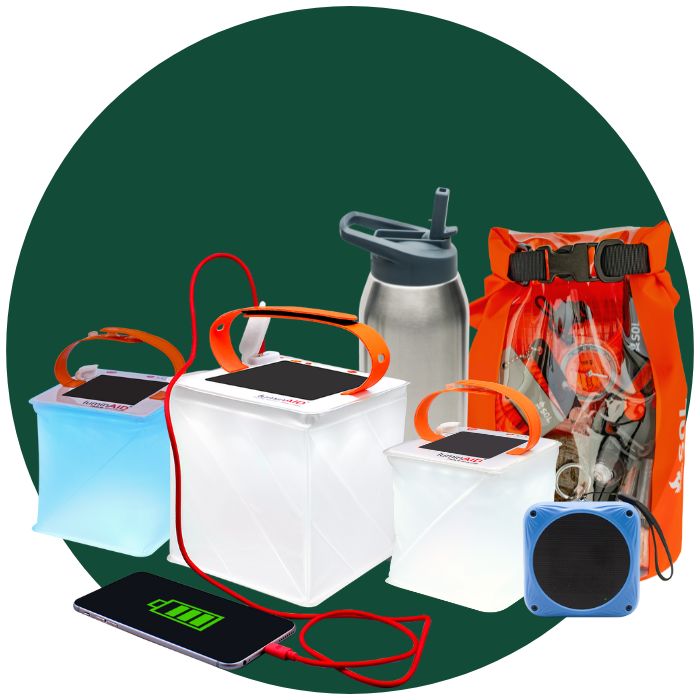
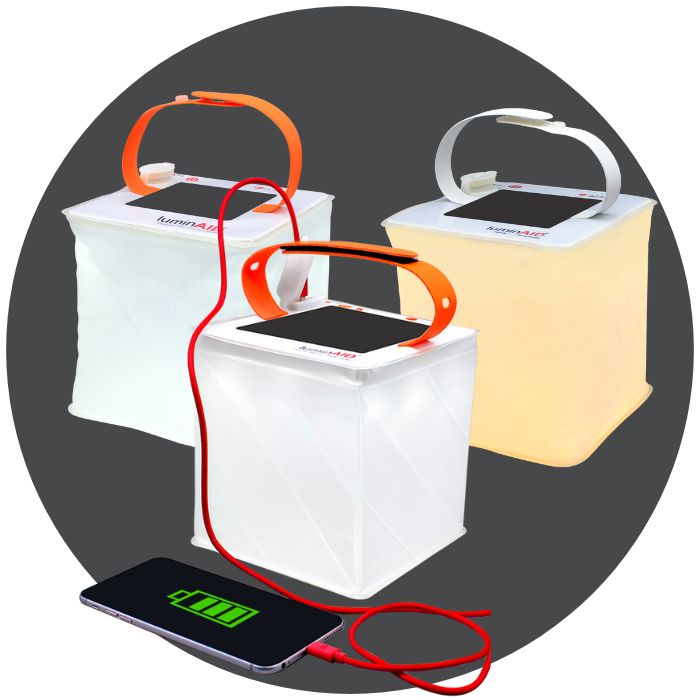
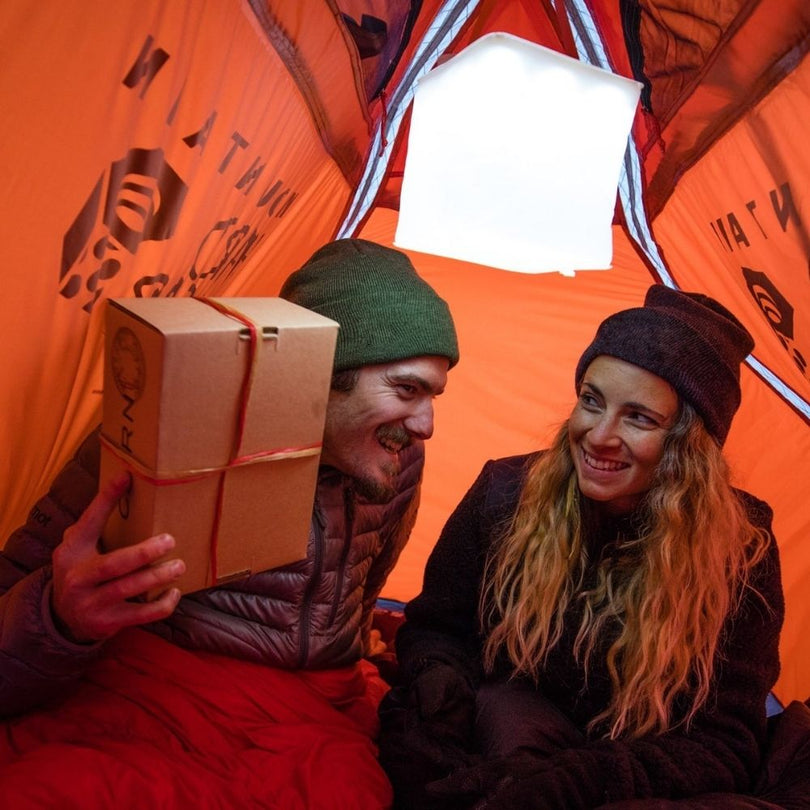
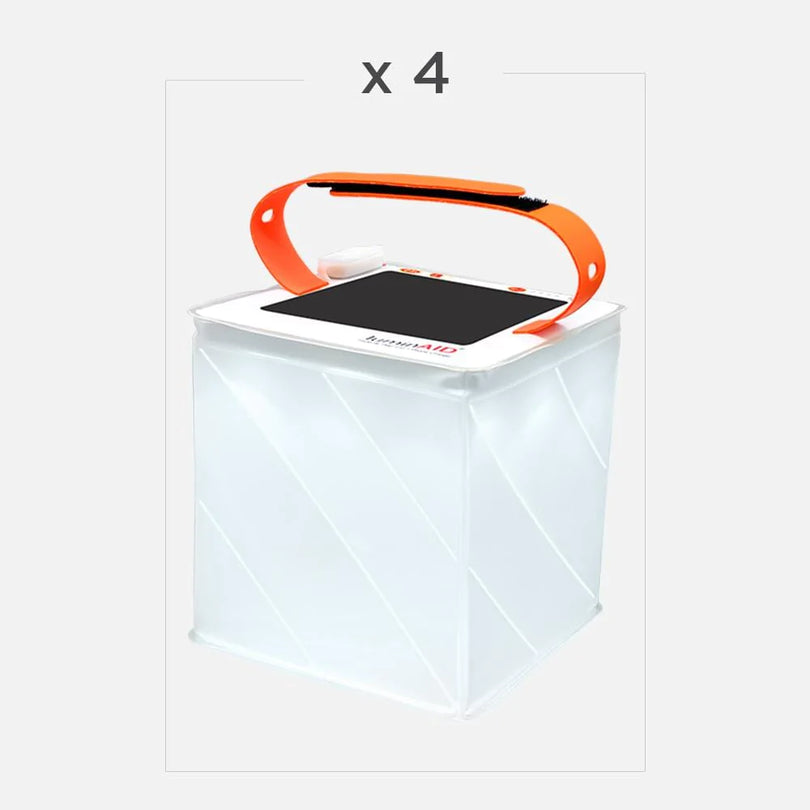
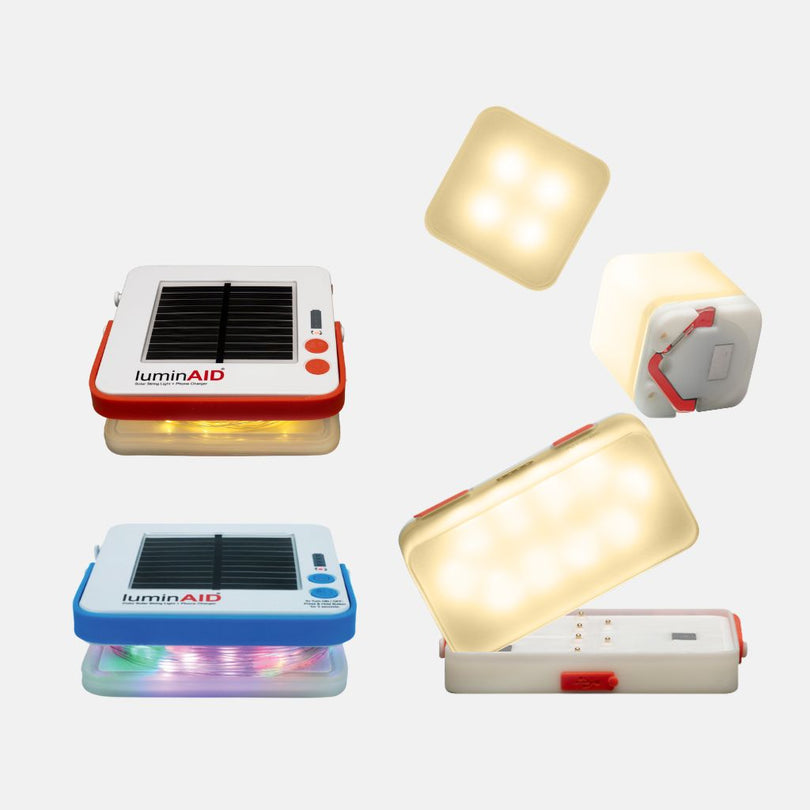
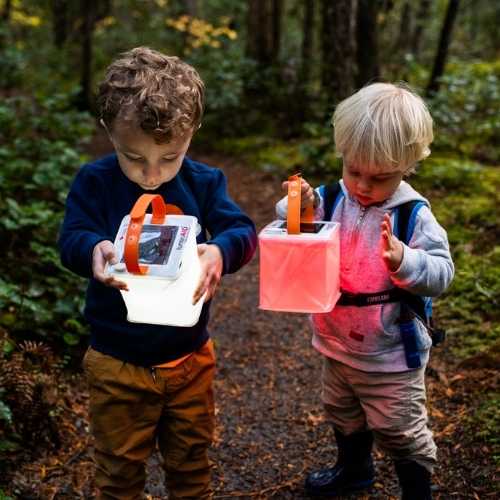
Lighting matters because a dark kitchen causes spills, cuts, and missed cleanup. Warm-toned string lights or a lantern can light the prep and wash zones without throwing harsh light into the sleeping area, which helps keep the camp calmer and less chaotic. One practical option in this category is a portable solar lantern with phone-charging capability, and a compact model can serve as both task light and backup power for small devices without needing disposable batteries.
The outdoor lighting without electricity guide fits naturally with this setup because the useful habit is simple, pack the lighting last, then make it the first thing out at camp. If the kitchen is the only place that needs serious light after dark, then the light should live with the kitchen gear, not buried in general camp storage.
Your Complete Camp Kitchen Checklist
A good camp kitchen is easier to use when the whole system fits on one mental page. Before leaving, match the menu to the cookware, check the fuel, stage the water plan, and confirm wildlife rules for the destination. Pack only what the trip's layout can hold, whether that's a bear canister, a modular bin, or a slide-out drawer.
Before leaving home
- Menu and cookware: match each meal to a pot, pan, board, spoon, and cleanup step.
- Water plan: pack separate potable and gray-water containers, and confirm the wash routine.
- Wildlife rules: check canister requirements, storage distances, and local food-zone guidance.
- Fuel and stove: bring only what fits the menu and the space available.
- Lighting: pack a solar lantern and keep it easy to reach for after-dark setup.
When arriving at camp
- Staging area: place the kitchen where it can stay distinct from sleeping gear.
- Food storage: keep all food, trash, toiletries, and scented items together in one sealed system, 50 feet from the sleeping area when required.
- Cook zone: set the stove at least 3 feet from tents.
- Prep zone: clear the surface before the first ingredient comes out.
- Wash zone: place the basin downhill and away from the cooking area.
During cooking and after eating
- Clean boards: separate raw and ready-to-eat prep surfaces.
- Watch leftovers: don't let questionable food sit around unrefrigerated.
- Wash fast: clean, sanitize, and air-dry cookware right after the meal.
- Reset gear: return utensils to the clean bin before anyone walks away.
Before bed
- Seal odors: close the cooler, canister, trash, and toiletry storage.
- Store lighting: pack lanterns and strings with the kitchen so they're easy to find at dawn.
- Check the food zone: make sure nothing scented is left in the tent area.
- Refine the system: treat the first trip as a field test and adjust what didn't work.
The best camp kitchens get better because the person running them notices where the system slowed down and fixes that one thing next time. That habit matters more than any single gadget, and it's the difference between a setup that looks organized and one that stays organized in rain, wind, and bear country.
LuminAID makes portable solar lanterns, warm string lights, and compact 2-in-1 light-and-charger gear that fits the way real camp kitchens get used after dark. If a campsite needs reliable task lighting, charging, and less clutter around the cook area, visit LuminAID and look for gear that supports a cleaner, simpler off-grid setup.