


You crawl into the tent after sunset, already a little chilled. One damp shirt from the hike in, one underinsulated pad, or one missed water bottle is often all it takes to turn a promising trip into a cold, sleepless night.
Cold weather camping works best when you treat it as a set of connected systems, not a pile of isolated gear tips. Your sleep system, clothing system, nutrition and hydration habits, and safety routine all affect each other. If one part falls behind, the others have to compensate, and that usually shows up at 2 a.m. when your body is trying to hold heat.
Many campers meet cold-weather conditions earlier in the year than they expect. Cool rain, wind, wet ground, and overnight temperature drops can create real risk well before deep winter arrives. You do not need snowpack or high-altitude terrain to get into trouble. Late fall, early spring, and shoulder-season trips demand the same careful approach.
The reward is real. Quiet campsites, firm trails, clear air, and fewer crowds make cold-season trips some of the best nights outdoors. But winter comfort is built, not improvised. Get the systems right, stay dry, eat and drink on schedule, and follow a disciplined camp routine. The trip gets safer, warmer, and a lot more enjoyable.
1. Invest in a High-Quality Four-Season Sleeping Bag
A winter bag does more than add comfort. It protects recovery, judgment, and body heat through the longest cold stretch of the trip, which is usually the hours you are not moving.
For cold-weather camping, choose a bag with enough margin for the lowest temperatures you realistically expect, not the forecast you hope for. Many experienced campers use a bag rated around 15°F or lower for shoulder-season cold and moderate winter conditions, then adjust with venting if the night stays warmer than expected.

Choose insulation for the conditions
Down gives the best warmth for the weight and packs small, which matters on foot. It performs well in consistently cold, dry conditions where you can protect it from tent condensation, wet snow, and soaked clothing. Synthetic insulation takes more space and weight, but it keeps more of its insulating ability when damp and asks less of your moisture management.
That trade-off matters. A backpacker on a dry interior winter trip may do well with a high-quality down bag. A camper in coastal cold, sleet, or repeated thaw-freeze cycles often gets better real-world performance from synthetic fill, even if the packed size is worse.
Fit matters too. A bag that is too tight compresses insulation and restricts circulation. A bag that is too roomy leaves your body heating dead air all night. Look for enough space to wear dry sleep layers and move your feet, while still letting the hood and draft collar seal properly.
Field rule: Carry a bag with a real safety margin for the trip, then vent excess heat. Trying to manufacture warmth at 2 a.m. rarely goes well.
Make the bag work as part of your sleep system
A sleeping bag is only one part of the sleep system. Moisture control, dry clothing, and how you settle in for the night all affect how warm that bag feels.
Use it well:
- Change into dry sleep clothes: Do not sleep in the damp base layer you hiked in, even if it feels only slightly wet.
- Protect loft: Go to bed warm, but not sweaty. Damp insulation loses performance fast.
- Use the hood and draft collar correctly: A partially open bag leaks more heat than many campers realize.
- Add a liner only when it solves a real problem: It can help with hygiene on multi-night trips and add a bit of warmth, but it will not rescue an underbuilt bag.
- Pre-warm the footbox or core area: A hard-sided bottle filled with hot water helps, especially for cold sleepers.
I see the same mistake every winter. Campers buy a good bag, then undercut it with wet socks, a loose hood, or damp layers carried into bed. A strong bag is the center of the sleep system, but it performs best when the rest of that system supports it.
2. Use Insulated Sleeping Pads with High R-Values
At 2 a.m. on frozen ground, a great sleeping bag can still feel like a bad setup if your pad is losing heat into the earth. In a winter system, bottom insulation carries more weight than many campers expect because the insulation under your body gets compressed and stops trapping much warmth.
A practical starting point for winter camping is a sleeping pad with an R-value of 5 or higher. Colder conditions, colder sleepers, and snow camping often justify more than that. The point is to match the pad to the trip, not to treat it as an accessory.

Build the pad setup as part of your sleep system
For winter trips, two pads often make the most dependable setup. A closed-cell foam pad under an insulated inflatable increases total insulation, protects the inflatable from punctures, and gives you a usable backup if the air pad fails overnight.
That redundancy matters in cold weather. A slow leak in July is annoying. A slow leak on frozen ground can wreck sleep, drain energy, and create a safety problem the next day.
If your hips and shoulders feel cold from below, the bag is often not the weak link. The pad system is.
What works in the field
Ultralight summer pads can be comfortable right up until temperatures drop. Then their limits show up fast. For true cold-weather use, I prefer a slightly heavier pad setup with enough insulation margin to handle bad snow conditions, campsite imperfections, and a body that is tired, underfed, or running cold after a long day.
Pad shape matters too. Wider pads reduce edge roll-off, which keeps elbows, knees, and hips from slipping onto a cold tent floor. For side sleepers and restless sleepers, that can make the difference between steady sleep and constant heat loss.
Use these habits to get more from the pad system:
- Stack pads with purpose: Put closed-cell foam on the bottom and the insulated inflatable on top.
- Check inflation before bed: Air pads soften as temperatures drop, so top them off after setup if needed.
- Repair leaks early: A pinhole is easier to fix in camp than after midnight.
- Keep the sleep area dry: Wet floors, icy valves, and soaked gear reduce performance and slow morning breakdown.
- Pack for the whole overnight system: A solid winter camping packing list helps you keep repair items, dry sleep socks, and backup insulation from getting left behind.
For camp comfort around the shelter and before bed, a warm base layer such as a California Cowboy henley can fit well into your broader clothing and sleep system, but clothing should support the pad and bag, not compensate for a weak foundation.
Fix ground insulation first. Once the pad system is doing its job, the rest of the winter sleep setup gets much easier to manage.
3. Layer Your Clothing System Strategically
Cold-weather clothing isn't about wearing everything you own. It's about controlling moisture while keeping enough insulation in reserve. The classic system still works because it solves a real problem: a base layer manages moisture, an insulating mid-layer traps heat, and a shell blocks wind and precipitation.
That structure matters more than brand names. If the system is wrong, even expensive gear performs poorly.

Don't overdress on the move
One of the least understood parts of winter camping is that sweating can make you colder later. Good guidance on winter travel emphasizes adjusting layers constantly instead of just piling them on, because moisture trapped in clothing weakens insulation when activity slows down. That's the difference between feeling warm on the climb and shivering at camp.
Cotton is a poor choice here. Wool or synthetic fabrics manage moisture better and recover faster after effort. For active days, start slightly cool, then vent early with zippers before you're soaked.
For broader trip prep, use a practical camping packing list so you don't forget dry backup layers, gloves, hats, and camp socks. For a versatile top layer idea, a California Cowboy henley can fit into a shoulder-season system, though true winter conditions still call for a full technical layering strategy.
Keep one set dry for camp and sleep
The biggest mistake I see is campers lingering in damp hiking clothes once they stop moving. That's when body heat starts dropping fast. A dedicated dry camp layer changes the evening immediately.
Use a waterproof stuff sack and treat those dry layers like emergency gear.
- Base layer: Save one dry set for sleeping or for camp if your daytime set gets wet.
- Mid-layer: Fleece and lightweight puffies are easy to vent and easy to layer.
- Shell: A good shell matters most in wind, wet snow, and mixed conditions.
- Extremities: Dry gloves, warm socks, and a hat often decide whether you feel fine or miserable.
Good winter clothing systems look boring on paper. In the field, they're what keep you from chasing warmth after you've already lost it.
4. Stay Hydrated and Maintain Caloric Intake
Campers often underestimate how much cold suppresses normal eating and drinking habits. You may not feel thirsty, and you may skip snacks because your hands are cold or you don't want to stop. That's a mistake. In winter, your body burns fuel to move, to stay warm, and to recover overnight.
Eat before you feel empty
Winter favors foods you'll eat when you're tired and cold. Nut butter packets, cheese, chocolate, trail mix, dense bars, instant soups, and hot drinks all earn their place because they're easy to consume and easy to keep close at hand.
I prefer frequent small snacks over long gaps followed by one giant dinner. That keeps energy steadier, especially on trips where gloves stay on and breaks are short.
A hot meal helps morale. A hot drink in your hand can help you make better decisions when the weather turns.
Water takes more planning than most people expect
Cold water gets ignored because it isn't refreshing the way it is in summer. Bottles freeze, hoses freeze, and people fall behind on intake. Insulated bottles help, and keeping water where it won't freeze overnight matters just as much as filtering it.
Your stove also becomes more important in winter because hot drinks and warm meals do more than feel good. They support the whole system. If you're building out a longer-lasting emergency and camp food kit, the options at Survive Outdoors Longer are worth browsing for practical backup supplies.
A few reliable habits:
- Keep snacks accessible: If food is buried deep in the pack, you'll eat less.
- Drink on purpose: Don't wait for thirst to remind you.
- Eat before bed: Going to sleep underfed is a common reason people feel cold all night.
- Use hot meals strategically: Dinner and a warm morning drink can reset mood and body temperature fast.
Warmth doesn't come only from insulation. It also comes from fuel.
5. Choose the Right Cold-Weather Tent and Manage Interior Moisture
A winter shelter has two jobs. It has to handle weather, and it has to help you control moisture. Most cold-weather camp misery starts when damp air, wet clothing, and condensation slowly compromise insulation inside a tent that looked fine at setup.
If you're camping in snow, the shelter matters. So does where you pitch it, how you ventilate it, and how disciplined you are about keeping wet gear out of your sleep space.
To get the basics right before your trip, review these practical notes on camping in snow.
Venting beats sealing yourself in
A lot of campers instinctively seal up the tent to hold heat. That usually backfires. Your breath and damp gear create condensation, and sooner or later that moisture ends up on the walls, sleeping bag, or clothing.
Open vents matter. Cracking airflow, wiping interior moisture before it drips, and changing out of damp layers before bed all do more for warmth than trying to turn a tent into a sauna.
Here's a useful setup video before you head out:
Shelter choices that work better
A true four-season tent earns its keep in high wind, heavy snow load, and exposed terrain. But for more moderate cold-weather camping, campsite selection and moisture discipline often matter as much as tent category. A sheltered site near trees can outperform a stronger tent pitched in a bad location.
Keep these habits essential:
- Pitch on the best available ground: Flat, sheltered, and away from obvious wind funnels.
- Protect the floor: A footprint helps with durability and keeps the setup cleaner.
- Separate wet and dry zones: Snow-crusted shells and boots shouldn't live where your sleeping bag does.
- Avoid adding extra moisture: Cooking inside a tent creates more condensation and more risk.
A good winter tent isn't just stronger. It supports a dry routine. That's what keeps your insulation working night after night.
6. Prevent Frostbite and Hypothermia Through Monitoring and Prevention
Cold injuries usually build in plain sight. People get quieter. They fumble simple tasks. They stop eating, stop adjusting layers, and insist they're fine. By the time the whole group agrees something is wrong, the problem is harder to reverse.
The best prevention is early recognition, consistent monitoring, and the discipline to fix small problems before they become emergencies.
Watch behavior, not just weather
Shivering by itself isn't the whole story. Pay attention to speech, coordination, pace, and judgment. Someone who can't work a zipper, answer clearly, or stay engaged needs attention right away, even if they're still upright and moving.
For frostbite risk, focus on exposed skin and wet extremities. Wind and moisture speed up trouble. Hands, feet, ears, cheeks, and nose deserve repeated checks during breaks and after transitions in weather.
If someone in camp gets unusually clumsy, withdrawn, or confused, treat that as a safety problem, not a personality quirk.
Build treatment capacity into the trip
You need dry backup layers, fast calories, warm fluids, and a realistic exit plan. You also need first-aid gear that goes beyond a few bandages. A well-stocked kit is part of winter travel, not an optional add-on, and Adventure Medical Kits has solid options if you don't want to assemble one piece by piece.
Field habits that reduce risk:
- Keep skin dry: Moisture strips warmth and accelerates cold injury.
- Protect extremities early: Don't wait until fingers go numb to change gloves.
- Eat and drink regularly: Low energy often shows up as poor temperature regulation.
- Rewarm gradually: If someone is showing signs of dangerous cold stress, focus on shelter, dry insulation, warm fluids if appropriate, and evacuation or medical help.
Pride causes a lot of winter camping mistakes. Strong groups speak up early, check each other often, and turn around when needed.
7. Establish a Cold-Weather Camp Routine and Safety Protocols
Cold reduces patience and judgment. Darkness comes early, gloves make small tasks harder, and simple chores take longer than they do in summer. That's why experienced winter groups rely on routines. They remove decision fatigue when people are cold, tired, or distracted.
This also applies to electronics. A common weak spot in winter camping advice is how little attention it gives to off-grid lighting and device management. Yet dependable lighting and protected electronics matter for navigation, camp chores, safety, and emergency response, especially when batteries struggle in freezing conditions.
Use routines to prevent preventable mistakes
Have a fixed sequence when you arrive in camp. Shelter first. Insulation second. Water and food next. Then lighting, gear storage, and the next morning's essentials. The best system is the one everyone in the group can repeat without thinking.
For broader planning around outages, severe weather, and backup light, this winter storm preparedness checklist is a useful reference.
Treat light and power like safety gear
A dead phone or weak headlamp gets more serious in winter. One widely cited winter-camping guide advises storing electronics in the sleeping bag or near the body so they don't freeze, and that advice is easy to overlook until a battery drains at the worst time. If you rely on USB-powered lights, phones, or camera gear, build protection and charging into your routine from the start.
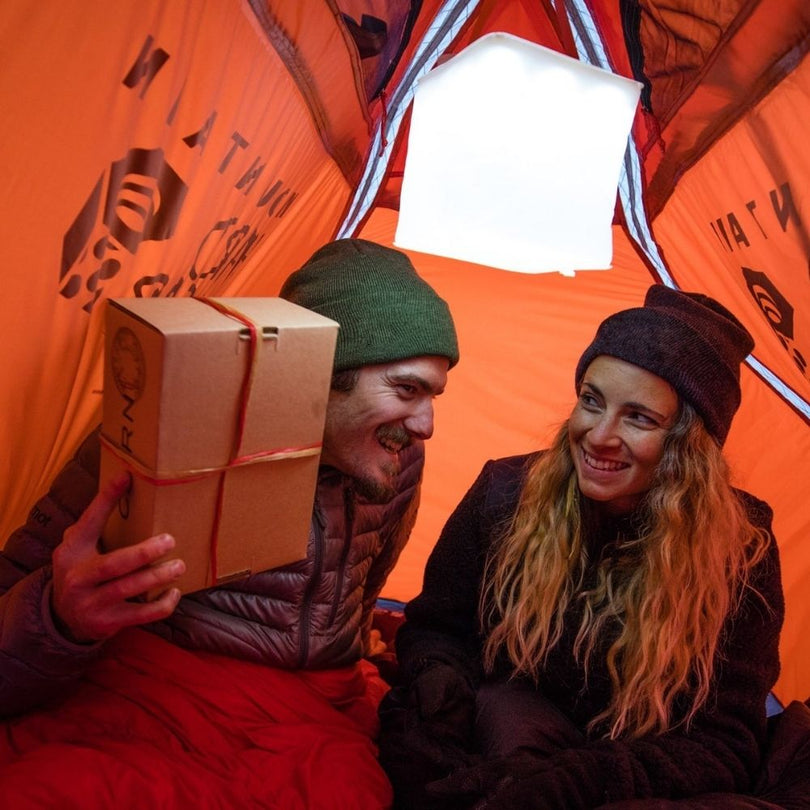
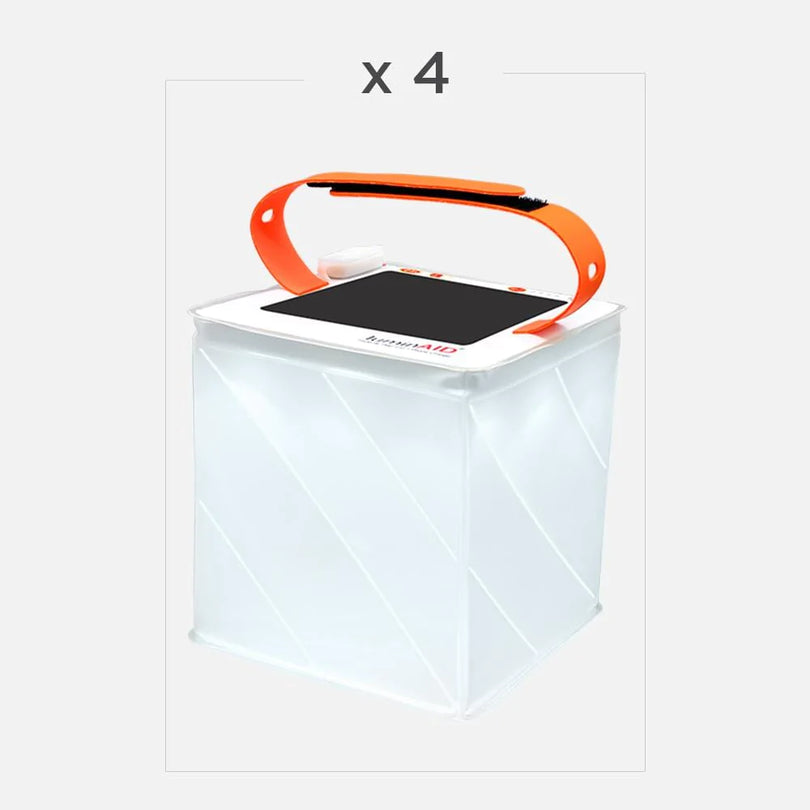
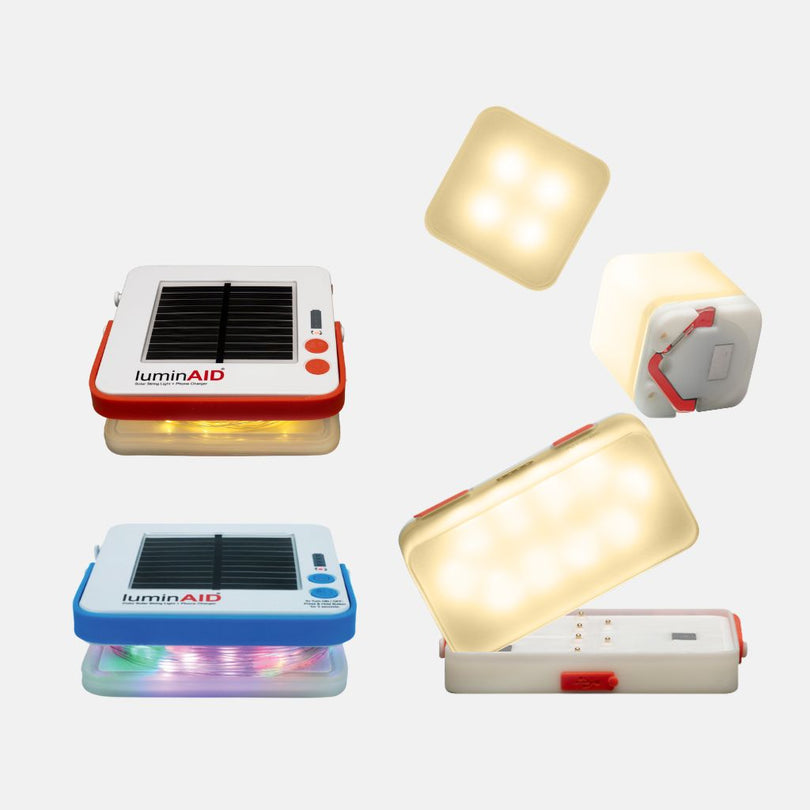
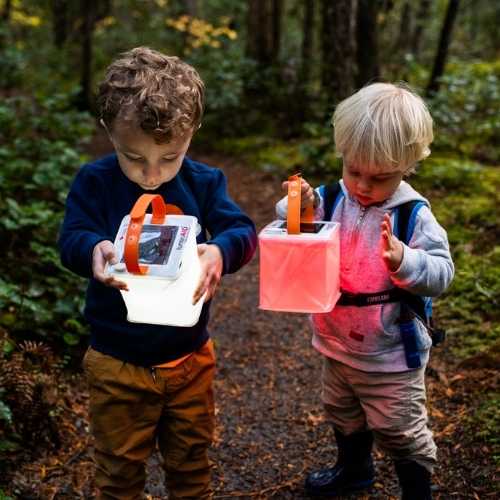
That's one reason many campers now favor lightweight rechargeable lighting instead of disposable batteries or vehicle dependence. A lantern that's easy to pack, easy to hang in a tent, and simple to recharge fits winter systems well because it reduces clutter and works for both camp comfort and emergency use.
Use a repeatable checklist at camp:
- Arrival routine: Pitch shelter, insulate sleeping area, then handle water and dinner.
- Buddy checks: Confirm everyone is warm, dry, fed, and thinking clearly.
- Night setup: Keep tomorrow's essentials, headlamp, and water where you can reach them.
- Battery protection: Store electronics where they stay warmer overnight.
Routine sounds unexciting until weather turns bad. Then it becomes one of your best tools.
8. Select Appropriate Cold-Weather Camping Locations and Seasons
You can ruin a winter trip before you leave the driveway. A strong sleep system, clothing system, and food plan will not save a poor location choice if the site is exposed, the access is complicated, or the exit becomes difficult in bad weather.
Good winter planning starts with consequence. Choose places where a small mistake stays small. That usually means sheltered terrain, short approaches, simple navigation, and a clear retreat option if someone gets cold, wet, tired, or injured.
For newer winter campers, the best first trips are often close to a trailhead or road access. That setup gives you room to test the full system together: how your shelter handles condensation, how much stove fuel you use, how your water plan works in freezing conditions, and how well everyone sleeps. You learn more from a controlled overnight than from a hard push into remote terrain.
Terrain matters as much as temperature.
Forested campsites usually give better wind protection than open ridges or alpine bowls. Lower elevation sites often reduce exposure and travel difficulty, though they can bring wetter snow or freeze-thaw conditions. Sites near reliable liquid water can cut fuel use and simplify camp chores, but they may also be colder if cold air settles in drainages. Every choice shifts the demands on the rest of your system.
Use a few filters before you commit:
- Favor sheltered campsites: Trees, terrain features, and lower wind exposure improve tent performance and reduce heat loss.
- Keep access straightforward: Shorter approaches and simpler routes leave more margin if travel slows or weather changes.
- Check water availability: If you must melt all your water from snow, you need more time, more fuel, and tighter stove planning.
- Study seasonal hazards: Avalanche terrain, road closures, snowed-in trailheads, overflow, and thin early-season ice can turn an easy map line into a poor winter objective.
- Plan an easy exit: In winter, a retreat route is part of the trip plan, not a backup afterthought.
Season choice matters too. Early winter often brings unstable coverage, hidden rocks, creek hazards, and thin ice. Midwinter usually offers more consistent snowpack but colder temperatures, longer nights, and more demand on your sleep and fuel systems. Late winter can be friendlier for first trips in some regions, but warming afternoons, sun exposure, and changing snow conditions introduce their own problems.
The right trip feels slightly conservative on paper. That is usually a sign of good judgment, not low ambition.
Build experience in layers. Start with forgiving terrain and stable forecasts, then add complexity one variable at a time: colder temperatures, deeper snow, longer approaches, or more remote camps. That systems approach produces better decisions than chasing a dramatic objective before your winter routines are settled.
8-Point Cold-Weather Camping Tips Comparison
| Item | Complexity 🔄 | Resource Needs ⚡ | Expected Outcome 📊⭐ | Ideal Use Cases 💡 | Key Advantages ⭐ |
|---|---|---|---|---|---|
| Invest in a High-Quality Four-Season Sleeping Bag | Moderate, selection & maintenance | High, cost, weight, storage care | 📊 Maximizes survival margin and sleep quality in extreme cold | High-altitude mountaineering, polar expeditions, winter basecamp | Exceptional insulation, reliable across seasons |
| Use Insulated Sleeping Pads with High R-Values | Low–Moderate, choose R-value and layering | Moderate, bulk/weight, possible repair kit | 📊⚡ Reduces ground heat loss (major warmth gain); improves comfort | Cold nights, backcountry winter camping, layered insulation setups | Essential ground insulation; packable and combinable |
| Layer Your Clothing System Strategically | Moderate, knowledge of fabrics & layering | Moderate, multiple garments across layers | 📊 Flexible temperature control; prevents sweat-related cooling | All cold-weather activities with variable exertion | Adaptable warmth, moisture management, lightweight options |
| Stay Hydrated and Maintain Caloric Intake | Moderate, meal planning and stove use | Moderate, fuel, insulated containers, calorie-dense food | 📊 Sustains core temperature, energy, recovery; reduces risk of hypothermia | Extended trips, high-exertion days, high-altitude travel | Physiological resilience; morale and performance boost |
| Choose the Right Cold-Weather Tent & Manage Moisture | High, setup skill and condensation management | High, expensive, heavy shelter plus practice | 📊 Protects against wind/snow and preserves gear insulation | Polar/expedition camps, severe wind/snow environments | Structural strength, snow-shedding, internal moisture control |
| Prevent Frostbite & Hypothermia Through Monitoring | Moderate, constant vigilance and training | Low–Moderate, protective clothing, comms, first-aid kit | 📊 High safety impact; prevents permanent injury if practiced | All winter activities, remote or long-duration trips | Knowledge-driven prevention; minimal extra gear required |
| Establish a Cold-Weather Camp Routine & Safety Protocols | Moderate, planning, group coordination | Low–Moderate, time, role assignments, checks | 📊 Reduces errors, speeds emergency response, improves sleep | Group expeditions, guided trips, prolonged camps | Consistency, accountability, improved group safety |
| Select Appropriate Locations & Seasons | Moderate, research and scouting | Low–Moderate, travel logistics, permits | 📊 Significantly lowers objective risk; improves success odds | Trip planning, route selection, novice winter outings | Risk reduction through informed site/season choices |
Your Winter Camping Checklist
Cold-weather camping goes better when you stop thinking in isolated gear picks and start thinking in systems. A warm sleeping bag won't save a bad pad. Good layers won't help much if you sweat through them and never change. A strong tent won't feel comfortable if condensation soaks your insulation. The campers who stay warm consistently are the ones who manage sleep, clothing, food, water, lighting, and safety as one connected setup.
That's the value of a checklist. It gets the basics out of your head and into a repeatable process. Before a trip, you can scan your sleep system, confirm you've packed dry camp layers, check your stove and fuel plan, and make sure your lighting and charging setup won't become a weak point after dark. During a trip, that same checklist helps you maintain routine when cold and fatigue make even simple decisions harder.
Your list should cover the gear and the habits. Include your sleeping bag, pad or pads, shelter, dry sleep clothes, gloves, socks, stove, food, bottles, first-aid kit, and emergency items. But also include behavioral reminders such as vent layers early, eat before bed, protect electronics from freezing, and do a final dry check before sleeping. Those small habits prevent a lot of bad nights.
If you're new to winter trips, start by printing a basic version and tailoring it after every outing. Note what stayed dry, what froze, what you never used, and what you wished had been easier to reach. Over time, your checklist becomes more valuable than another piece of gear because it reflects your real field experience.
Lighting deserves its own line on that list. Winter nights are long, storms reduce visibility, and cold can punish weak battery setups. A dependable lantern that's lightweight, rechargeable, and easy to use inside a tent or around camp removes one more variable from an already demanding environment. That matters whether you're backpacking, car camping, or preparing for outages at home.
With the right preparation, winter camping becomes less about enduring the cold and more about moving comfortably through it. Build each system carefully, test it close to home before committing to bigger trips, and let your checklist do part of the thinking for you. That's how you turn cold weather from a liability into part of the experience.
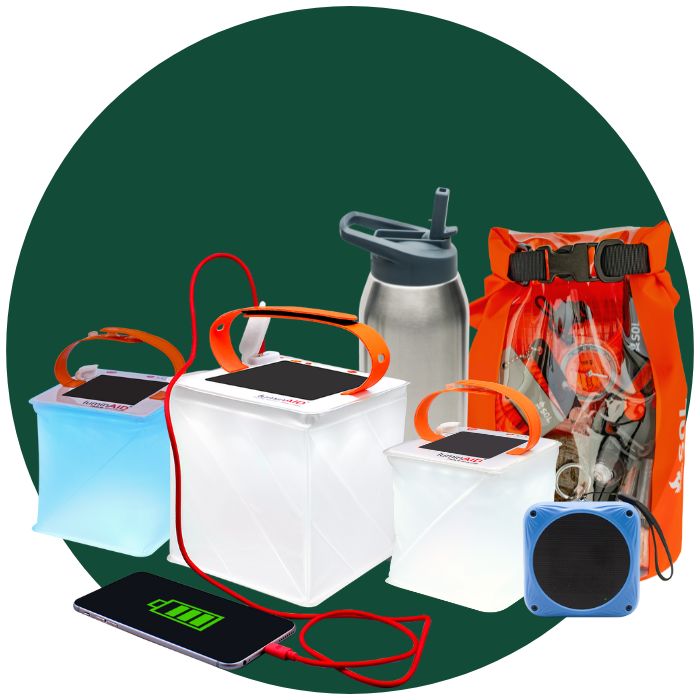
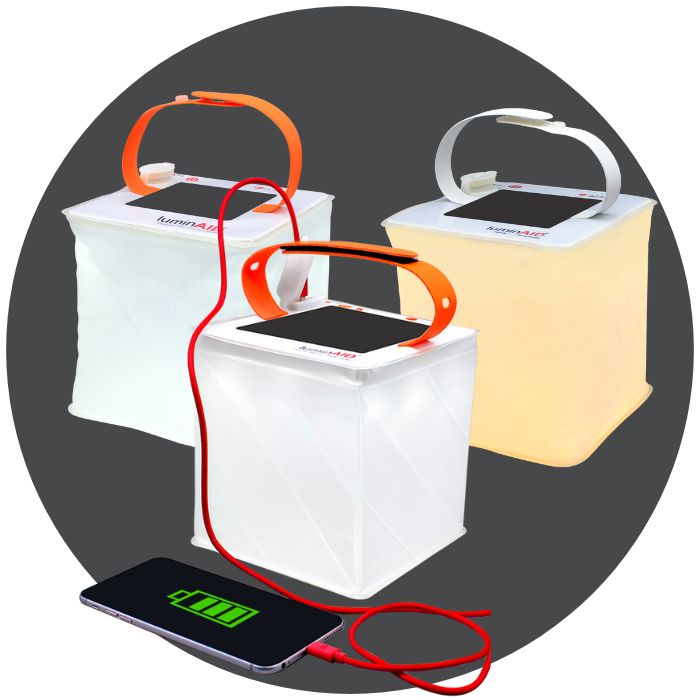
If you want reliable off-grid light for winter camps, storm kits, and dark trailhead starts, take a look at LuminAID. Their portable solar lanterns and 2-in-1 phone chargers are easy to pack, simple to recharge, and well suited to cold-weather routines where dependable lighting and backup power really matter.