

Camping in the snow isn't just for hardcore survivalists. It completely transforms familiar landscapes into a pristine, silent wilderness. For anyone willing to gear up and learn the ropes, it offers an adventure that tests your skills and rewards you with a profound sense of solitude.
It definitely requires more specialized gear and knowledge, but it's an incredibly rewarding experience for those who come prepared. With the right approach, you can safely and comfortably enjoy the quiet beauty of a world blanketed in white.
Why Winter Camping Is Worth the Effort

The idea of sleeping outside in freezing temperatures might seem a little crazy at first, but a growing number of us are discovering its unique appeal. The biggest draw? The unparalleled peace and quiet.
Forget crowded summer campsites and busy trails. Winter camping means quiet, snow-covered vistas where the only sounds are the crunch of your boots and the whisper of the wind. It’s an opportunity to experience the wild in a totally different light.
And thanks to modern advancements in cold-weather gear, camping in snow is more accessible and safer than ever. You're not just surviving the cold—you're learning to thrive in it. That builds a deeper connection with nature and a whole lot of confidence in your own abilities.
A Growing Trend for Good Reason
The numbers don't lie—people are catching on to the magic of winter. Cold-weather adventures saw a massive 40% increase in participation between 2019 and 2021. By 2023, nearly a third of all campers were heading out in winter, partly to avoid the five-times greater difficulty of booking sites in peak season.
This shift points to a desire for more authentic and challenging outdoor experiences. The skills you need for a successful trip, from setting up a stable camp in the snow to managing your body temperature, are genuinely empowering.
Embracing the Winter Challenge
Venturing out into the snow is more than just a camping trip; it unlocks a whole new set of adventures. You can learn about some exciting https://luminaid.com/blogs/news/8-outdoor-activities-you-can-only-do-in-winter, from snowshoeing across untouched fields to ice fishing on a frozen lake.
To truly enjoy these unique challenges, it’s crucial to assemble an essential winter survival kit. Mastering these skills will turn what might seem like an intimidating idea into an unforgettable adventure you’ll want to repeat year after year.
Dressing for Success in Sub-Zero Temperatures
When you're camping in the snow, your clothing is more than just comfort—it's your first and most important line of defense against the cold. The single biggest mistake I see newcomers make is underestimating how quickly their own sweat can chill them to the bone.
First rule of winter camping: forget cotton. Think of it as a sponge that holds moisture right against your skin, a recipe for disaster in freezing conditions.
The secret to staying warm and safe is mastering the three-part layering system. This isn't about wearing one bulky jacket; it's about creating a personal microclimate that you can fine-tune on the fly. This system lets you adapt whether you're working up a sweat setting up your tent or sitting perfectly still watching the stars.
Each piece has a job to do: one pulls moisture away, one traps heat, and one shields you from the elements. Getting this right is probably the most critical skill you can learn for camping in the snow.
Your First Line of Defense: The Base Layer
This is the layer that sits right against your skin, and it has one incredibly important job: to pull sweat away from your body. Trust me, even when it's freezing, you will sweat, especially when you're hiking, digging, or chopping wood. If that moisture hangs around, it will suck the warmth right out of you, putting you at serious risk for hypothermia.
This is why merino wool is the undisputed champion for winter base layers. It’s a powerhouse at wicking moisture, it keeps insulating even when it gets a little damp, and it has the added bonus of being naturally odor-resistant. While synthetics like polyester also work well and are usually easier on the wallet, many seasoned winter campers (myself included) swear by the performance and feel of merino.
Your base layer—both top and bottom—should be snug, but not so tight that it restricts your movement. Think of it as your moisture manager, not your primary source of warmth.
The Engine Room: Your Insulating Mid-Layer
This is where your warmth comes from. The mid-layer's job is to trap the body heat that your base layer has worked so hard to keep dry. The right mid-layer depends entirely on the temperature and what you're doing.
Versatility is everything here. I've found it's almost always better to have a couple of lighter mid-layers you can combine than one single, bulky one.
Some of the best materials for this job include:
-
Fleece: A true classic. It's lightweight, breathes incredibly well, and still keeps you warm if it gets damp. Perfect for when you're on the move.
-
Down Insulation: Nothing beats down for its warmth-to-weight ratio. It’s incredibly light and compressible, but it's completely useless when wet. Save it for those very cold, very dry days.
-
Synthetic Insulation: This is your reliable workhorse. It mimics the loft of down but has the huge advantage of staying warm even when damp, making it a safer bet for snowy environments.
A great combo is a fleece jacket paired with a puffy synthetic vest. This gives you tons of options for dialing in your temperature without having to stop and change your whole setup. As you build out your gear, our guide on what to wear for general camping clothes is a great resource for finding versatile pieces.
Your Guardian: The Outer Shell Layer
The final piece of the puzzle is your shell. This is your armor against the wind, snow, and rain. A good shell has to be two things: waterproof and breathable. If it's not breathable, all that moisture your other layers wicked away gets trapped, and you'll end up soaked from the inside out. It defeats the whole purpose of layering.
Look for jackets and pants made with materials like GORE-TEX or a similar waterproof/breathable fabric. A few features are non-negotiable for a winter shell: a hood that fits over a helmet, waterproof zippers, and vents (like "pit zips" under the arms) that let you dump heat in a hurry. Make sure your shell is roomy enough to fit over your other layers without squishing them down.
To really nail this down, here's a simple breakdown of how the system works together.
Your Winter Camping Layering System
| Layer | Primary Function | Recommended Materials | Example Items |
|---|---|---|---|
| Base Layer | Wicking: Pulls sweat off your skin to keep you dry. | Merino Wool, Synthetic (Polyester, Polypropylene) | Long-sleeve crew neck top, full-length leggings. |
| Mid-Layer | Insulating: Traps body heat to keep you warm. | Fleece, Down, Synthetic Puffy (PrimaLoft®, etc.) | Fleece jacket, down vest, synthetic insulated puffy jacket. |
| Shell Layer | Protecting: Blocks wind, rain, and snow. | Waterproof/Breathable Membranes (GORE-TEX®, etc.) | Hardshell jacket and pants with sealed seams. |
Mastering the interplay between these three layers is what separates a comfortable, fun winter trip from a miserable, dangerous one.
Don't Neglect Your Extremities
You can lose a shocking amount of heat from your head, hands, and feet. Keeping them warm and dry is every bit as important as your core layers.
-
Headwear: A warm beanie is a must. When the wind picks up, a balaclava or neck gaiter (like a Buff) is a game-changer for protecting your face and neck from frostbite.
-
Gloves: Don't just bring one pair. I use a system: thin liner gloves for tasks that require dexterity, and heavily insulated, waterproof outer mittens for maximum warmth. Mittens are always warmer than gloves because they let your fingers share heat.
-
Footwear: No cutting corners here. You need insulated, waterproof winter boots rated for temperatures colder than what you expect. Make sure they fit properly with a pair of thick wool socks—if they're too tight, they'll cut off circulation and your feet will get cold no matter how good the boots are.
Finally, always be ready for things to go wrong. A good first-aid kit is essential on any trip, but it's even more critical in winter. You might consider a pre-made winter kit from a reliable brand like Adventure Medical Kits, which comes packed with supplies for cold-weather injuries.
Building a Bombproof Winter Shelter and Sleep System
Your shelter is more than just a place to sleep when you're out in the snow; it's your lifeline. It has to be strong enough to handle heavy snow loads and biting winds, while your sleep system needs to insulate you from the frigid ground. Getting these two pieces of the puzzle right is the difference between a safe, comfortable night and a dangerously cold one.
I see a lot of campers make the mistake of thinking their standard three-season tent will cut it. This is a critical error. Those tents are designed for rain and bugs, not the unique pressures of a winter environment. Their poles often can't handle the weight of accumulating snow, and their mesh-heavy walls offer almost no protection from freezing winds.
Choosing a True Four-Season Tent
A genuine four-season tent is engineered from the ground up for harsh conditions. Let's be clear—no tent is truly warm. Its job is structural integrity and weather protection. When you’re looking for a winter shelter, there are a few non-negotiable features you need.
Here’s what to look for:
-
Robust Pole Structure: Real four-season tents use more poles made from stronger materials. They often cross multiple times to create a sturdy dome or tunnel shape that’s designed to shed snow and deflect punishing winds.
-
Durable Fabric: The tent walls are made of tougher, less-porous nylon or polyester. This is key for blocking wind far more effectively than the breezy mesh on three-season models.
-
Minimal Mesh: You need some ventilation, but four-season tents limit mesh to small, coverable panels. This helps trap a thin, precious layer of warmer air inside.
-
Snow Flaps or Valances: These are fabric skirts around the base of the rainfly. You can pile snow on them to create a solid seal against spindrift—that fine, wind-blown snow that magically works its way into everything.
Condensation is your enemy in the cold. The moisture from your breath can freeze solid on the inside of your tent, literally creating "indoor snow." Proper ventilation, even when it feels totally counterintuitive, is the only way to fight it.
Setting Up Your Winter Campsite
Once you have the right tent, how you set it up is just as important as what you bought. Don’t just find a flat spot and start pitching. You need to build a stable, insulated platform first.
Start by stomping down the snow where you plan to pitch the tent. Use your boots or snowshoes to create a packed area significantly larger than your tent’s footprint. This compressed snow is a much better insulator than loose powder and prevents you from sinking into a pit overnight.
After the platform is packed, let it sinter, or set up, for at least 30-60 minutes. This is a crucial step where the compressed snow crystals bond together, creating a firm, solid base. While it’s setting, you can unpack other gear or get a hot drink going.
Anchoring your tent is the final piece. Regular tent stakes are completely useless in deep snow. You'll need specialized snow stakes, which are longer and wider for more grip. Another pro trick is to create "deadman anchors" by burying stuff sacks filled with snow, logs, or even your trekking poles horizontally and attaching your guylines to them.
Your Sleep System: The Foundation of Warmth
A great tent protects you from the elements, but your sleep system is what keeps you warm. It’s made of two equally important parts: your sleeping pad and your sleeping bag.
The Indispensable Sleeping Pad
The ground is a massive heat sink, constantly trying to suck the warmth right out of your body through conduction. Your sleeping pad is the barrier that stops this process. Its insulating power is measured by its R-value—the higher the number, the better it resists heat flow.
For winter camping, an R-value of 5 or higher is essential. Many of us achieve this by layering two pads: a closed-cell foam pad on the bottom (it can't deflate, which is a huge plus) and an insulated inflatable pad on top for comfort and extra warmth.
This infographic shows the layering concept, which applies to both your clothing and your gear to create an effective insulation system.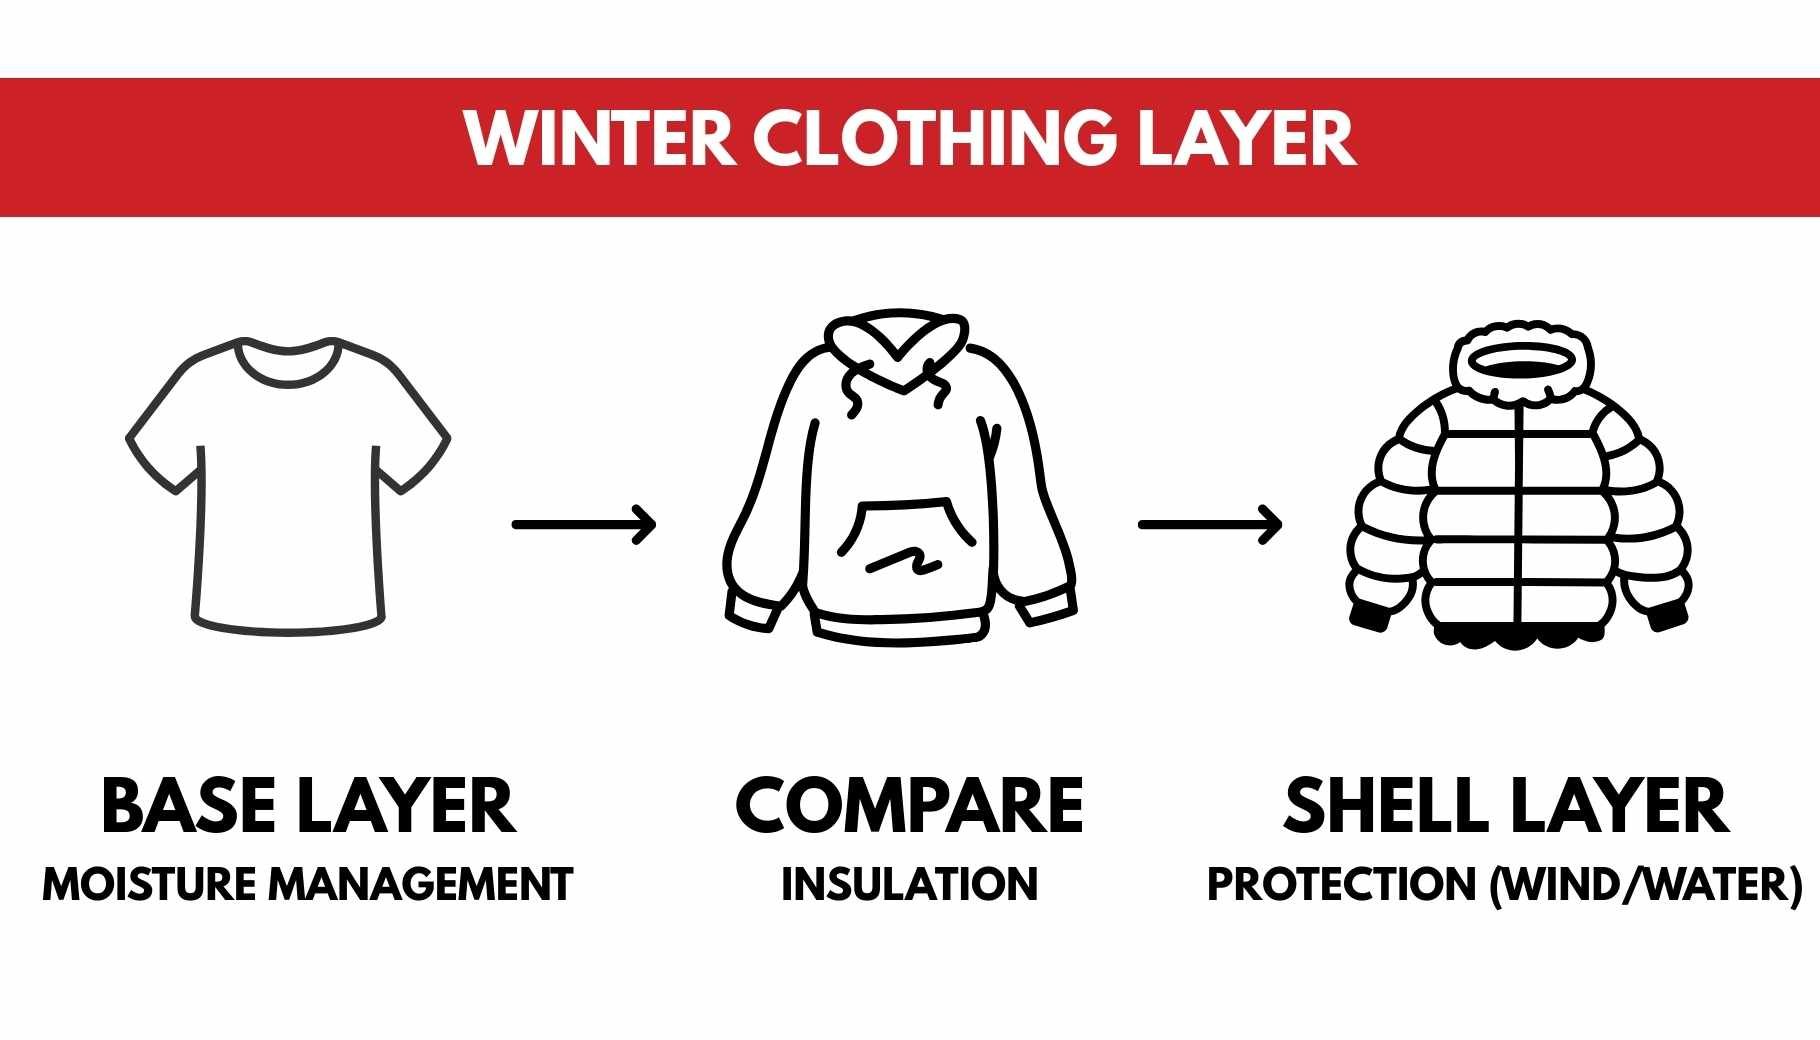
Just as each layer of clothing has a specific job, each part of your sleep system works together to shield you from the cold.
Decoding Sleeping Bag Ratings
Sleeping bag temperature ratings can be misleading. A 0°F bag will probably keep you alive at that temperature, but you won't be comfortable. A good rule of thumb I’ve always followed is to choose a bag rated at least 10-15°F colder than the lowest temperature you actually expect to face.
To get the most out of your bag, here are a few simple but effective tricks:
-
Hot Water Bottle: Fill a hard-sided water bottle (like a Nalgene) with hot water, seal it tight, and stick it in your sleeping bag. It acts like a personal furnace for hours.
-
Eat a Snack: A high-fat snack before bed gives your body fuel to burn, generating heat all night long.
-
Store Gear Inside: I always stuff my boot liners, electronics, and the next day's base layer inside my sleeping bag. This keeps them from freezing solid and ensures my batteries still work in the morning.
Building a secure shelter and a warm sleep system are foundational skills. To round out your setup, check out our complete list of tent camping essentials for more ideas on creating a solid basecamp. With the right prep, camping in the snow shifts from a test of survival into a truly incredible experience.
Staying Fueled and Hydrated in Freezing Conditions
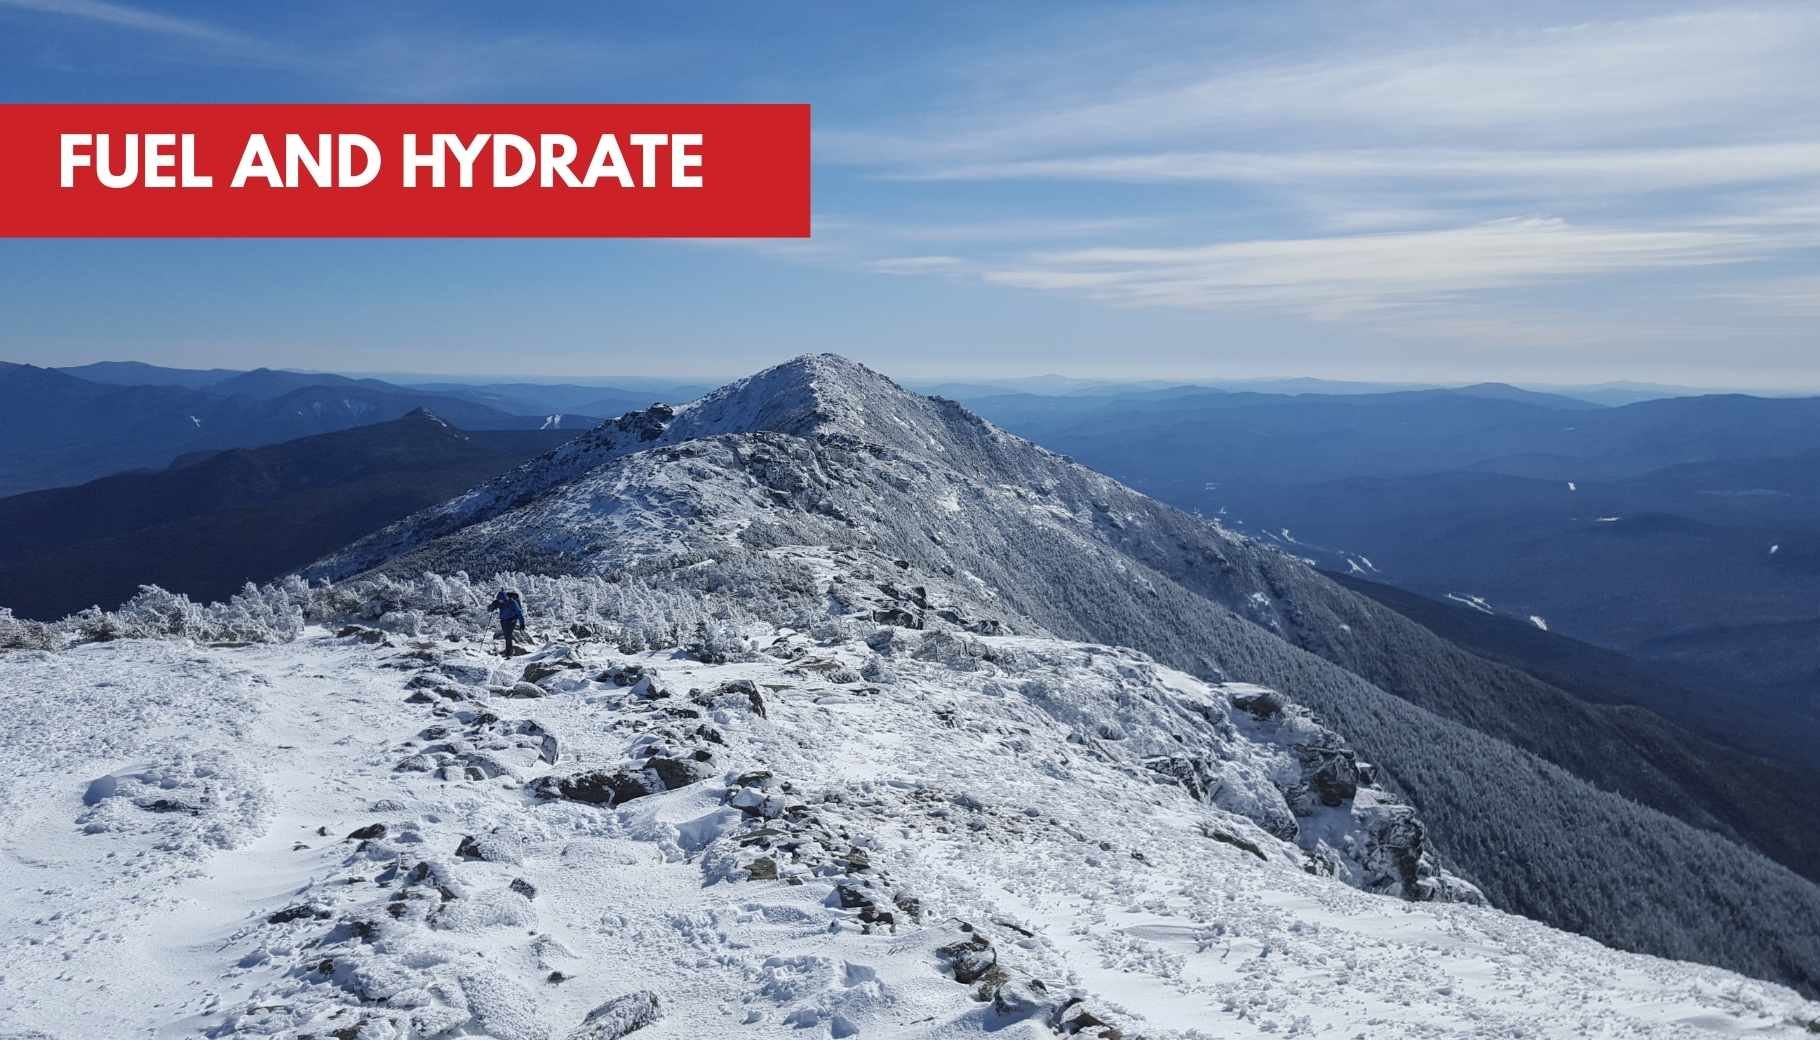
Your body is a furnace, and in the bitter cold, it's working overtime just to keep you from freezing. That process burns a shocking amount of calories. If you don't keep stoking the fire, you're setting yourself up for exhaustion and, even worse, hypothermia. This is where your nutrition and hydration strategy becomes non-negotiable.
When it comes to meals, think simple, hearty, and calorie-dense. Forget elaborate recipes; one-pot wonders packed with fats, proteins, and complex carbs are your best friend out here. Dehydrated meals are a fantastic base, but I always kick them up a notch by adding a splash of olive oil, a handful of cheese, or some nuts to seriously boost the calorie count.
The Right Stove for the Job
Your stove is more than a convenience in winter; it's a lifeline. And I've seen it happen time and again: the trusty canister stove that works flawlessly in summer becomes completely useless when the temperature drops. The pressure inside those canisters plummets in the cold, leaving you with a weak flame or no flame at all.
For serious winter camping, liquid fuel stoves (running on white gas) are the undisputed champs. They let you manually pump up the pressure, giving you a roaring, consistent flame even in sub-zero conditions. Yes, they’re heavier and take some practice, but their reliability is worth its weight in gold when melting snow is your only way to get water.
For a well-rounded approach to winter wellness, it's also worth knowing about the best foods to boost your immune system, which is especially important when you're pushing your body in the cold.
How Camping Stoves Perform in the Cold
Choosing the right stove can make or break your trip. Your summer favorite might not cut it when the mercury drops below freezing. Here’s a quick breakdown of how common stove types stack up in winter conditions.
| Stove Type | Pros in Cold Weather | Cons in Cold Weather | Best For |
|---|---|---|---|
| Liquid Fuel | Highly reliable in sub-zero temps; user can maintain pressure; fuel is inexpensive. | Heavier; requires priming and maintenance; can be complex for beginners. | Serious winter expeditions and when melting large quantities of snow. |
| Canister | Lightweight, clean-burning, and incredibly easy to use. | Performance degrades sharply below freezing; fuel is more expensive. | Shoulder seasons or mild winter days where temperatures stay above 20°F (-6°C). |
Ultimately, a liquid fuel stove is the most dependable choice for deep winter, but a canister stove can work on warmer winter days if you take precautions like keeping the canister warm in a pocket.
The Overlooked Danger of Dehydration
It’s easy to forget to drink water when you’re not dripping with sweat, but dehydration is a sneaky and dangerous threat in winter. The cold, dry air literally pulls moisture out of your body with every breath you take.
Staying hydrated is also one of your best defenses against hypothermia. Proper hydration helps your blood circulate efficiently, which is critical for keeping your fingers and toes warm.
Most of the time, your water will come from snow. Just remember the golden rule: never eat snow to hydrate. Your body has to burn precious energy to melt it, which can dangerously lower your core temperature.
Pro Tip for Melting Snow: Always start with a little bit of liquid water in the bottom of your pot. Add snow in small batches, letting it melt before adding more. This simple trick prevents you from scorching your pot and getting that nasty, burnt taste in your water.
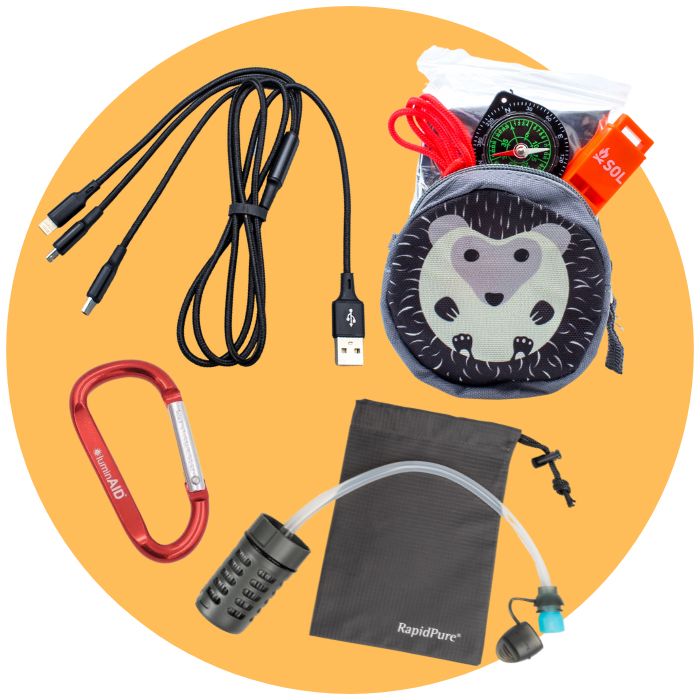
Don't assume melted snow is clean, either. It can hold airborne pollutants and bacteria. Always treat your water. While chemical treatments are an option, they work very slowly in the cold. A good filter is a far more reliable bet. I'm a big fan of systems from RapidPure because they are specifically designed to work in these conditions and remove pathogens effectively.
Keeping Your Water Liquid
Okay, so you’ve melted and treated your water. Now you have to stop it from turning into a useless block of ice. It's a constant battle out there.
Here are a few tricks I've learned over the years:
-
Insulate Your Bottle: Wrap your water bottle in a foam sleeve or even a thick wool sock. It makes a huge difference.
-
Store It Upside Down: Water freezes from the top down. By flipping your bottle upside down in your pack, you keep the threads from freezing shut, so you can actually open it.
-
Bring It to Bed: At night, there’s only one foolproof method. Keep a sealed, leak-proof bottle inside your sleeping bag with you. It might feel a bit chilly at first, but it guarantees you'll have drinkable water in the morning.
Navigating Safely Through a Winter Landscape
When a blanket of snow covers the ground, it does more than just make the world beautiful—it completely erases the landscape you thought you knew. Familiar trails vanish. Dips in the terrain become hidden traps, and distances become incredibly deceptive.
Safe travel out here isn't just about knowing where you're going; it's about understanding how to move through a fundamentally altered environment. Underestimating this change is a common and dangerous mistake. A simple summer day hike can become a serious navigational challenge under a few feet of snow. Your focus has to shift to methodical, careful movement and constant situational awareness.
Your Essential Navigation Toolkit
Modern technology is an incredible asset in the backcountry, no doubt about it. A reliable GPS unit or a smartphone with a downloaded topographic map app is an essential piece of your kit. They give you precise location data that's invaluable when visibility is low or landmarks are totally obscured.
But relying solely on electronics is a rookie error. Extreme cold is absolutely brutal on batteries, draining them at an alarming rate. It’s not a matter of if your device will fail, but when.
This is exactly why a physical map and a good compass are non-negotiable backups. They're foolproof, require no power, and are the foundational skills every winter traveler must master. Before you ever set foot on a snowy trail, practice taking bearings and triangulating your position in a familiar area. Trust me, this skill is your ultimate safety net.
Understanding Avalanche Risk
One of the most significant dangers of winter backcountry travel is, without question, avalanches. You don't have to be a professional mountaineer to find yourself in avalanche terrain; any slope steeper than 30 degrees can pose a risk.
Your safety begins long before you hit the trail. Always, always check the local avalanche forecast from a trusted organization like the American Avalanche Association or Avalanche Canada. These reports provide critical information on snowpack stability and current danger ratings. If the risk is considerable or high, change your plans. It's that simple.
Learning to identify potential avalanche terrain is a vital skill you need to develop:
-
Recognize Steep Slopes: Pay close attention to the angle of the terrain you're on and, just as importantly, the slopes above you.
-
Look for Terrain Traps: Features like gullies, creek beds, or abrupt flat areas below a slope can trap and bury you deeper in debris if a slide occurs.
-
Identify Signs of Instability: Keep an eye out for evidence of recent avalanches, cracking in the snow underfoot, or hollow, "whumpfing" sounds. These are all red flags.
Never travel in avalanche terrain without proper training and gear (transceiver, shovel, probe) for every single person in your group. Your best tool, however, is avoidance. If you have any doubts, turn back.
Protocols for Winter Safety
A successful and safe trip relies on a foundation of smart protocols. These aren't just suggestions; they are essential practices that can prevent a minor issue from becoming a life-threatening emergency.
First, always create and share a detailed trip plan. This document should include your intended route, your planned campsite locations, your expected return time, and a description of your gear. Leave it with a reliable person who knows exactly when to call for help if you're overdue.
Second, be vigilant about recognizing the early signs of cold-related injuries. Hypothermia and frostbite can set in subtly. You need to know the symptoms:
-
Hypothermia: Shivering is an early sign that actually stops as it worsens. Look for slurred speech, clumsiness, and confusion.
-
Frostbite: Numbness, waxy or discolored skin (white, gray, or bluish), and a pins-and-needles sensation are classic signs.
If you suspect either, stop immediately, seek shelter, and begin rewarming procedures. Don't wait.
Finally, make sure your emergency gear is easily accessible, not buried at the bottom of your pack. Essential items from brands like Survive Outdoors Longer can make a critical difference. Additionally, if you're in an area with active winter wildlife, such as bears emerging from hibernation, carrying a reliable deterrent like Counter Assault bear spray is a wise precaution. Mastering these safety fundamentals ensures your winter adventure is memorable for all the right reasons.
Answering Your Snow Camping Questions
Even the most seasoned winter adventurer has questions. When you're planning a trip into a frozen landscape, a few "what-ifs" are bound to pop into your head while you're packing. Getting these sorted out beforehand can be the difference between a memorable trip for all the right reasons and a brutal lesson in the cold.
Let's tackle some of the most common questions we hear. Think of this as your quick-reference guide to building confidence before you head out.
How Do You Go to the Bathroom in the Snow?
This is easily one of the most frequent—and frankly, most important—questions. The goal is to stick to Leave No Trace principles, even when everything is frozen solid. It just takes a little more thought than in summer.
For urine, it's simple. Just walk at least 200 feet from your campsite, any trails, and especially any water sources. Find a spot with deep snow to keep the impact to a minimum.
For solid waste, what you do depends entirely on the ground beneath the snow:
-
If the ground isn't frozen solid: You can dig a cathole. Clear the snow away and dig 6-8 inches into the soil. When you're finished, fill the hole back in with the dirt, then cover it with snow.
-
If the ground is frozen: You absolutely must pack it out. This is non-negotiable. Use a commercial WAG bag or a similar human waste disposal system. Never, ever leave solid waste or toilet paper on the surface of the snow.
What Temperature Rating Should My Sleeping Bag Have?
This is a critical safety decision, and it's no time for optimism. A sleeping bag's temperature rating isn't about comfort; it's the lowest temperature at which an "average" sleeper can survive. You want to be comfortable and warm, not just alive.
A good rule of thumb is to pick a bag rated at least 10-15°F colder than the absolute lowest temperature you expect to encounter. For most winter camping across North America, a bag rated between 0°F and -20°F is a smart, safe choice.
Don't forget, your sleeping pad is just as crucial as your bag. Snow is a massive heat sink. You need a pad with a high R-value (think 5 or higher) to insulate you from the frozen ground. The world's best sleeping bag won't keep you warm without proper ground insulation.
How Do I Keep My Water Filter from Freezing?
This is a big one. Most common water filters, especially the hollow-fiber kind, are permanently destroyed if they freeze. The ice expands and creates tiny cracks in the filter membrane, which means it can no longer safely remove nasty pathogens.
Preventing a freeze-up has to be a top priority. After every use, shake, swing, or blow as much water out of the filter as you possibly can. During the day, the safest place for it is in a pocket close to your body, like an inner jacket pocket.
At night, there's only one guaranteed safe spot: inside your sleeping bag with you. To be safe, put it in a Ziploc or dry bag first to prevent any drips, then tuck it in for the night. If you even suspect your filter might have frozen, you can no longer trust it. It's done. Always carry a backup, like water purification tablets. You can find reliable options from brands like Adventure Ready Brands to add to your emergency kit.
Will My Regular Canister Stove Work in the Cold?
Your trusty isobutane-propane canister stove that works so beautifully in the summer? It's going to have a hard time in the cold. As temperatures drop toward freezing, the pressure inside the fuel canister plummets. This leads to a weak, sputtering flame that can barely melt snow, or worse, no flame at all.
Some modern canister stoves have a pressure regulator that helps them perform better, maybe down to around 20°F (-6°C). But for genuinely cold, sub-zero conditions, a liquid fuel stove is the only truly reliable option. These stoves, which run on white gas, allow you to manually pump the fuel bottle to build and maintain pressure. That means you get a strong, hot flame every time, no matter how far the mercury drops.
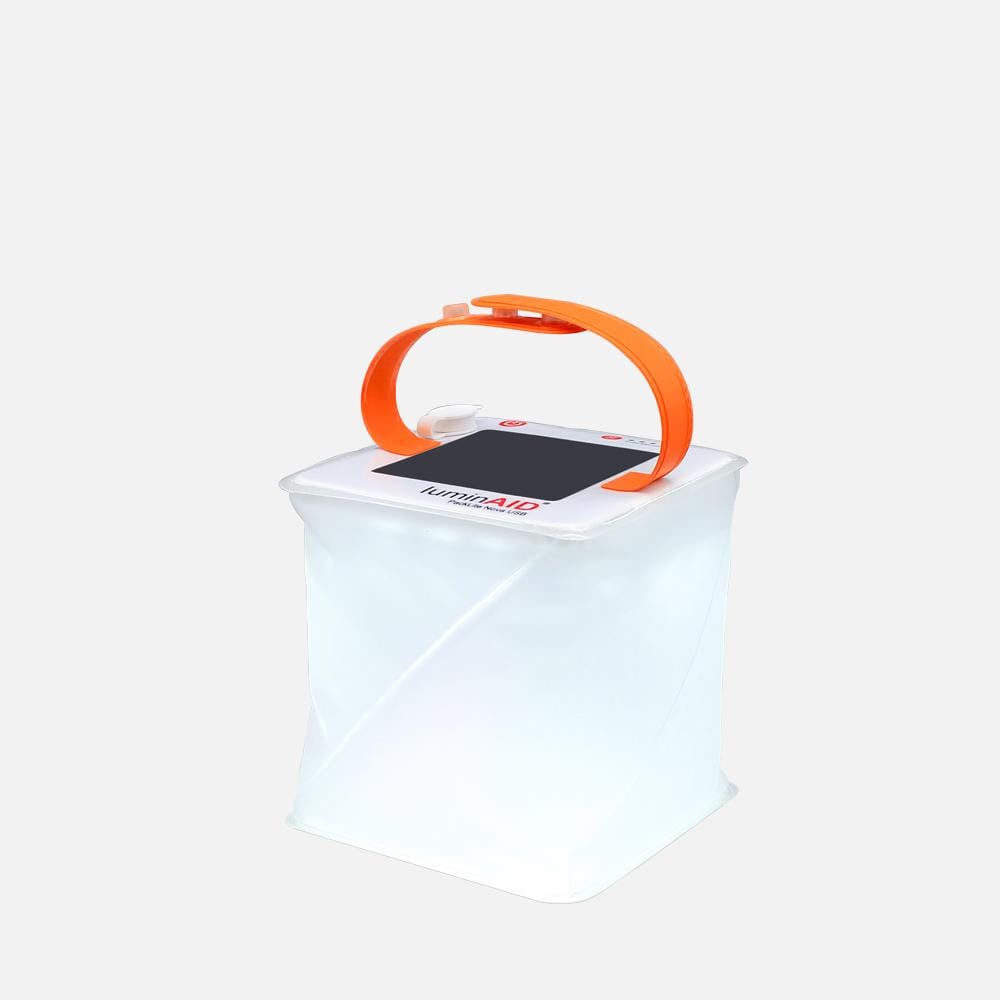
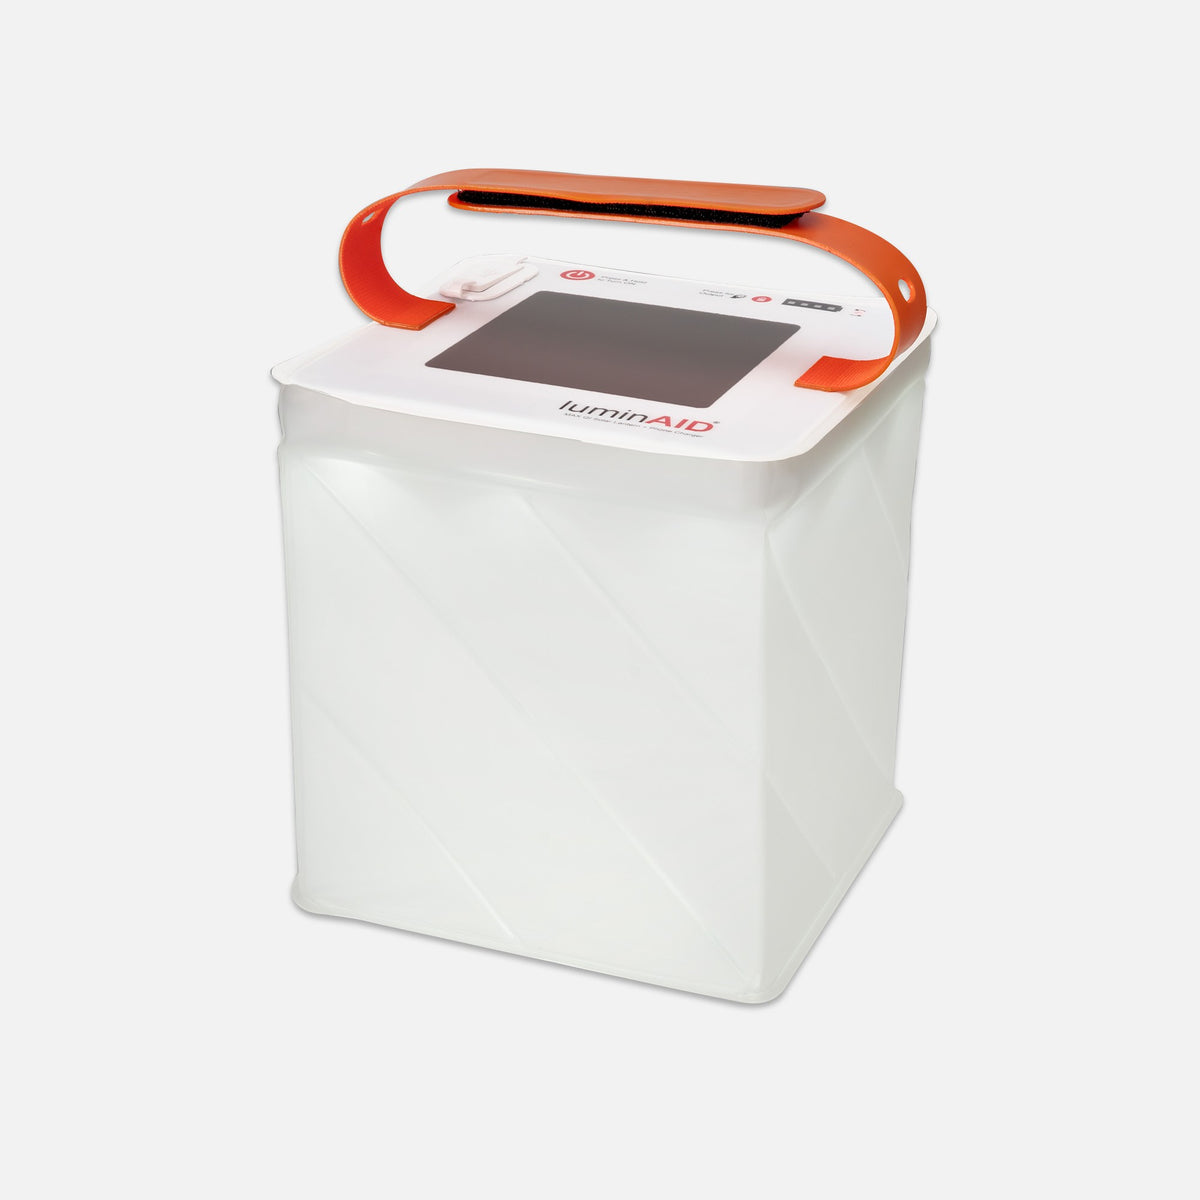
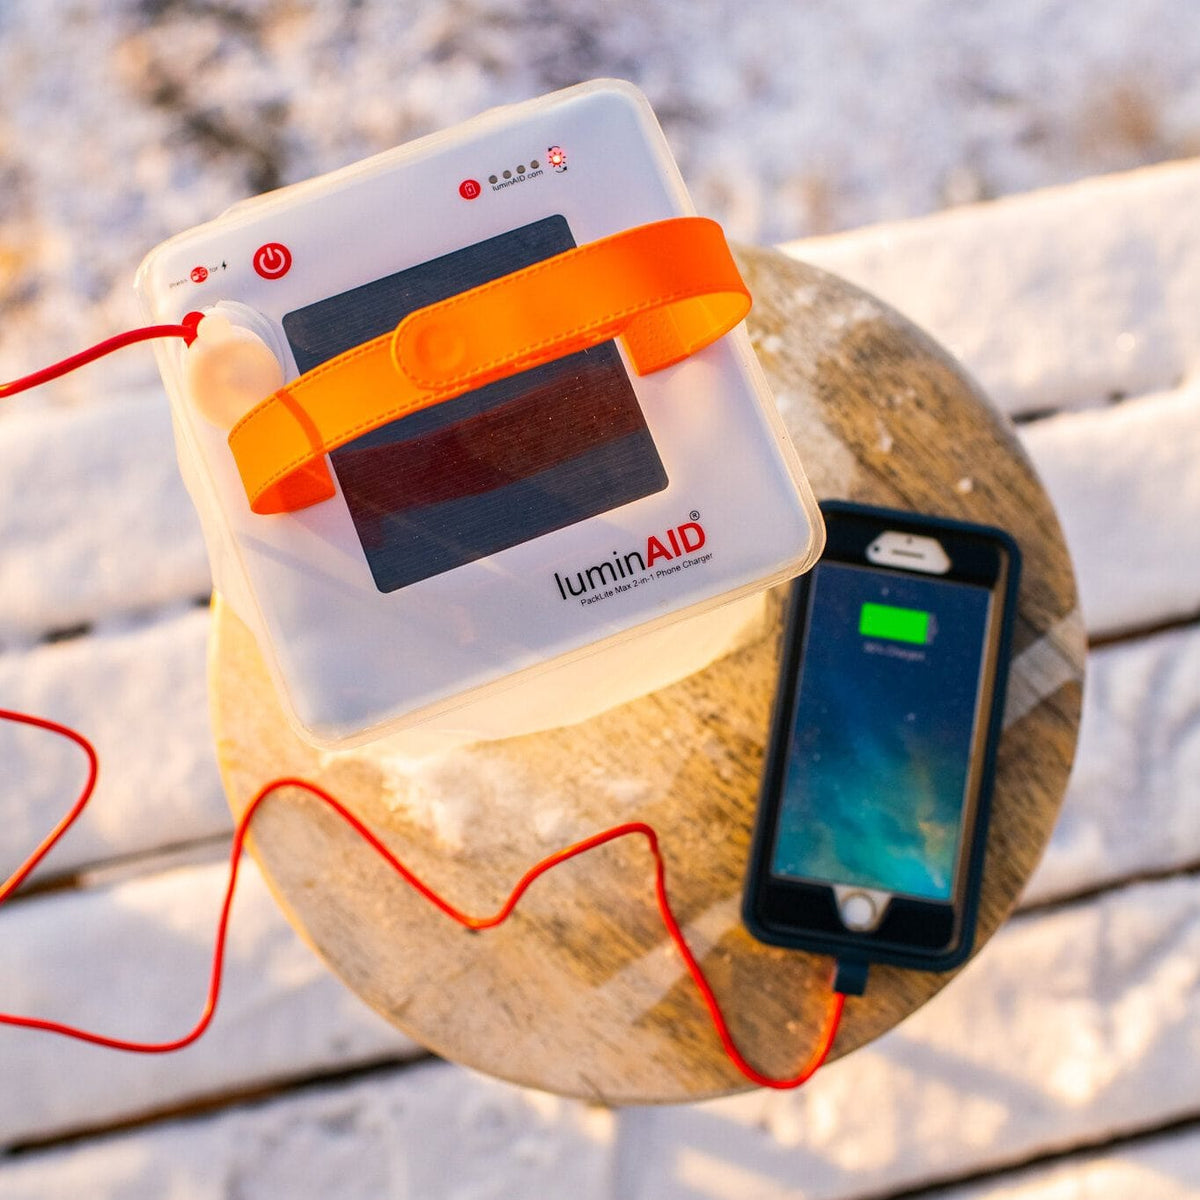
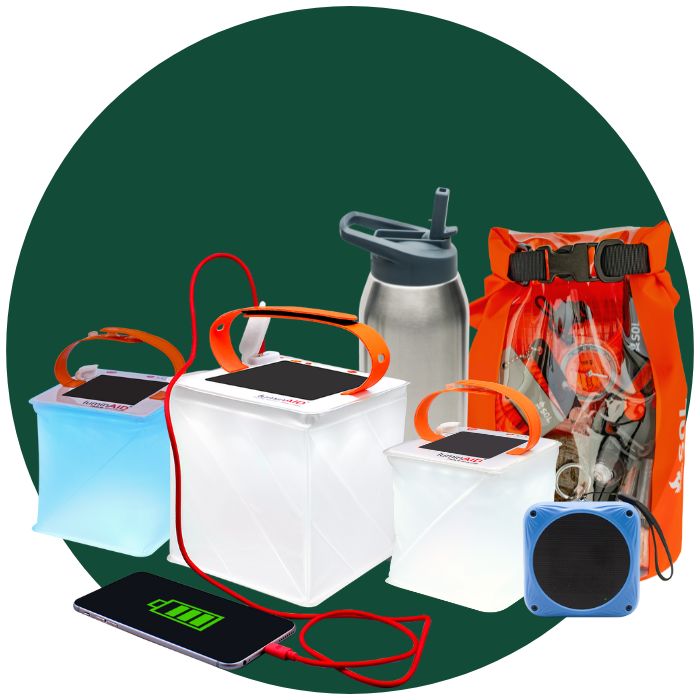
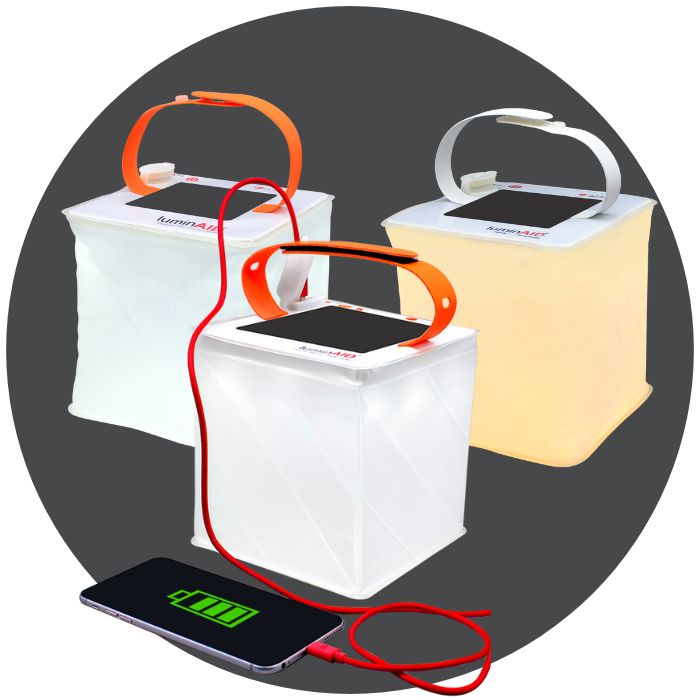
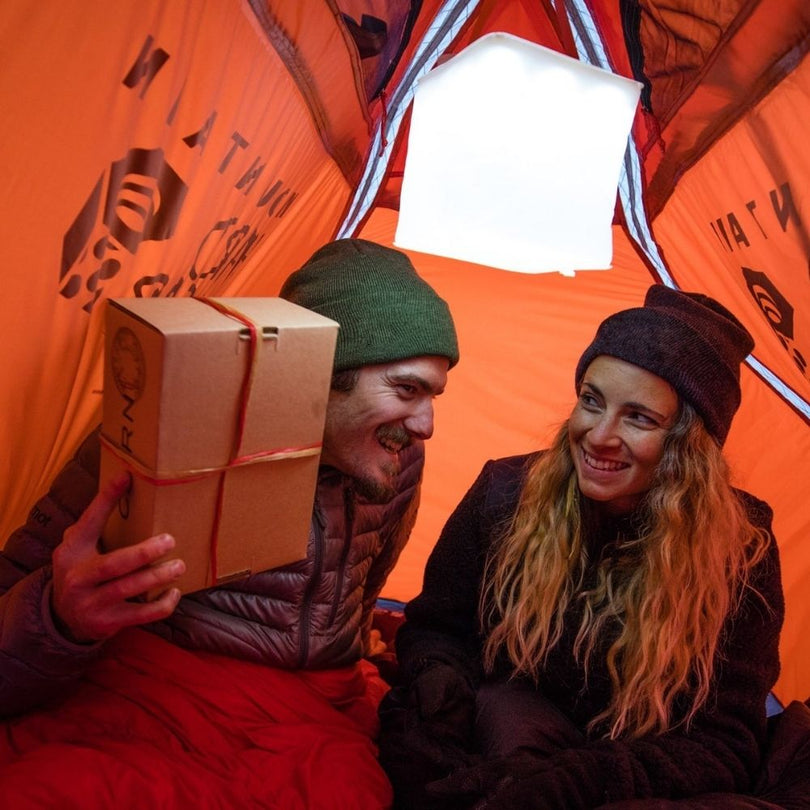
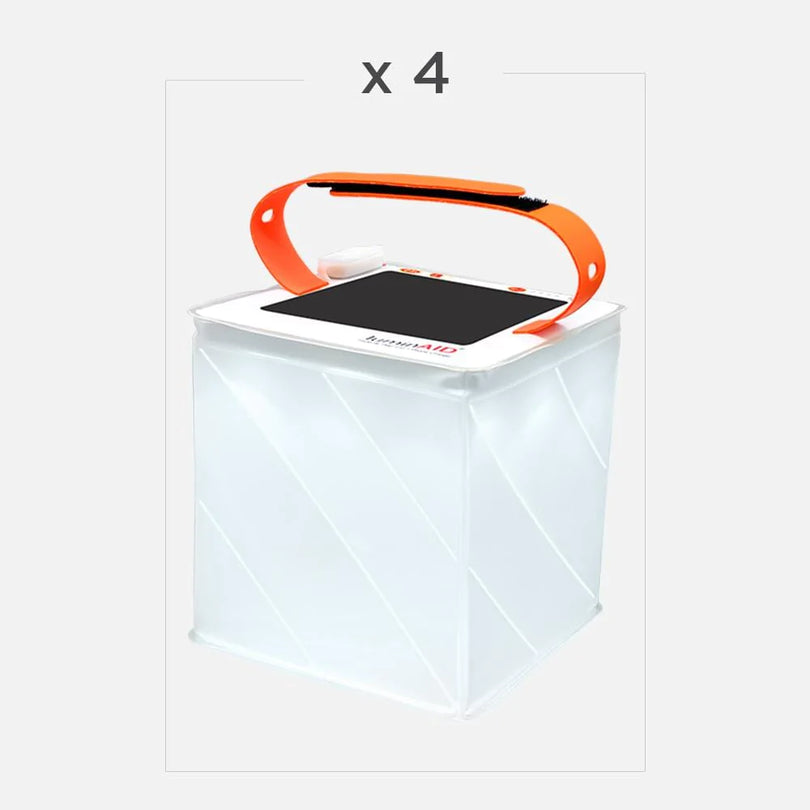
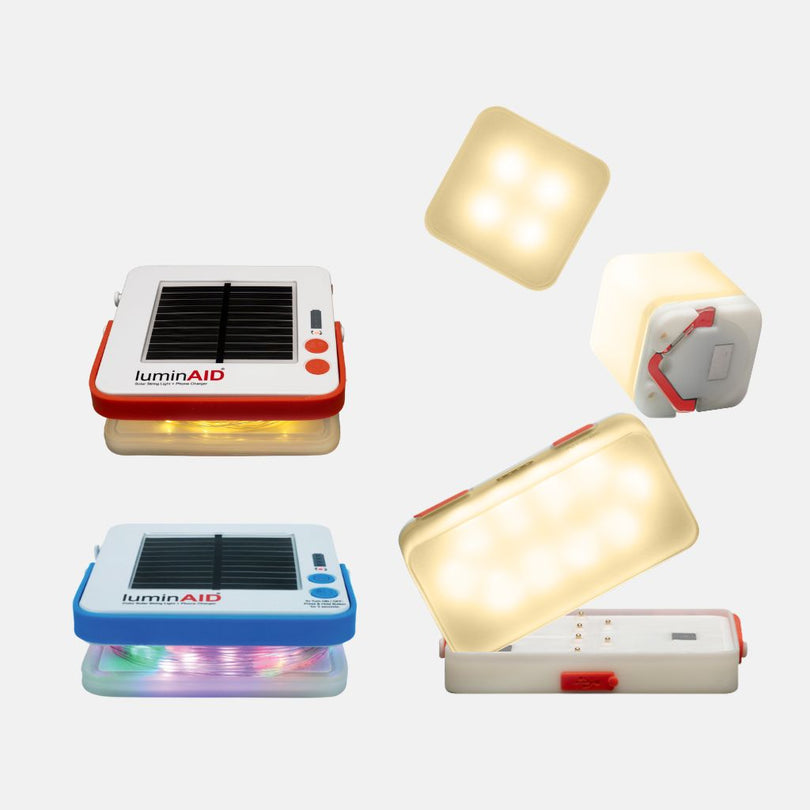
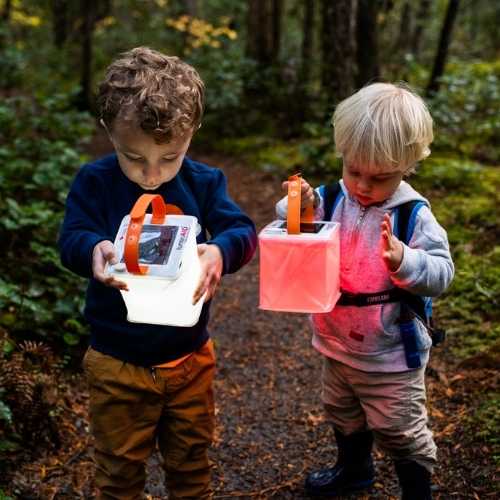
Heading into the backcountry in winter means you need gear that won't fail you when you need it most. For reliable, off-grid light and power, LuminAID makes packable solar lanterns and chargers built for the harshest conditions. Light up your camp and keep your devices charged without ever worrying about dead batteries. Check out our collection of rugged, dependable solar gear at https://luminaid.com.