
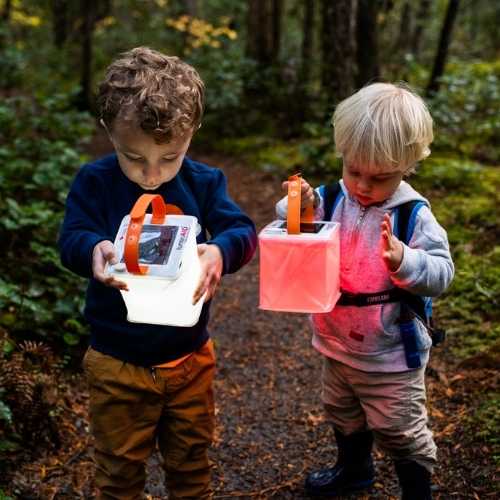

A pack that felt manageable beside the car can become a different problem after a long climb. Shoulder straps dig in, feet lose their spring, and a hiker starts choosing the shortest route back to camp instead of the most interesting one. Ultralight backpacking addresses that burden, but not by treating every ounce as an enemy.
The useful approach is a system of tradeoffs. A lighter shelter, sleep setup, pack, cooking kit, and lighting system can make each mile easier, while a reliable water treatment method, adequate insulation, navigation tools, and emergency light protect the margin that keeps a trip enjoyable. The aim isn't to become “stupid light.” It's to carry less without giving up sound judgment, sleep, weather protection, or the ability to handle an unexpected delay.
Table of Contents
- Why Lighter Packs Change Every Mile
- What Ultralight Really Means and How It Is Measured
- The Lightweight Gear System That Saves the Most Weight
- Eating Hydrating and Sleeping Light Without Cutting Corners
- Skills Safety and Judgment When Every Ounce Counts
- How to Plan Pack and Dial In Your Kit Step by Step
- Sample Itineraries, Pack Lists, and Smart Lighting Choices
Why Lighter Packs Change Every Mile
A heavy pack changes movement before a hiker consciously notices it. The stride shortens, uphill breaks become more frequent, and uneven ground demands more attention because fatigue reduces balance. A lighter load doesn't eliminate difficult terrain, but it leaves more energy for creek crossings, side trails, camp chores, and the simple pleasure of looking around instead of down.
Consider two hikers starting an overnight route. One has packed for every possible fear, including duplicate cookware, spare clothing for several weather patterns, and a large collection of “just in case” items. The other has researched the forecast, mapped water, tested a compact shelter, and chosen clothing that works in layers. Both may carry the same essentials, yet the second hiker has designed the kit as a connected system rather than a pile of individual objects.
That distinction matters for beginners and experienced backpackers alike. Ultralight backpacking isn't a contest that requires discomfort. It's a method for asking whether each item earns its place, whether two items can share a function, and whether a lighter choice creates a new problem elsewhere.
Practical rule: A lighter item is only an improvement when it still performs the job the trip demands.
The most useful progression starts with measurement, then moves to the largest gear categories, consumables, skills, and field testing. A hiker can begin by removing unused accessories, weighing existing equipment, and improving packing decisions before buying anything. Later, a shelter or sleep-system upgrade may produce a larger change than trimming tiny accessories.
That approach also creates room for personal priorities. One hiker may value a wide sleeping pad, another may keep a favorite hot drink, and a third may prioritize a compact light for cooking and emergencies after dark. The point isn't to copy a stranger's checklist. The point is to build a dependable kit around the route, weather, body, and experience level.
What Ultralight Really Means and How It Is Measured
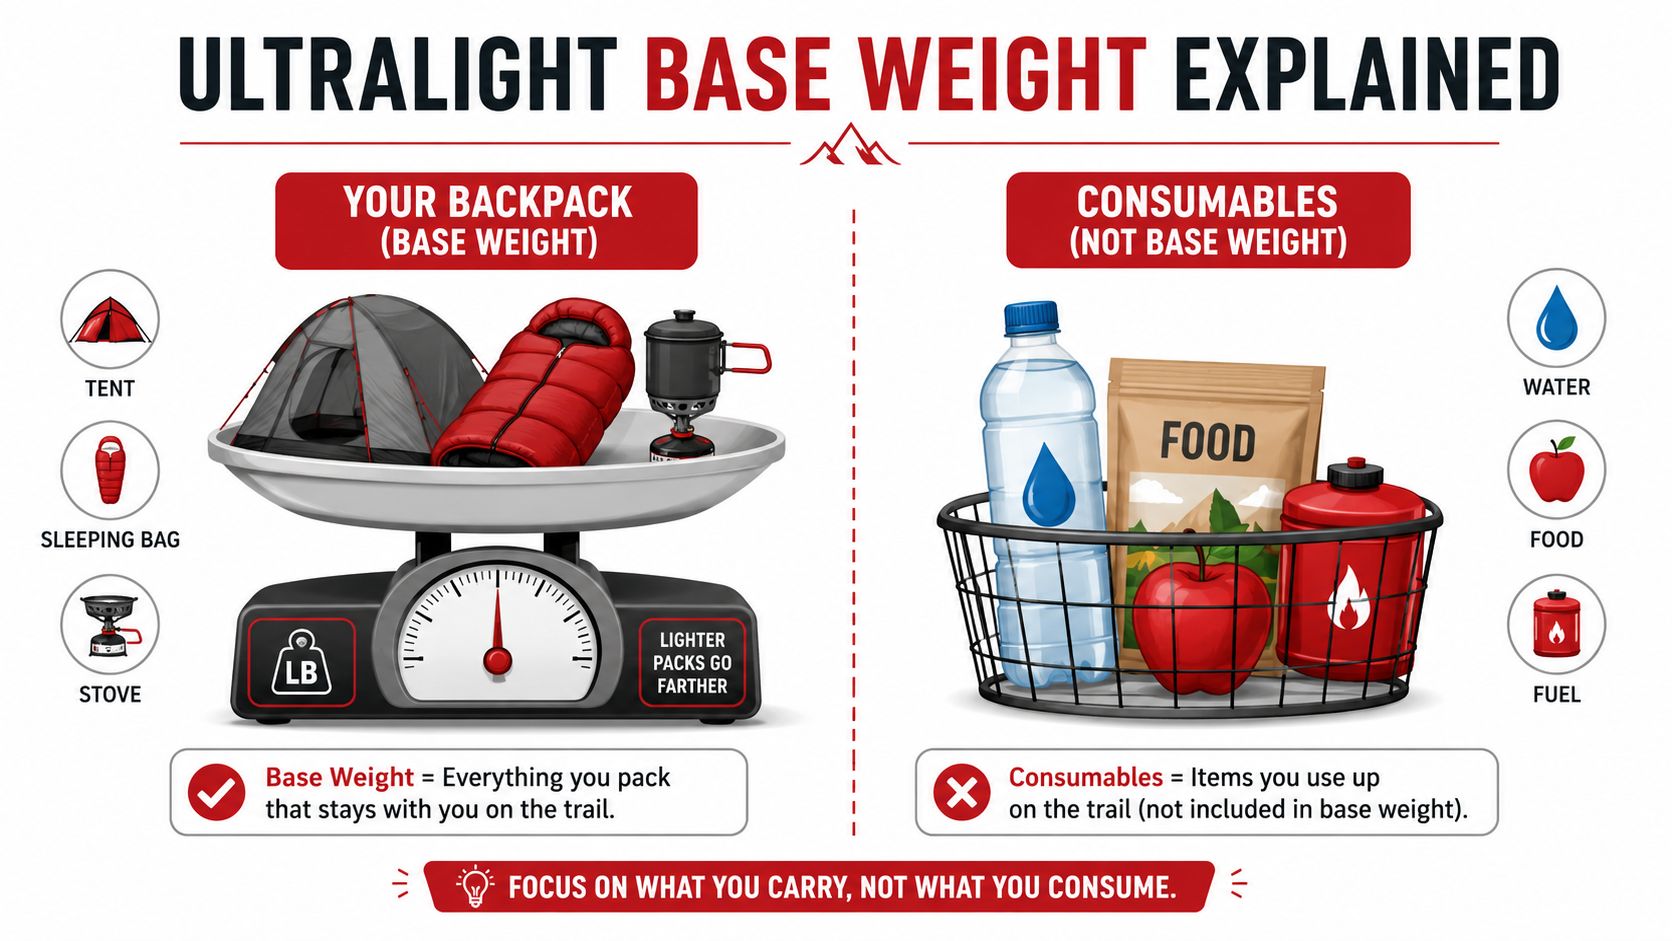
On a long day, a pack can feel like a bucket that never stops filling. Base weight gives you a way to identify the permanent load before adding water, food, and fuel. It includes the backpack, shelter, sleep system, carried clothing, cookware, navigation tools, first-aid supplies, electronics, and other equipment expected to remain from one trip to the next. Consumables belong in a separate category because they are used up or vary with the route.
A kitchen scale makes the distinction easy to see. Put fixed equipment in one pan, then place water, meals, and fuel in another. The first pan shows the load you carry every day, whether you are starting with a full food bag or approaching a resupply point.
The benchmark and its history
Modern ultralight backpacking is widely traced to Ray Jardine's 1992 PCT Hiker's Handbook, later retitled Beyond Backpacking in 1999. The book helped formalize the idea that reducing pack weight could improve efficiency on long-distance hikes, as documented in the history of ultralight backpacking.
Early Backpacking Light discussions in the United States used 12 pounds as an ultralight threshold before the community guideline moved downward. By the early 2000s, a base weight under 10 pounds, or 4.5 kilograms, had become the common benchmark. This number serves as a measuring line, not a command to remove gear that protects you from the route's actual conditions.
That distinction matters because ultralight is a system of tradeoffs. Lighter fabrics, efficient shelters, quilts, compact stoves, and redesigned packs made lower fixed loads more achievable. Yet each reduction can shift work elsewhere. A smaller shelter may require better site selection, while solar light and power can replace disposable batteries and reduce the weight of carrying separate lighting and charging solutions, provided the setup suits the trip. The useful target is the lightest dependable system, not the smallest pile of objects.
How to calculate a personal base weight
Use a repeatable process:
- Gather every carried item. Include the pack, shelter, sleeping insulation, pad, stove, pot, carried clothing, electronics, first-aid supplies, and small accessories.
- Separate consumables. Place food, fuel, water, sunscreen, and other supplies that will be used up in another category.
- Weigh items individually. Manufacturer weights may exclude accessories, straps, stuff sacks, or the size you own. A household scale gives a more realistic result.
- Record the list. A spreadsheet or gear-list app reveals substitutions and prevents small items from vanishing into an unmeasured “miscellaneous” category.
A medical study of long-distance backpackers found an average base pack weight of 10±3.6 kilograms, approximately 22.4±8 pounds, with observed weights ranging from 5 to 50 pounds. In that sample, 4.5% of hikers had a base pack weight below 4.5 kilograms, or 10 pounds, while 41% were below 9.1 kilograms, or 20 pounds, and 37% were below 13.6 kilograms, or 30 pounds, as reported in The Epidemiology and Medical Morbidity of Long-Distance Backpackers. Sub-10-pound kits therefore remain a minority, even as the benchmark continues to influence gear design.
The Lightweight Gear System That Saves the Most Weight
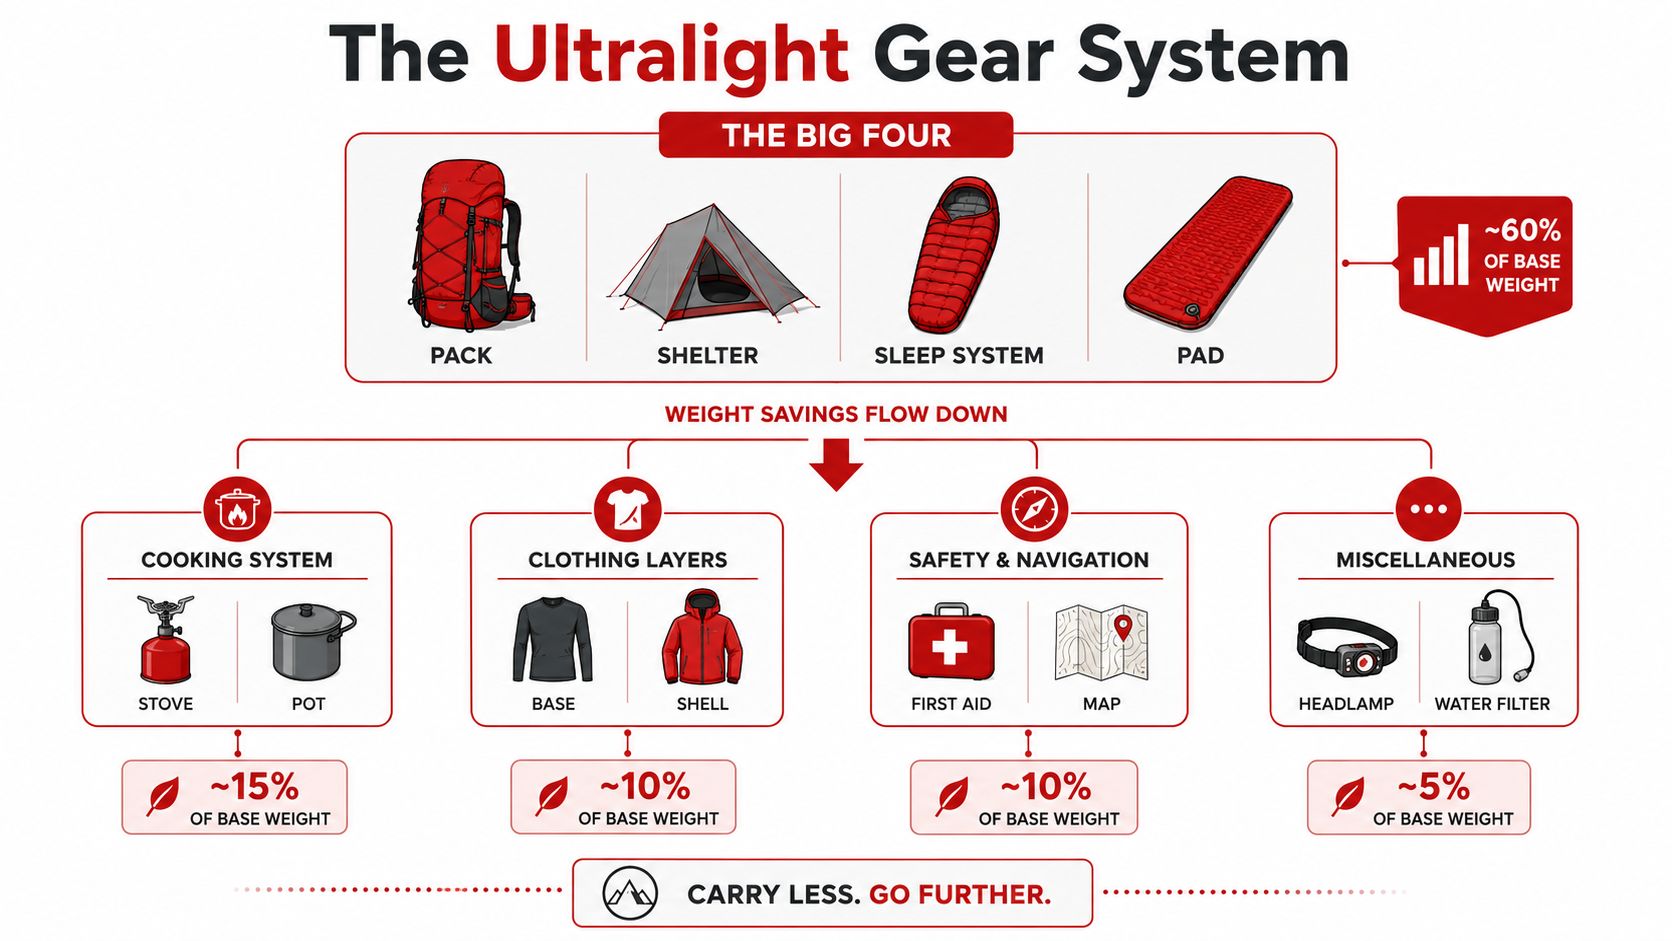
A pack feels lighter mile after mile when its major systems work together. The largest savings usually come from equipment used every night, rather than from trimming a few grams from a spoon. The traditional “Big Four” are the pack, shelter, sleep insulation, and sleeping pad. GearJunkie describes a base weight under 10 pounds, or 4.5 kilograms, as a widely used ultralight benchmark. Its guide to ultralight backpacks also notes that experienced hikers often target 7 to 11 pounds for three-season trips, while very minimal kits may reach 5 to 6 pounds.
Where the major reductions happen
Pack: A frameless pack can suit a compact kit whose total load remains comfortable. As food, water, or shared equipment increases, a minimal frame can spread the load and reduce strain. Recent ultralight reporting describes renewed interest in minimal frames as loads rise above roughly 20 pounds, along with closer attention to stress points and durability, in the 2026 ultralight gear industry report. This is the first major weight cliff: removing structure saves weight until the load becomes uncomfortable to carry.
Shelter: A trekking-pole shelter can avoid carrying dedicated tent poles because the poles already serve another purpose. A single-wall design uses fewer materials, but it requires better condensation management. Freestanding tents simplify pitching. Non-freestanding shelters can weigh less, while demanding careful site selection, firm stakes, and accurate setup.
Sleep system: A quilt leaves out fabric and insulation beneath the body because the sleeping pad supplies that insulation. It can be very efficient for sleepers who stay centered, though drafts and reduced head coverage require attention. A sleeping bag encloses the body more fully and may justify its extra weight in colder conditions or for restless sleepers.
Pad: The pad protects sleep quality and separates the body from cold ground. Choosing a lighter model only helps if it still provides enough comfort and insulation. Poor sleep can erase the benefits gained from reducing pack weight.
Supporting systems deserve equal attention
Cooking equipment, clothing, water treatment, electronics, and small safety items complete the system. One hiking outfit, a warm layer, and a weather shell can cover several needs. A pot can double as a bowl, and a phone, battery, and rechargeable headlamp can share charging equipment.
HYDAWAY's pared-down hiking essentials offers a useful way to compare categories by function, rather than treating every accessory as a separate requirement.
A lighter product alone does not guarantee the lightest or safest complete system. Remove duplicates, weigh what you own, improve how it packs, and find the category creating the greatest strain before buying replacements. Weight saved in one place can create a new problem elsewhere, such as poor support, cold sleep, or unreliable power.
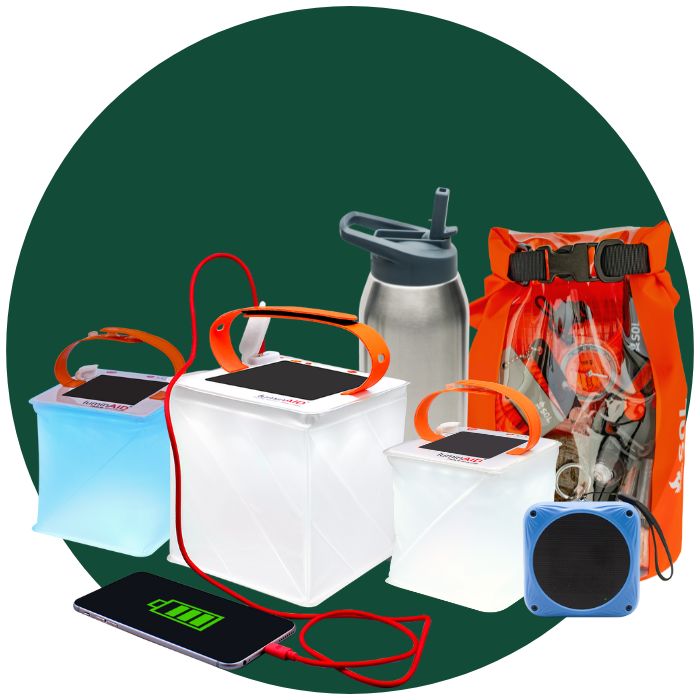
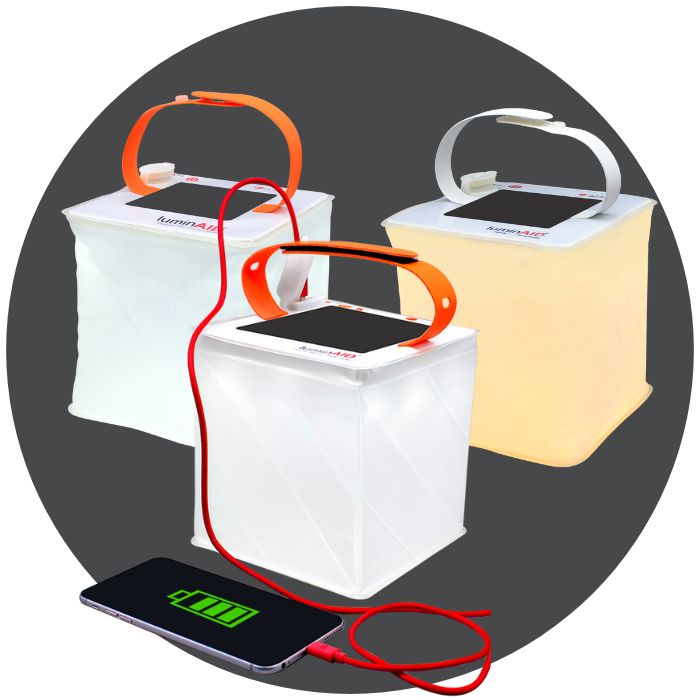
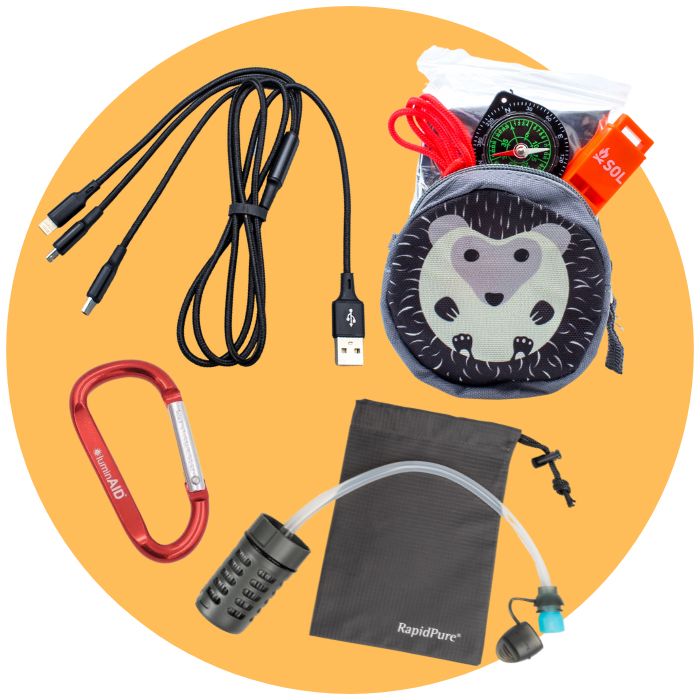
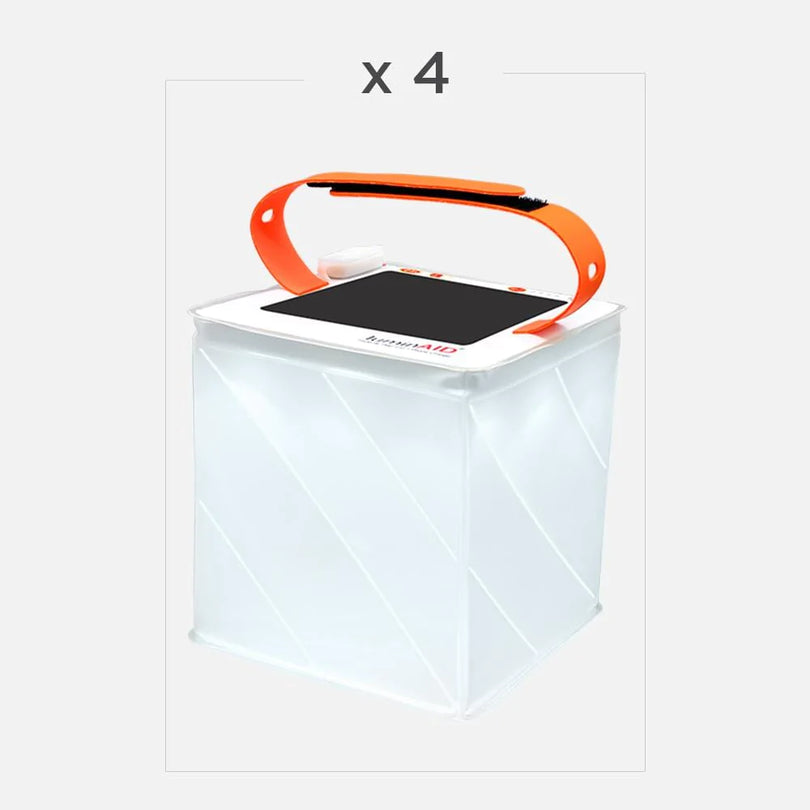
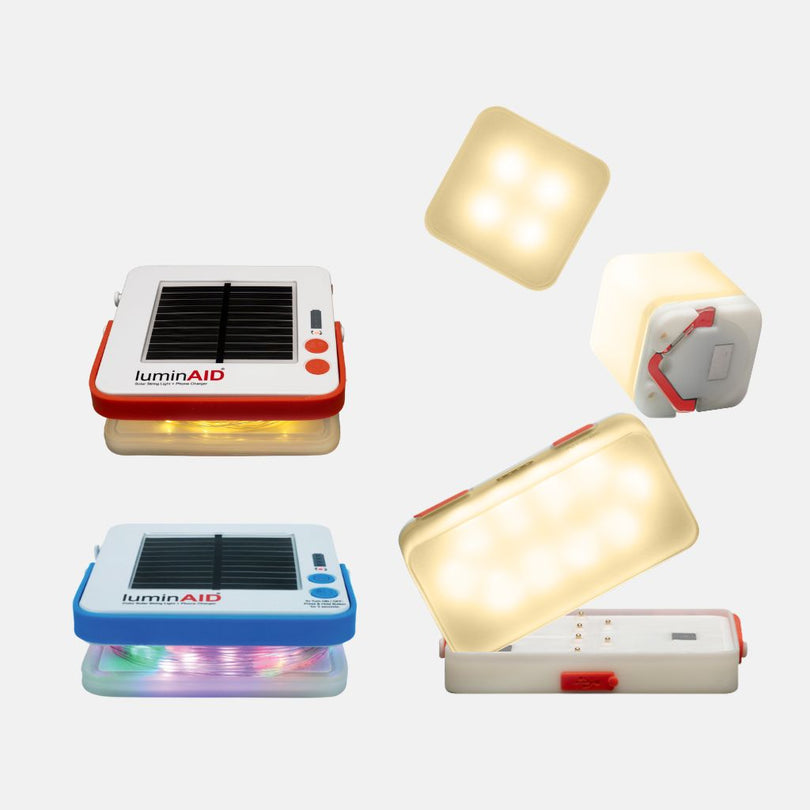
A compact solar light and charger can combine illumination with USB charging. LuminAID's lightweight solar charger options for backpacking may reduce the need for separate lighting and power items when the trip's energy demands fit the device. Power planning works best as part of the whole kit, especially when a shared device can replace multiple pieces.
The following video walks through how to evaluate each gear category before purchasing.
Eating Hydrating and Sleeping Light Without Cutting Corners
Food and water can make a carefully optimized base weight feel heavy at the trailhead. That change is expected because consumables rise and fall during a trip. The practical goal is to carry enough for the route while leaving behind supplies the itinerary does not require.
Food planning starts with the route. A shorter stretch between reliable resupply points supports a different strategy from a remote section without stores. Calorie-dense foods, sturdy packaging, and meals requiring little preparation can reduce bulk and cooking time. Plan around what you will eat, since unwanted food remains weight in your pack. These travel-friendly snack ideas can broaden options before you build a route-specific menu.
Water requires information, not optimism
Water is one of the heaviest supplies in a pack, so route research has a direct payoff. Mark mapped sources, check whether each is seasonal or reliable, and carry enough to reach the next dependable point with a conservative margin. Terrain, weather, personal hydration needs, and confidence in the source information all affect the amount.
Treatment must remain dependable. CDC guidance identifies boiling as the most reliable way to kill germs in backcountry water, with a boil time of 1 minute at typical elevations and 3 minutes above 6,500 feet. If boiling is not possible, filter cloudy water first and then use another treatment method, as summarized in this backcountry water-treatment guide based on CDC guidance.
Shelter and sleep protect the margin
A lighter shelter still depends on a suitable site. Avoid runoff channels, unstable branches, wind funnels, and ground that could direct water beneath the floor. Careful site selection reduces the need for heavier shelter accessories that compensate for poor pitching or judgment.
Food planning also affects sleep. Arriving cold, hungry, or wet can make extra equipment seem necessary on the next trip, even when the underlying problem was an inadequate meal schedule or poor layering. The backpacking food and meals guide offers a starting point for organizing meals around preparation, packability, and camp routine.
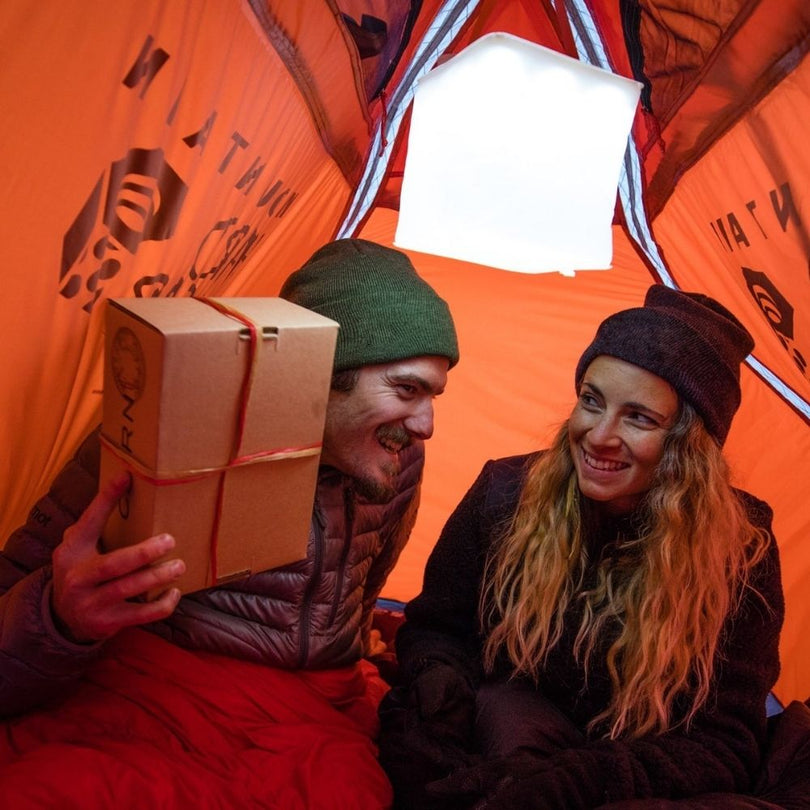
Darkness changes how you cook, filter water, move around camp, and respond to an emergency. A rechargeable light or compact solar-powered light can replace part of a disposable-battery setup, provided you test it before departure and protect it from weather. Choose the smallest dependable lighting and charging arrangement that meets the trip's actual needs rather than selecting solely on weight alone. Before packing, charge every device, place electronics in a waterproof bag or liner, and confirm that the light still works after a simulated wet-weather check.
Skills Safety and Judgment When Every Ounce Counts
A lighter pack changes the hiker's responsibilities with every mile. Removing backup equipment, choosing a more technical shelter, or carrying fewer layers leaves less room for mistakes. Ultralight backpacking succeeds when practiced skills compensate for removed bulk and preparation guides confidence.
Long-distance hikers commonly encounter problems such as illness, injury, blisters, poor sleep, and pack-strap pain. Research on backpacker health also leaves the direct relationship between pack weight and injury rates uncertain. A lower number on the scale therefore offers no automatic safety guarantee.
The human system carries the responsibility
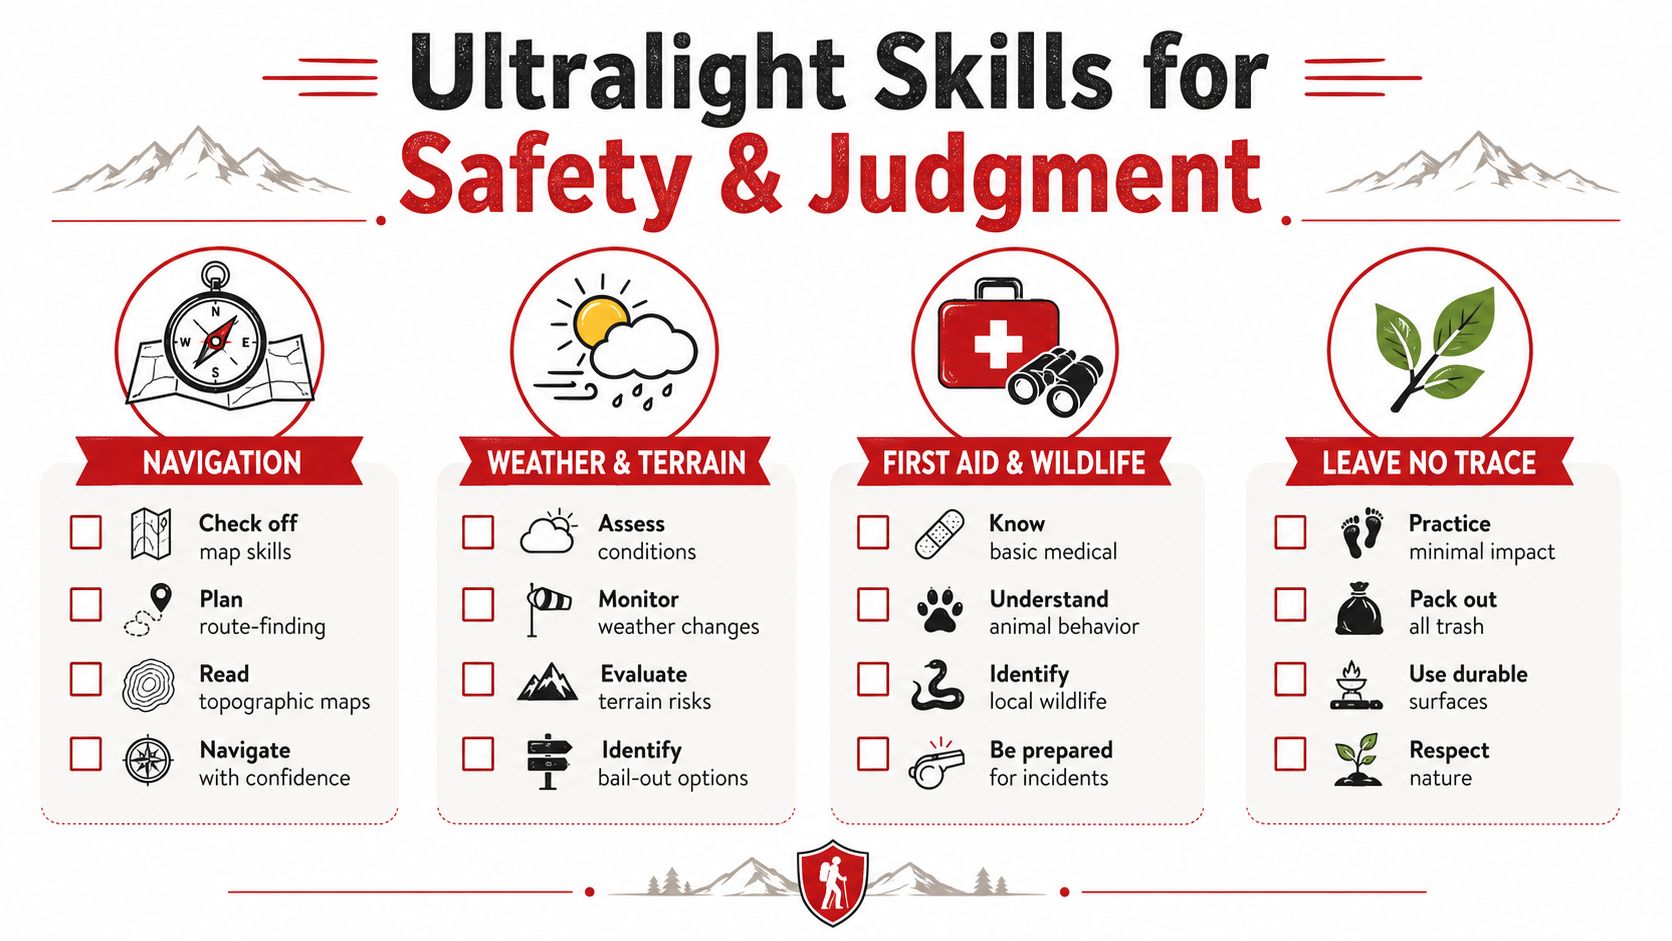
Navigation: Carry a map and compass when the route requires them, then practice using both before the trail becomes confusing. A phone can support navigation, while battery failure, weak signal, water exposure, or a cracked screen can remove that backup.
Weather and terrain: Set a clear boundary for a lighter shelter and clothing system. Before committing to a difficult passage, identify exposed sections, likely storm problems, alternate camps, and bailout routes. A simple decision rule, such as turning around before conditions exceed your shelter or clothing limits, protects the margin better than carrying gear for every imaginable problem.
Foot care: Treat hot spots early. Socks, suitable footwear, drying breaks, and blister supplies can protect a trip more effectively than an oversized medical kit carried without a plan. A compact first-aid kit can be sourced or customized through Adventure Medical Kits, but the hiker still needs to understand how each item works.
Wildlife awareness: Bear spray is a close-range deterrent, not a long-range repellent. The bear-spray safety guide places its effective range at approximately 8 to 30 feet and advises deployment before a bear reaches the user, creating a temporary capsaicin barrier in the animal's path.
Recognizing the comfort cliff
The comfort and safety boundary depends on body type, terrain, trip length, and weather. A frameless pack may feel excellent on a short route, then become unpleasant as water and food loads rise. A minimal sleeping system may work in settled conditions, yet offer little margin during rain, wind, or an unplanned delay.
The weight cliff often appears when a small saving removes a useful capability. A lighter shelter can demand more precise site selection and pitching. A smaller clothing system can require earlier layering and a firm turnaround decision. A solar light or charger may save battery weight and add useful power independence, provided its output, charging time, and weather protection suit the trip. Test the arrangement before departure rather than discovering its limits after dark.
Leave No Trace remains part of the calculation. A lighter kit still needs to support sanitation, wildlife precautions, campsite care, and local regulations. The strongest setup combines modest equipment with practiced judgment, so fewer objects do not create greater impact or risk.
A safer definition: Ultralight means carrying only what the route requires, then keeping enough margin for conditions that can reasonably occur.
How to Plan Pack and Dial In Your Kit Step by Step
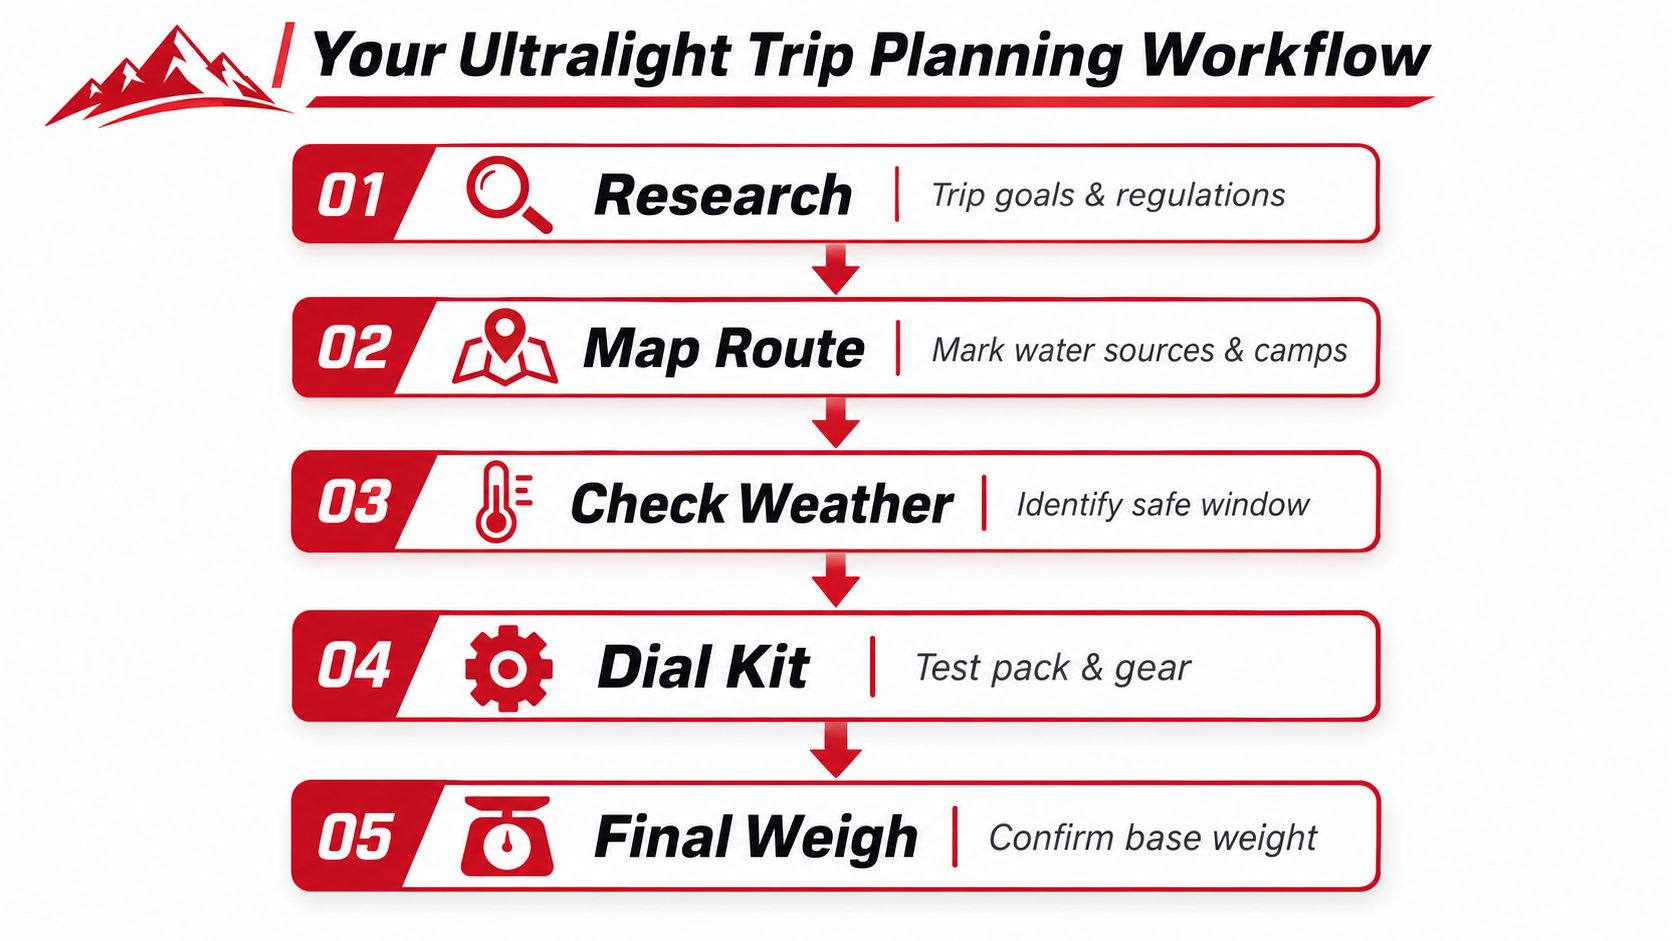
A repeatable process prevents random gear swaps. Each trip should begin with the route, not with a shopping list.
Start with the route
Research the objective. Check regulations, permits, group size, seasonal restrictions, known hazards, and the consequences of a delayed finish. A short overnight shakedown can tolerate different choices than a remote route with limited exit options.
Map water and camps. Mark reliable sources, possible dry stretches, legal camps, exposed ridges, and bailout points. This information determines water capacity, shelter priorities, and how much food needs to leave the trailhead.
Check the weather window. Look beyond temperature. Wind, precipitation, thunderstorms, snow, heat, and overnight conditions can change which clothing and shelter choices are responsible.
Build and test the kit
Lay every item on the floor and weigh it, including cords, stakes, batteries, charging cables, repair tape, and small containers. Keep base weight, consumables, and worn items in separate spreadsheet categories. This makes it easier to see whether a proposed change removes meaningful weight or merely replaces one accessory with another.
Pack for balance. Dense items generally belong close to the back, soft sleep items can fill gaps, and frequently used items should remain accessible without unpacking the entire bag. Waterproof protection for sleep insulation, clothing, electronics, and emergency supplies deserves priority.
A shakedown hike exposes problems that a bedroom floor cannot. The hiker may discover that a frameless pack carries poorly, a quilt drafts during movement, a stove is awkward in wind, or the chosen light is difficult to operate with cold hands.
The backpacking packing hacks guide can supplement that home setup with ideas for organizing space and reducing duplicate items.
Before departure, perform a final check:
- Safety: Confirm first aid, navigation, weather protection, and required wildlife equipment.
- Communication: Charge the phone and any emergency communicator, then pack the correct cables.
- Lighting: Test the headlamp, camp light, and backup lighting mode after charging.
- Water: Verify sources, treatment method, capacity, and a conservative carry plan.
- Weight: Reweigh the complete base kit and then calculate the starting trail load with food, water, and fuel.
The process should produce confidence, not anxiety. If field testing reveals a comfort problem, add the appropriate equipment and remove weight elsewhere instead of forcing the kit below an arbitrary threshold.
Sample Itineraries, Pack Lists, and Smart Lighting Choices
A one-night shakedown provides a controlled test of an ultralight system. Choose a familiar route, carry a modest food load, and keep the exit simple if the pad, shelter, footwear, or cooking setup fails. The pack list can include a compact shelter, sleep system, pad, pack, clothing layers, stove and pot, water treatment, first aid, navigation, phone, and rechargeable light. Record base weight separately from food, water, and fuel so one total does not hide the tradeoffs.
A weekend loop introduces uncertain water, changing weather, and more consumables. The kit may need greater water capacity when sources are questionable, a warmer layer for exposed nights, or a shelter with more weather margin. A small lantern with USB charging may justify its weight when it replaces separate camp lighting and power equipment. Test its runtime at home and in the field before relying on that combination.
Longer stretches between resupply points shift the balance again. Food becomes the largest variable, and a hiker may choose a more supportive pack after optimizing the Big Four. Keep first aid, rain protection, navigation, and sleep insulation in place. Examine meal density, resupply timing, packaging, and duplicate equipment instead.
The same system works for emergency-preparedness buyers, families, and campers who are not pursuing a sub-10-pound base weight. A durable, packable solar light with USB charging can serve at camp and during a power outage, giving one item two useful roles. Solar lighting also reduces dependence on spare batteries and separate charging gear, provided the light has been tested in the conditions where it will be used.
Ultralight backpacking improves every decision in the load rather than chasing a single badge number. The right stopping point is the weight cliff, where removing another item begins to reduce safety, sleep, or reliable function more than it improves the carry.
For hikers seeking compact off-grid illumination, LuminAID offers portable solar lanterns and 2-in-1 phone chargers for camping, emergency kits, and everyday use. Visit LuminAID to compare packable lighting and charging options for the trail, the campsite, and the next power outage.