



A dead phone at the wrong junction ruins a hike fast. One minute it's the map, the next it's the one thing standing between a smooth descent and a long, uncertain finish in fading light. A solar phone charger for hiking can help, but only if the whole system matches how the trail behaves, not how the box looks in a store.
Table of Contents
- Why Trail Charging Is Harder Than the Box Says
- How a Solar Phone Charger Actually Works
- Key Specs That Actually Matter for Hiking
- Panel-Only vs Power Bank vs 2-in-1 Lantern
- Real-World Charging Strategies on the Trail
- Building a Resilient Hiking Power Kit
- Safety, Maintenance, and Smart Buying Decisions
Why Trail Charging Is Harder Than the Box Says
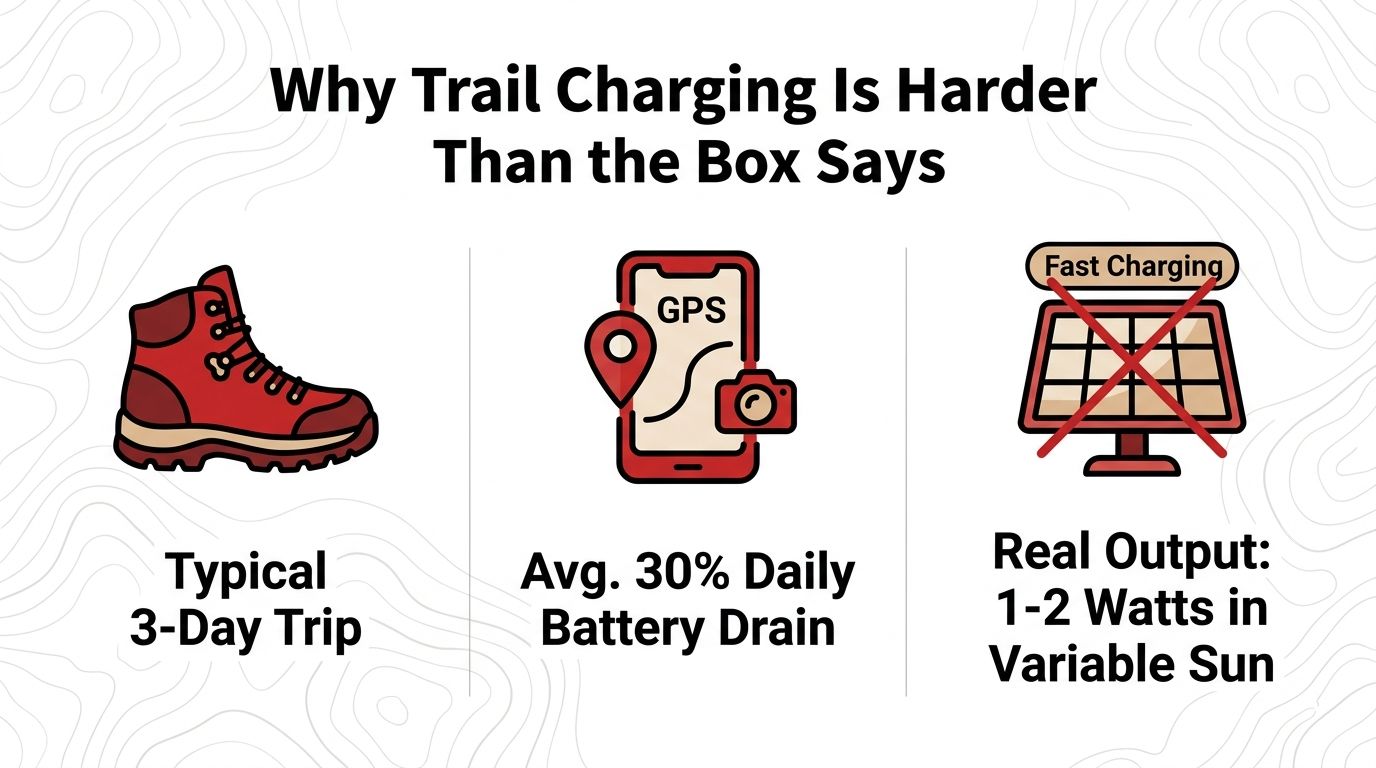
A hiker can start a three-day trip with a full battery, heavy reliance on GPS, a few hundred photos, and a charger that promised fast output. By the second afternoon, that same charger may be delivering only a sliver of what the packaging implied, especially once clouds, trees, and panel angle get involved. Real outdoor testing found that in 2024 more than 42 million portable solar chargers were sold globally, yet independent field testing cited in a 2025 peer-reviewed review found only 23% of units delivered at least 65% of rated output in mixed outdoor conditions, which is exactly why the label can be so misleading in the backcountry (real-world solar charger performance).
The trail changes the rules
A rooftop panel sits still, faces the sun, and works from a controlled setup. A hiking panel gets clipped to a moving pack, shaded by shoulders and trees, then overheats or tilts off-axis just when it starts to produce useful current. That gap explains why direct sunlight matters so much and why a charger that looks powerful on paper can feel weak once it leaves a parking lot.
For hikers who want a broader off-grid setup, best solar generators reviewed is a useful comparison point because it shows how larger power systems think about storage, output, and reliability. On trail, the same logic applies at smaller scale, because energy has to be budgeted, stored, and released at the right time.
The best beginner guide from LuminAID's solar phone charger overview aligns with that reality. Solar on the trail isn't plug-and-play, it's a moving energy budget with weather attached.
Practical rule: a charger that looks fast in a product photo can still be slow in the woods if it never gets stable sun.
How a Solar Phone Charger Actually Works
Think of a solar charger less like a firehose and more like a slow kitchen faucet. The panel collects light, the controller makes that output usable, and the battery buffer holds onto whatever comes in until the phone needs it. Without that middle storage step, variable light can make charging feel erratic or fail outright.
The three parts that matter
The photovoltaic panel is the collection surface. Monocrystalline panels are the common fit for hiking because they're compact and efficient, while polycrystalline panels usually give up some portability. The charge controller or regulator keeps the output near what a USB device can handle, and the energy storage core is where the panel's intermittent gains become something the phone can use.
That's why a bare panel-to-phone connection is usually a compromise on trail. A phone wants steadier input, while the sun keeps changing. The buffer smooths that mismatch and reduces the number of times charging collapses when a cloud moves over or a hiker turns a shoulder.
USB output matters too. In practical trail use, 5V with roughly 1.5 to 2.4 A is the useful range for a charger intended to feed a phone or a power bank steadily, not just advertise impressive specs. USB-A still shows up often on older gear, while USB-C is more common on newer devices, but the important part is stable output rather than connector fashion.
The panel is only one piece of the system. The controller and battery decide whether the sunlight becomes usable phone power.
Why the buffer wins
A battery buffer usually outperforms direct charging because it doesn't care if the sun disappears for ten minutes. Solar input can arrive in bursts, then disappear, then come back weakly. Stored energy smooths those bursts into something the phone can use at camp or during a stop.
Key Specs That Actually Matter for Hiking
The easiest way to read charger specs is to ignore the marketing first and ask a few simple questions. Is it light enough to carry all day? Can it collect enough power in real sun? Can it store that power until you need it at camp? For most hikers, a 10W to 15W panel is a sensible starting point. It is often enough for topping off a phone or power bank without adding too much weight. Larger 20W to 21W foldable panels can work well too, but they make more sense when you expect strong sun and do not mind carrying something closer to 0.7 kg (technical sweet spot for hiking panels).
Read the spec sheet like a trail tester
A spec sheet looks technical, but a few numbers do most of the work. Think of them like this:
- Wattage tells you how much solar power the panel may collect in ideal conditions.
- Capacity tells you how much power the battery bank can store for later.
- Weight tells you how annoying it will feel after several hours on the trail.
- Output tells you how steadily it can charge your phone or power bank.
Capacity still matters, but only in context. A 15W foldable panel weighing about 380 g has been shown to produce anywhere from 0 to 9,000 mAh per day depending on terrain and weather, and another field test reported an average gain of only 1,800 mAh per day even when clipped to a backpack for 6 to 8 hours daily (hiking solar field testing). The lesson is simple. Treat the watt number as a best-case ceiling, not a daily guarantee.
| Spec | Simple meaning | Good target for hiking |
|---|---|---|
| Capacity | How much charge the battery can save for later | Enough stored power to recharge your phone at camp |
| Wattage | How much solar power the panel can collect in full sun | 10W to 20W for most backpacking trips |
| Panel type | The kind of solar cells used | Monocrystalline is usually the best choice for size and efficiency |
| Weight | What you will actually carry | About 250 to 450 g for smaller setups, up to 0.7 kg for larger foldable panels |
| Output | How the charger sends power to your phone or bank | Around 5V and 1.5 to 2.4 A for useful phone charging |
| Durability | How well it holds up outside | Weather-resistant materials and protected ports |
| Pass-through capability | Whether it can charge a battery while that battery charges something else | Nice to have, but only when the controller is reliable |
How to think about refill math
For a multi-day hike, the key question is not “Can it charge?” It's “Can it refill the phone once, twice, or enough to stay ahead of daily drain?” A charger that only produces intermittent input is best judged as an energy contributor, not a full replacement for a stored battery.
For readers comparing panel weights and backpacking setups, the lighter guidance in LuminAID's backpacking charger resource fits the same logic. The goal is not maximum wattage, it's the smallest system that still gives usable output in the field.
Panel-Only vs Power Bank vs 2-in-1 Lantern
Panel-only gear is the lightest path, but it only works when the sun cooperates. A panel-plus-power-bank setup adds weight, yet it smooths out the biggest trail problem, which is that sunlight arrives unpredictably and usually not when a phone battery is already low. A 2-in-1 unit like a lantern with USB output sits between those extremes, trading raw charging speed for fewer separate items to carry.
Match the hardware to the trip style
A panel-only charger makes sense on a short, fair-weather trip where the hiker can stop for long, sunny breaks and doesn't need a lot of stored reserve. That setup stops making sense the moment the route gets wooded, cloudy, or too dynamic to hold a stable angle for long.
A power bank changes the equation because the phone no longer depends on live sunlight. The panel fills the bank during the day, then the bank charges the device at camp or in the tent vestibule. That is why this setup is more reliable for variable conditions and repeated nightly use.
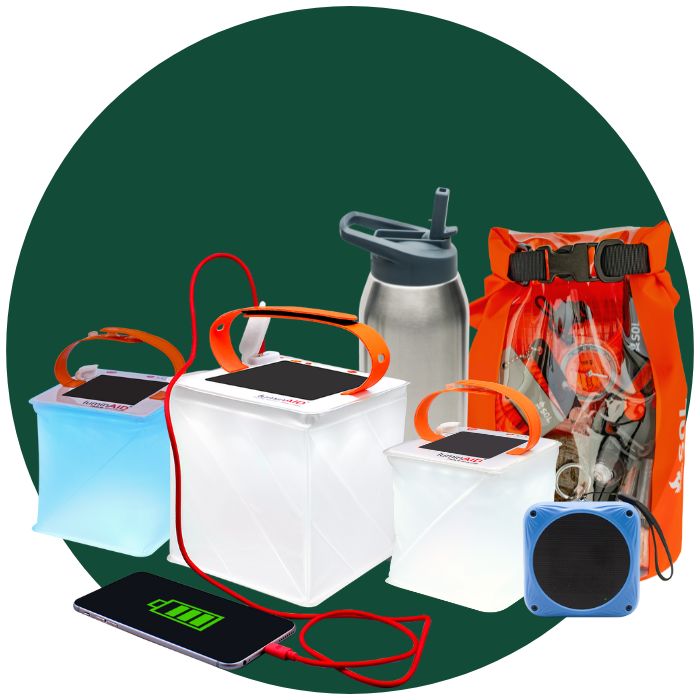
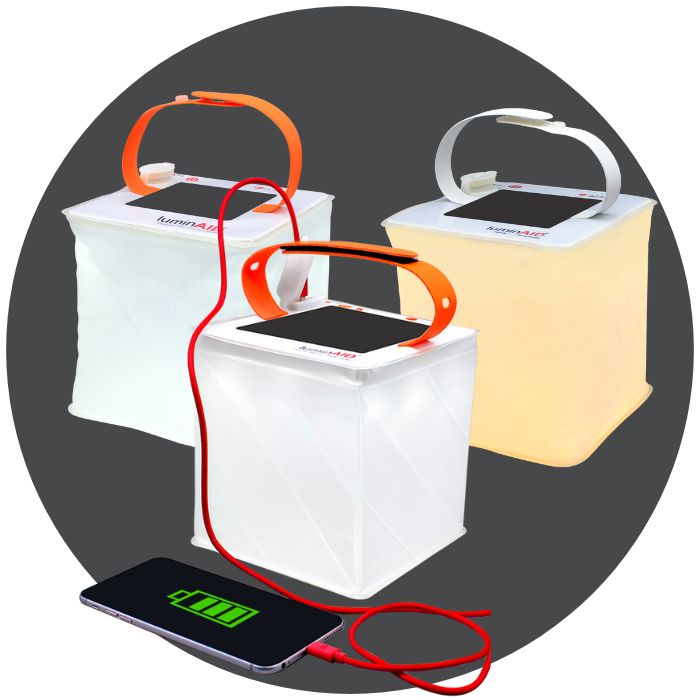
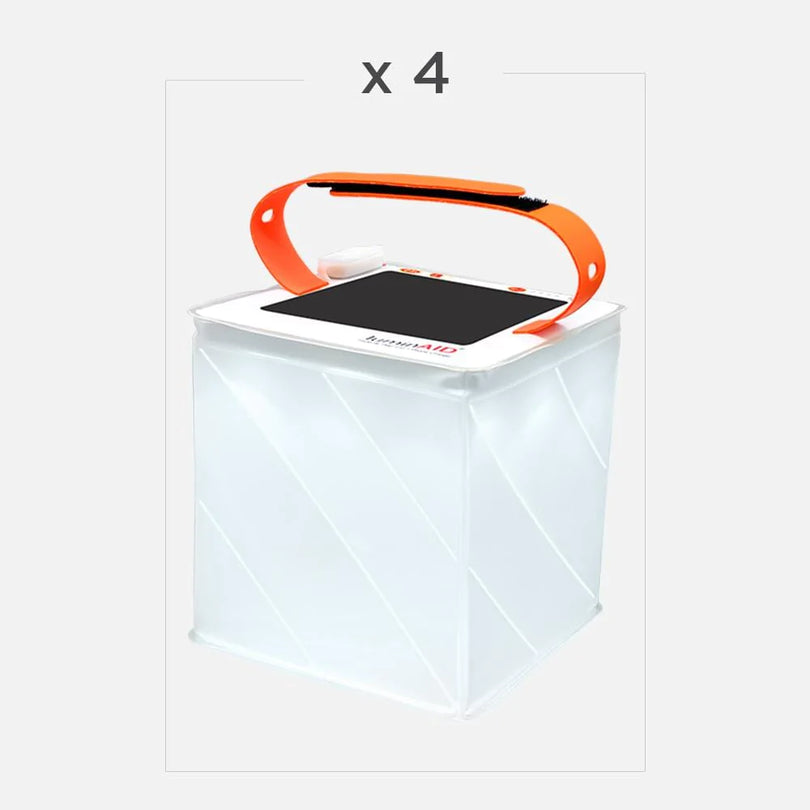
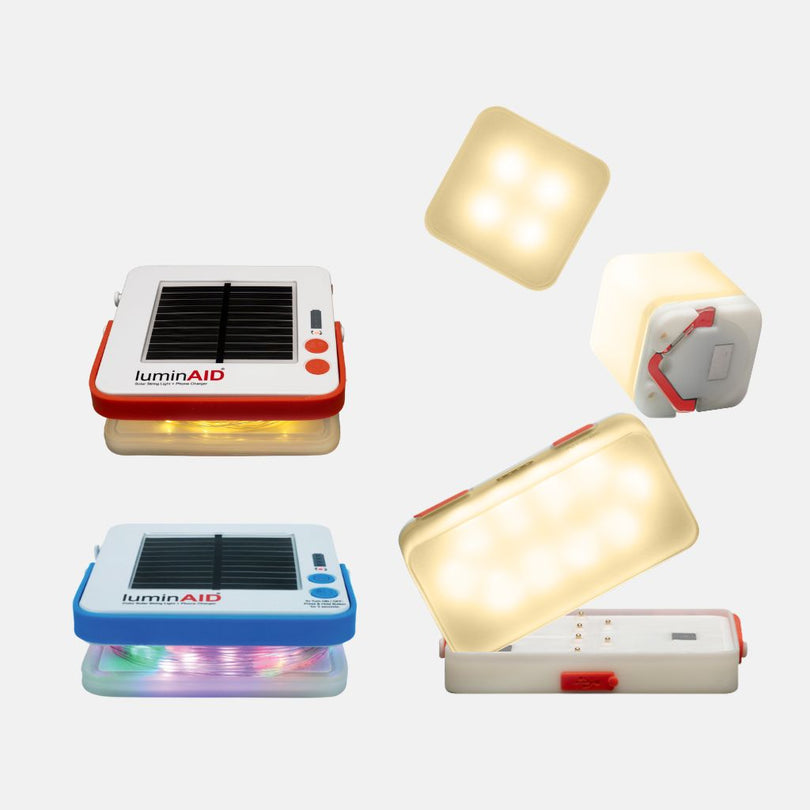
A 2-in-1 lantern with charging can serve camp lighting and phone support at the same time. LuminAID's PackLite Max 2-in-1 Power Lantern fits that category, and its solar-plus-USB structure is useful when one device needs to cover both light and basic charging without adding another separate item to the pack. For related planning, LuminAID's solar power bank guide shows why a buffered setup usually feels better in camp than a panel alone.
Decision shortcut: choose panel-only for ultralight fair-weather hikes, panel-plus-bank for most multi-day trips, and a 2-in-1 lantern when light plus charging matters more than raw charging speed.
Real-World Charging Strategies on the Trail
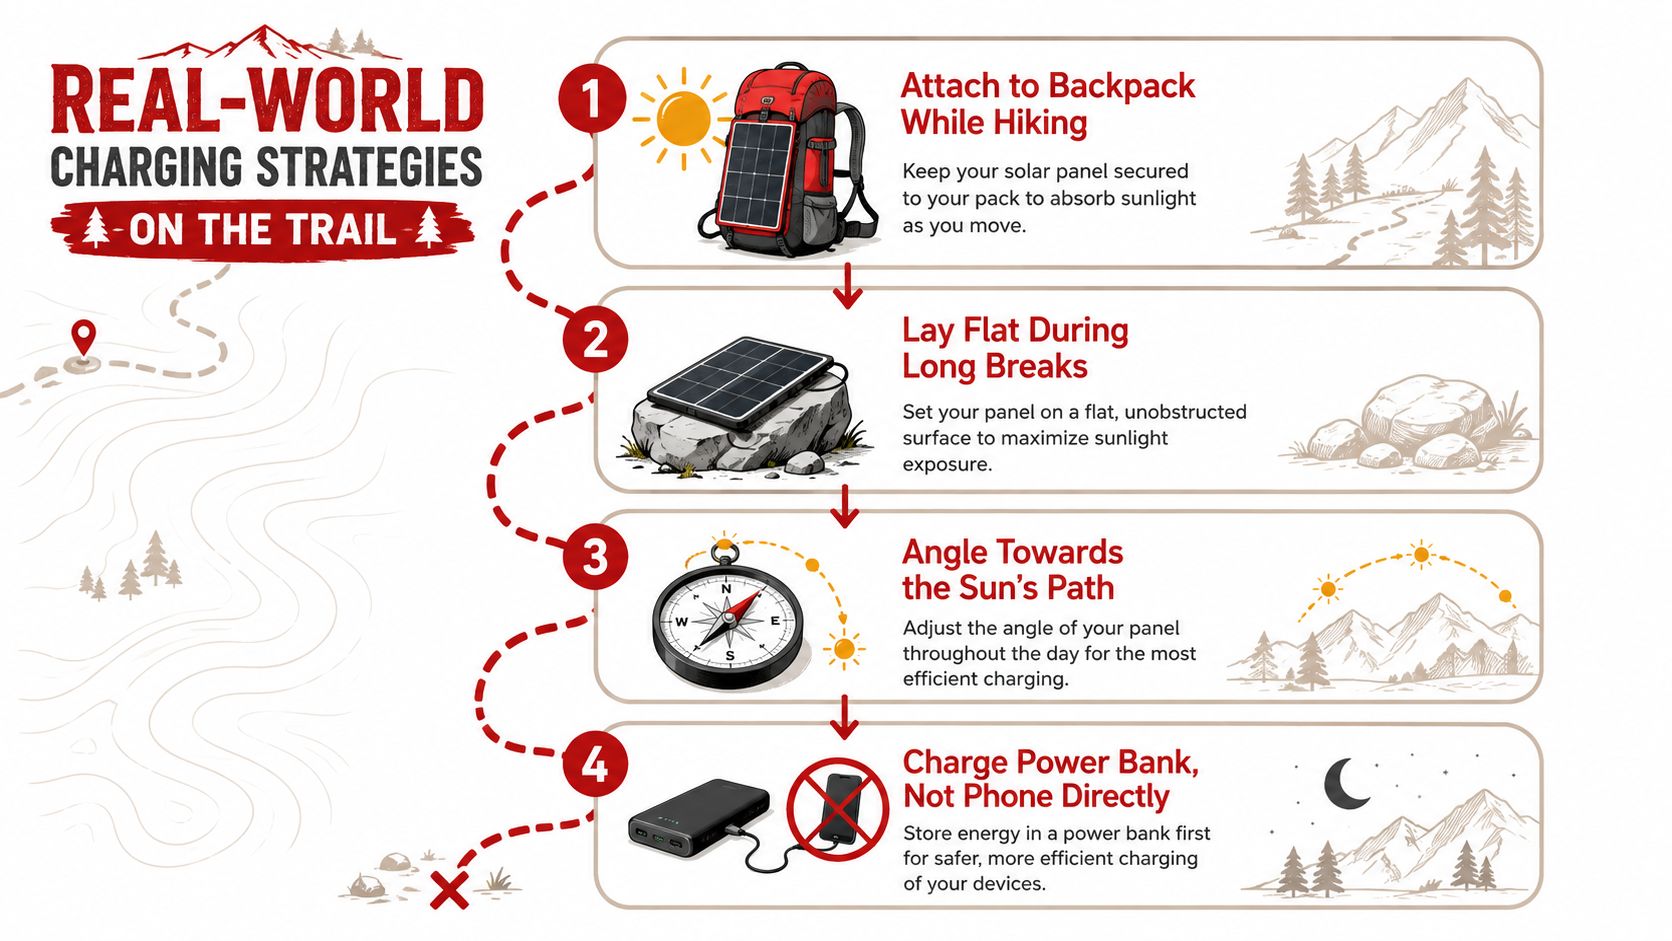
The best trail charging routine is boring, and that's a compliment. The panel sits in direct sun during breaks, the power bank collects whatever the panel can spare, and the phone only gets plugged in when the output is stable enough to matter. Moving while wearing the panel usually produces poor results because shading and angle changes keep interrupting the harvest.
Direct sun beats motion
OutdoorGearLab reported one portable solar charger generated 2,177 mAh in 1 hour of direct sun but only 583 mAh in 1 hour of indirect sun, which is roughly a 3.7× drop when conditions worsen (OutdoorGearLab field result). That gap is why a panel clipped to a pack rarely performs like a panel laid out during lunch on an open rock.
A useful midday routine looks like this. Stop, lay the panel flat or angle it toward the sun, top off the power bank first, and then let the bank feed the phone later at camp. That sequence avoids the unstable live-charging problem and makes the most of the strongest light window.
What to do in trees and clouds
Tree cover and indirect light don't make solar useless, but they do make it slower and less predictable. A hiker in a forested drainage should think in terms of topping off reserve, not trying to feed a phone directly while walking. Open ridgelines and exposed lunch stops are the places where a panel earns its keep.
Pass-through charging sounds convenient because it lets a charger accept solar input while also sending power outward. In practice, it only works well when the controller is designed for it, because weak controllers can create unstable cycling between input and output.
If the day is cloudy, the right move is usually to bank whatever the panel can collect and stop expecting the phone to behave like it's plugged into a wall.
Building a Resilient Hiking Power Kit
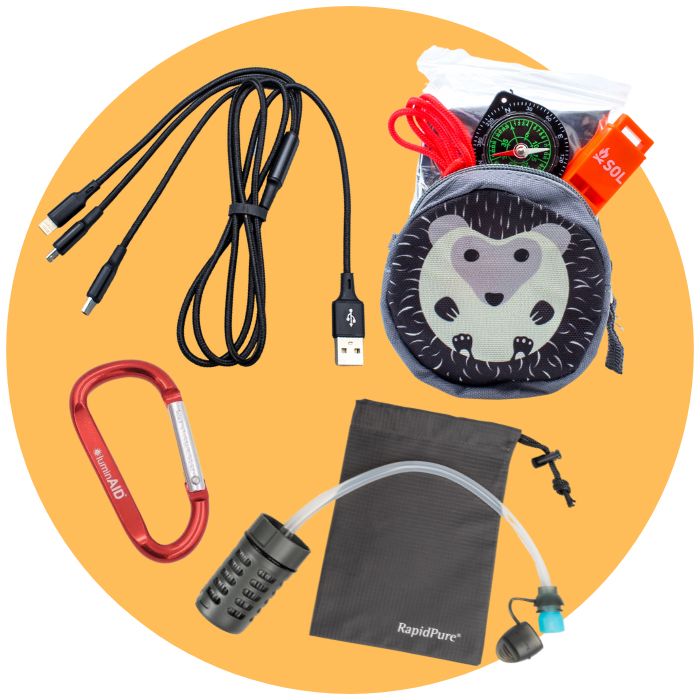
Solar charging makes the most sense when it's treated as part of a broader safety system. A phone that stays alive helps with maps, check-ins, and weather awareness, but a good trail kit also needs light, first aid, and insect protection, because power is only one piece of being prepared.
Redundancy beats single-purpose gear
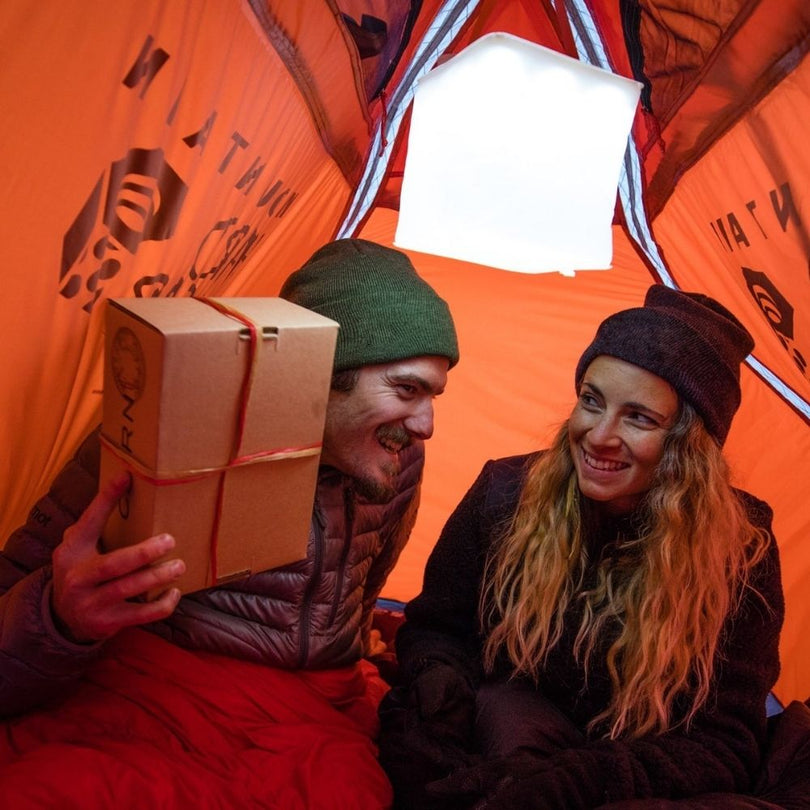
A 2-in-1 lantern earns its place because it can be camp light and charger in one body. That matters on short trips and emergency kits, where reducing the number of items lowers the odds of forgetting something important. If the lantern has USB output, it can function as a modest charging buffer while still doing the job of a light source.
That approach pairs naturally with compact safety gear from established outdoor brands. A trail kit often includes a small first-aid package from Adventure Medical Kits, insect protection from brands such as Natrapel, and bite relief like After Bite for camps where bugs don't quit at dusk.
Why the kit matters more than the panel
On a long hike, a charger without a buffer can be stranded by weather. A lantern without phone output can still leave the hiker with dead navigation. A system that combines charging, lighting, and a few core safety supplies is easier to manage under fatigue, which is when simple mistakes happen.
Redundancy isn't clutter when the trail is remote. It's what keeps one failure from turning into three.
Safety, Maintenance, and Smart Buying Decisions
A solar setup lasts longer when the hiker treats it like electronic gear, not like a piece of fabric. A panel left baking on a dark surface in full sun can run hotter than it should, and a swollen or damaged battery should stay out of the system altogether. Even products with a waterproof or dustproof rating still need dry ports and careful cable handling, because the rating does not replace basic field maintenance.
Buy for the system, not the watt number
Higher wattage does not automatically mean faster charging on trail. If the panel cannot hold angle, if the controller is weak, or if the phone demand is higher than the output can maintain, extra wattage turns into extra bulk before it turns into useful charging. That is why clipping a panel to a pack and forgetting it is one of the most common trail mistakes. In real use, a shaded panel may only add a modest amount of charge, while a panel held in direct sun and aimed well can make a noticeable difference by the time you reach camp. The panel, buffer, and device all have to work together.
A better checklist is simple:
- Panel wattage: choose the smallest wattage that still fits the trip length and sunlight conditions.
- Weight and folded size: packability matters when the charger competes with food and layers.
- Battery capacity: make sure the buffer can hold enough energy to matter at camp.
- Output amperage: look for a stable USB output that can feed your phone or bank.
- IP rating and port protection: weather resistance helps, but ports still need care.
- Verified reviews: field reports matter more than marketing copy.
Maintenance that extends the gear life
Wipe the panel face clean after dusty hikes, inspect cables for fraying, and store batteries at partial charge between trips. Those habits keep the system healthier than chasing the biggest spec on a product page. If you want a single light-and-charge unit, LuminAID offers solar lanterns with USB charging that fit that use case without asking the hiker to carry a separate lamp and charger.
A smart buy supports the trip you take, not the one implied by a glossy box. In practice, that means choosing a panel, buffer, and output plan that can handle shade, movement, and a few cloudy hours without turning your phone into dead weight.