

An emergency plan is what turns abstract fears into a concrete set of actions. It’s about knowing your risks, mapping your routes, packing your essentials, and having a communication strategy locked down before you ever need it. This blueprint ensures everyone in your household knows exactly what to do when every second is critical.
Why Your Family Needs an Evacuation Plan Today

When a real emergency hits—a wildfire cresting the ridge, a flood warning blaring on your phone—you don’t have time to think. You only have time to act. A vague idea of "being prepared" simply won't cut it when you have just minutes to get out the door. A solid evacuation plan is what transforms that potential panic into clear, decisive action.
It’s tempting to think it won't happen to you, but disasters are a growing reality for millions. In 2020 alone, disasters displaced nearly 31 million people within their own countries, and many of those situations involved official evacuation orders. This isn't just a hypothetical problem; it's a real-world statistic that proves personal readiness is more important than ever.
The Core Pillars of a Solid Plan
A strong, functional evacuation plan really comes down to four key areas. Getting these right is the foundation of your family’s safety.
- Know Your Risks: Start by identifying the most likely threats in your specific area. Are you in a flood zone, a wildfire-prone region, or a tornado alley?
- Map Your Escape: You need to map out multiple escape routes—not just from your house, but out of your neighborhood and town, too.
- Have a Communication Plan: Figure out how you'll all connect if you get separated or if the cell towers go down.
- Pack Your Go-Bags: Assemble kits with the absolute essentials to keep you going for at least 72 hours.
These pieces all fit together. For example, knowing you’re in a flood-prone area (your risk assessment) will tell you that your escape routes need to lead to higher ground, not into a low-lying valley.
A plan isn't just a document; it's shared muscle memory for your entire family. It replaces the fear of the unknown with the confidence of knowing exactly what to do, giving everyone a role and a purpose in a crisis.
From Chore to Empowerment
Thinking about emergencies can feel heavy, I get it. But the act of creating a plan is incredibly empowering. It’s a direct investment in your peace of mind, knowing you’ve taken real, tangible steps to protect the people who matter most.
A good way to start is by thinking about both short and long-term emergency preparedness. Getting ready for a sudden evacuation is just one part of a bigger picture that includes everything from a simple power outage to a long-term displacement.
This mindset is crucial for anyone who spends time in the great outdoors, too. Whether you're at home or deep in the backcountry, being ready for the unexpected is non-negotiable. Gear like a well-stocked first-aid kit from a trusted source like Adventure Medical Kits becomes a critical part of your setup, ready for anything from a minor scrape to a major emergency. Your plan needs to be as mobile and adaptable as you are.
Assessing Your Risks and Gathering Local Intelligence
A good evacuation plan isn't a one-size-fits-all document you download online. It's a living strategy built on what’s actually likely to happen where you live. Guesswork leads to panic, but knowledge turns vague anxiety about "disasters" into a real, actionable checklist.
Your plan has to match your reality. A family in coastal Florida faces a completely different set of worries than one in the mountains of Colorado. The first step is to get smart about your local hazards, because that information shapes every single decision you'll make from here on out.
What Are Your Regional Hazards?
Start by looking at the big picture and then zoom in on your neighborhood. The major natural disasters are things like hurricanes, wildfires, floods, tornadoes, and earthquakes. Which ones are a real threat in your region?
Official sources are your best bet here. Your local or state Emergency Management Agency (EMA) website is the most reliable place to start. The Federal Emergency Management Agency (FEMA) also has great guides that help you understand the broader threats.
- Wildfire Country: If you live where wildfires are common, your plan needs to account for things like the type of trees and brush around your home, typical wind patterns, and how close you are to wildland areas.
- Coastal Concerns: For anyone in a hurricane or tsunami zone, the big three are storm surge, high winds, and massive flooding. You absolutely must know your home's elevation and its official evacuation zone.
- Floodplains and Rivers: Living near a river or in a low-lying area means flash floods are your primary concern. Your evacuation plan must have pre-planned routes that lead to higher ground, and fast.
This is also the time to think about the secondary emergencies that tag along, like long-term power outages. These can happen during almost any disaster, so having a reliable power source for your lights and communication gear is a game-changer. It's worth spending some time on choosing the right standby generator to keep your family safe and connected.
There's often a huge gap between thinking you're ready and actually being ready. A shocking 18% of workers say their companies have no written emergency plan, even though 82% of companies claim they do. This kind of "it won't happen to us" thinking is dangerous and can easily affect how we prepare at home. You can find more details in the full emergency preparedness report.
Your Personal Risk Assessment Checklist
Use this table to identify and plan for the specific hazards in your area.
| Hazard Type (e.g., Wildfire, Hurricane) | Information Source (Local EMA Website, News) | Primary Evacuation Concern (e.g., Blocked roads, Flooding) | Alert System to Monitor (e.g., WEA, NOAA Radio) |
|---|---|---|---|
Take a few minutes to fill this out. Just the act of writing it down makes the risks tangible and your plan feel much more real.
Get Plugged into Local Alerts
When an emergency is unfolding, good information is your most valuable asset. You need to sign up for every local alert system available. Don't skip this.
- Wireless Emergency Alerts (WEA): These are the critical text-like messages sent to all cell phones in a specific area. You're automatically enrolled, but it's good to know what they are.
- Local EMA/County Alerts: Your city or county almost certainly has an opt-in alert system for more detailed local updates via text, email, or phone. Go to your local EMA website and sign up now.
- NOAA Weather Radio: This is the old-school, rock-solid way to get broadcasts directly from the National Weather Service. It’s essential for when cell towers and the internet go down.
Finally, pull up a map and start marking things. Pinpoint the locations of community shelters, hospitals, and other key resources. You'll be using these later to build your evacuation maps. Having all this intel organized and ready is what moves you from just worrying about risks to being truly prepared to face them.
Mapping Your Primary and Secondary Escape Routes
Alright, you've identified the local risks. Now it's time to translate that knowledge into a real, usable roadmap. A successful evacuation hinges on knowing exactly where you're going, even when the roads you use every day are completely impassable. This is where we build the maps that will guide your family to safety.
Just punching an address into your car's GPS during a crisis is a rookie mistake, and a dangerous one at that. When a disaster hits, cell networks often get overloaded or go down entirely. Worse, official alerts might be redirecting traffic, making your go-to navigation app totally useless. Your plan absolutely has to work offline.
The Two-Route Rule
For any evacuation, you need at least two different escape routes. Think of it as your Plan A and your Plan B. This isn't just about getting out the front door; it applies on a much bigger scale.
You need to map out:
- Two ways out of your home: Sure, the front and back doors. But what if they're blocked? A specific, accessible first-floor window could be your second exit.
- Two ways out of your neighborhood: Know the different streets that get you to a main artery. One could easily be jammed with traffic or closed by emergency crews.
- Two ways out of your town or city: Don't just rely on the interstate. Pinpoint smaller state highways or county roads that can get you out. A wildfire might shut down a major highway, or an earthquake could take down a critical overpass.
Picture a flash flood. Your primary route—the main road through the valley—is underwater. That secondary route, the small, winding road that goes up the hillside, suddenly becomes your lifeline. This is the kind of practical thinking that makes a plan work when it counts.

This process is straightforward: first, identify the potential threats. Then, locate them on a map relative to you. Finally, you have to monitor them through official channels so you can make smart, fast decisions.
Digital and Physical Maps
Your mapping strategy needs redundancy. You need both digital and physical copies to ensure you can find your way, no matter what.
Digital Maps:
Go into your favorite mapping app and save offline maps of your entire region. This is a non-negotiable step that lets you navigate even without a cell signal. Mark up your primary and secondary routes, potential shelters, and meeting points right in the app.
Physical Maps:
Nothing, and I mean nothing, beats a paper map when the power is out and batteries are dead. Get detailed, physical road maps of your local area, county, and state. Use a couple of different colored highlighters to clearly mark your primary and secondary routes and all your meeting spots.
Keep a laminated copy in each vehicle’s glove box and a neatly folded one in every single go-bag.
The point isn't just to have a map. It's to have a map you can actually read and use under incredible stress, maybe in the dark, with zero internet. Paper maps are foolproof.
The Two Meeting Point Strategy
Getting separated from family is a huge source of stress in any emergency. A solid meeting point plan is essential for any group evacuation. You'll need to designate two specific locations:
- A Nearby Meeting Point: This needs to be a close, unmistakable landmark just outside the immediate danger zone. Think of a specific, memorable tree in the park down the street, the main entrance to the local library, or even a trusted neighbor's front yard a few blocks over. This spot is for regrouping right after leaving the house.
- A Distant Meeting Point: This is your destination if you can't go home for a while. It should be far enough away to be out of the disaster's reach, like a relative's house in the next town or a friend's place across the state. Everyone in your group needs this address and phone number saved in their phone and written down in their wallet or go-bag.
Building out a full plan also means thinking through specific disaster scenarios. For instance, this wildfire evacuation list is a fantastic resource to make sure you have all your bases covered for that particular threat. Specialized checklists like this add a critical layer of detail to your overall plan.
By thoughtfully mapping your routes and setting clear meeting points, you turn the chaotic, panicked question of "Where do we go?" into a calm, confident answer. This prep work allows your family to move quickly and safely when every second counts.
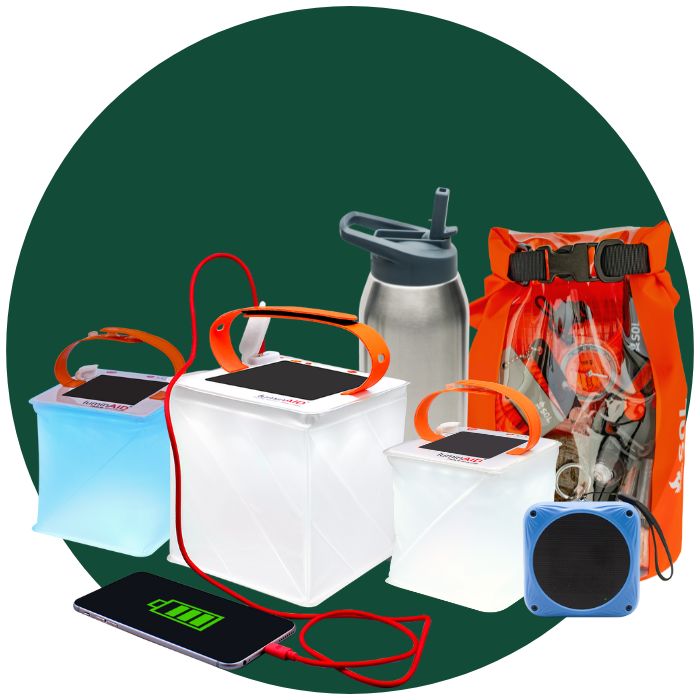
Assembling Your Go-Bags and Emergency Kits

Your evacuation map shows you where to go, but your go-bags are what keep you going when you get there. These kits are what make a plan truly work, bridging that critical gap between the moment you leave your home and when you finally reach a safe haven.
It can feel overwhelming to think about everything you might need. I've found it helps to think in terms of two separate kits: the grab-and-go bag and the long-term bin.
First, you have your 72-hour Go-Bag. This is a dedicated backpack for each person in your household, packed with just the essentials to last three days. Then, there's your Stay-at-Home Kit, a more substantial collection of supplies for sheltering in place, designed to get you through a week or more without power or services.
The Ultimate Evacuation Go-Bag Checklist
Your 72-hour Go-Bag is all about speed and portability. It has to be light enough to carry on foot and filled with things you can use immediately, no prep required. You aren't packing for a weekend trip; you're packing for survival.
This checklist breaks down what you absolutely need for a 72-hour kit. Think of these as the non-negotiables.
| Category | Essential Items | Recommended Additions |
|---|---|---|
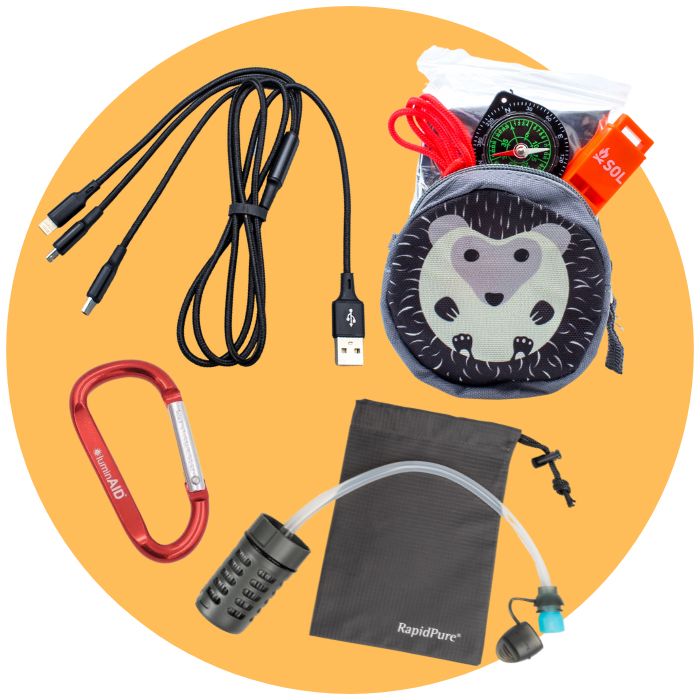
| Water & Food | 3 liters of water per person, high-energy non-perishable food (protein bars, nuts, dried fruit) | Portable water filter from a brand like RapidPure or purification tablets, jerky, instant coffee/tea |
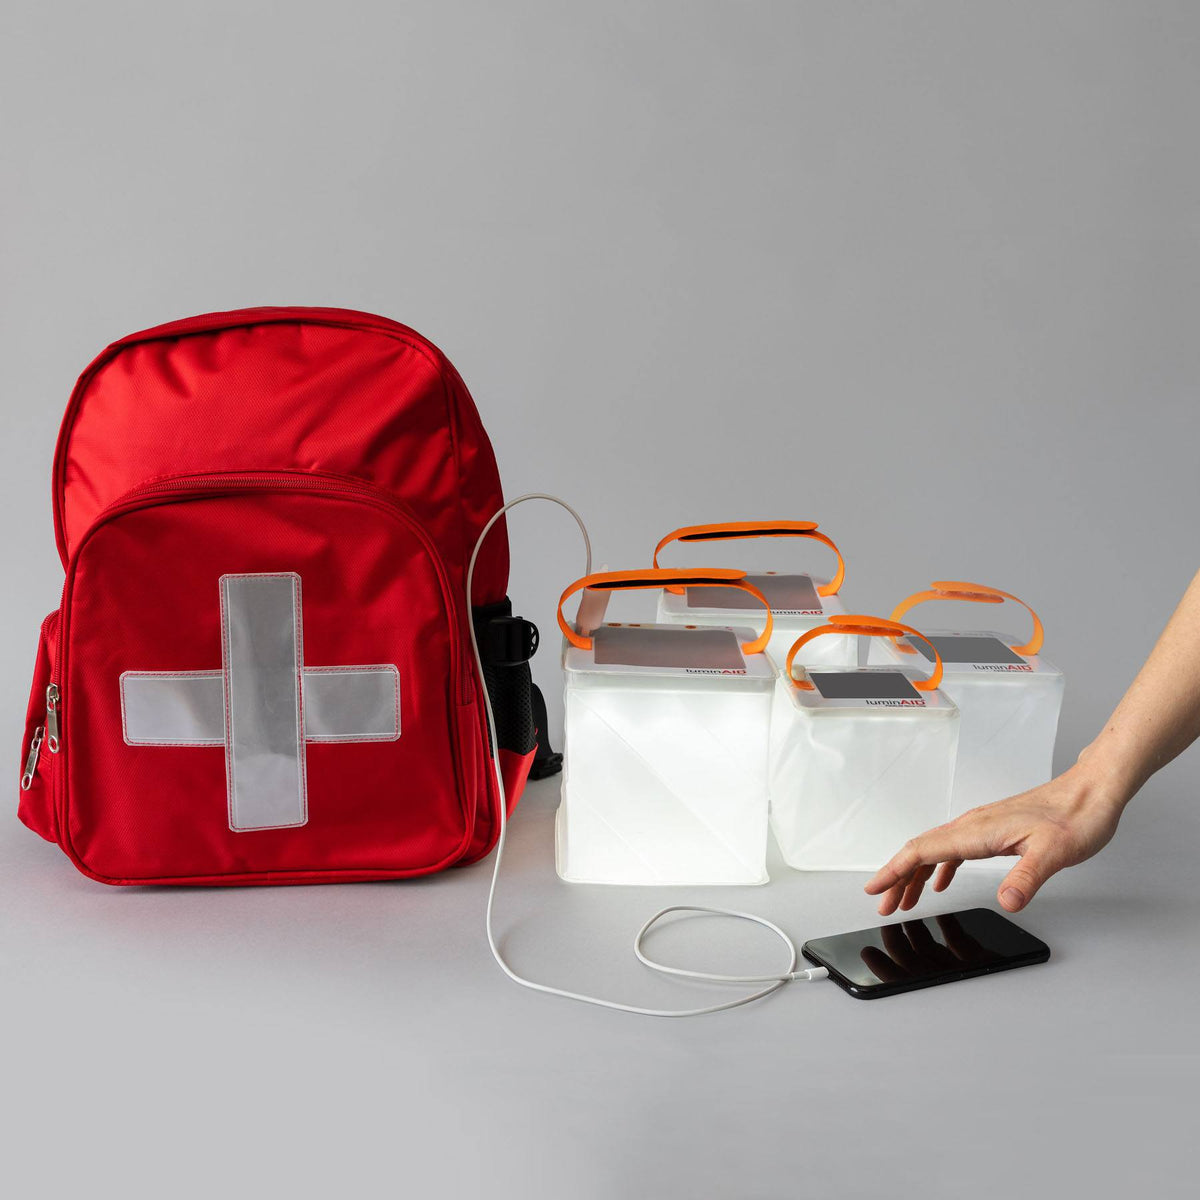
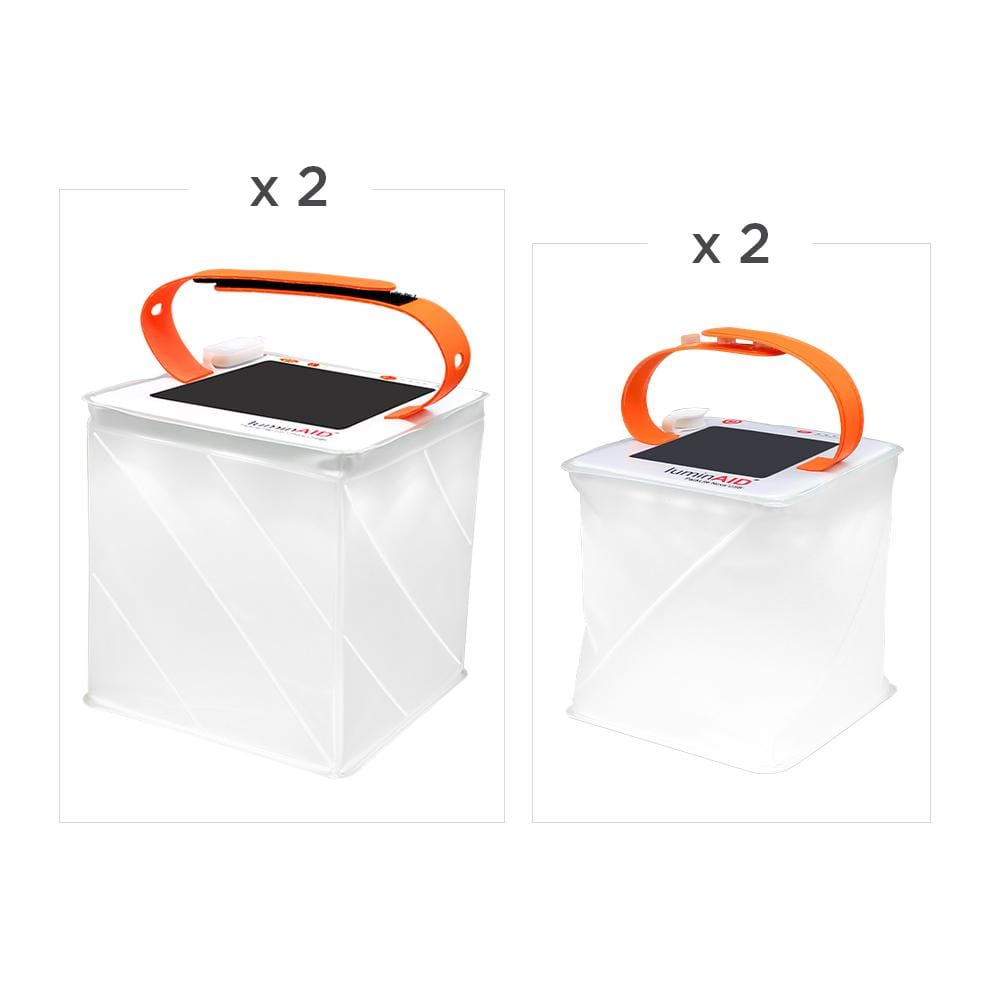
| Light & Power | Solar-rechargeable lantern, portable power bank, charging cables | Hand-crank emergency radio, extra power bank, waterproof headlamp |
| First-Aid | Comprehensive pre-made first-aid kit, personal medications (7-day supply), pain relievers | Extra bandages, blister treatment, insect repellent from Natrapel, allergy medication |
| Documents & Cash | Waterproof bag with cash ($100 in small bills), copies of ID/passports/insurance on a USB drive | Laminated list of emergency contacts, local maps with routes marked, spare house/car keys |
| Hygiene | Toothbrush, toothpaste, wet wipes, hand sanitizer, travel-size soap | Menstrual supplies, small quick-dry towel, toilet paper |
| Tools & Shelter | Multi-tool, duct tape, emergency Mylar blanket | Work gloves, N95 dust masks, small tarp with paracord |
| Clothing | Full change of clothes (seasonally appropriate), extra pair of wool socks | Rain poncho, sturdy broken-in walking shoes, hat and gloves |
Once you've got your bags packed, the next step is just as important: placement. Keep them somewhere you can grab them without thinking—a closet by the front door, in the trunk of your car, or by the garage entrance. Seconds count.
Building a Robust Stay-at-Home Kit
A stay-at-home kit uses the same logic as a go-bag, just scaled up for a longer period—think one to two weeks. I keep mine in a few large, sealed plastic bins in the basement. This kit holds all the things you’d never want to carry on your back.
Think bigger. Beyond just more food and water, you’ll want:
- Sanitation Supplies: This is huge. Garbage bags, zip ties, cat litter (for a makeshift toilet), and plenty of wet wipes are a must.
- Tools: A wrench to shut off your water and gas, a good multi-tool, and a whole roll of duct tape.
- Comfort and Morale: Don't underestimate this. Books, a deck of cards, or board games are a godsend for keeping spirits up, especially with kids.
- Warmth: If you lose power in the cold, you'll be glad you have extra sleeping bags, wool blankets, and thermal underwear packed away.
One of the most common mistakes is forgetting to pack for every member of the family—including the furry ones. Your pets are completely dependent on you during a crisis.
When putting your kits together, don't forget your pets. Check out these essential items for your dog's emergency kit to make sure they're as ready as you are. At a minimum, pack their food, extra water, any medications, and a copy of their vet records.
Strategic Gear Choices for Self-Sufficiency
Today’s gear offers a huge advantage, but only if it’s reliable when everything else fails. The real key is to move away from disposable items and toward gear that makes you self-sufficient. That’s how you build a plan that actually works under pressure.
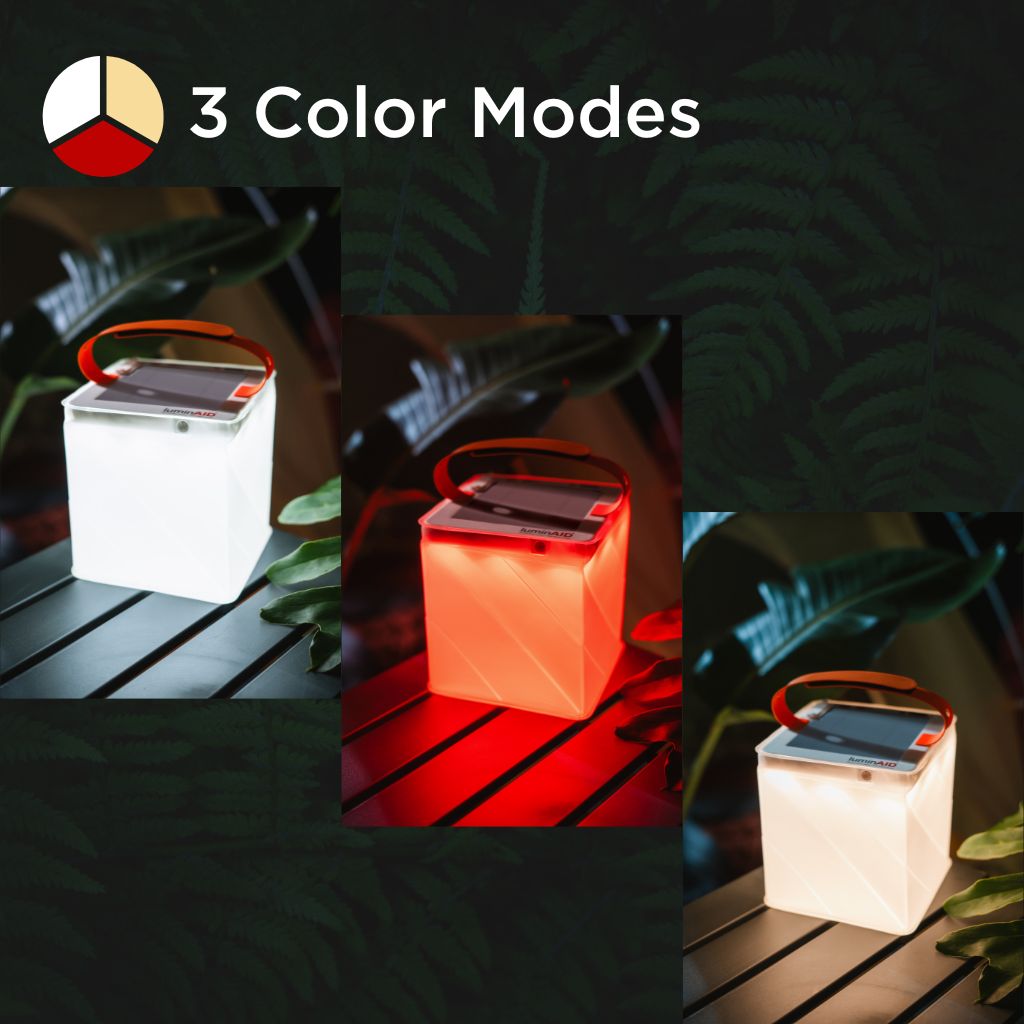
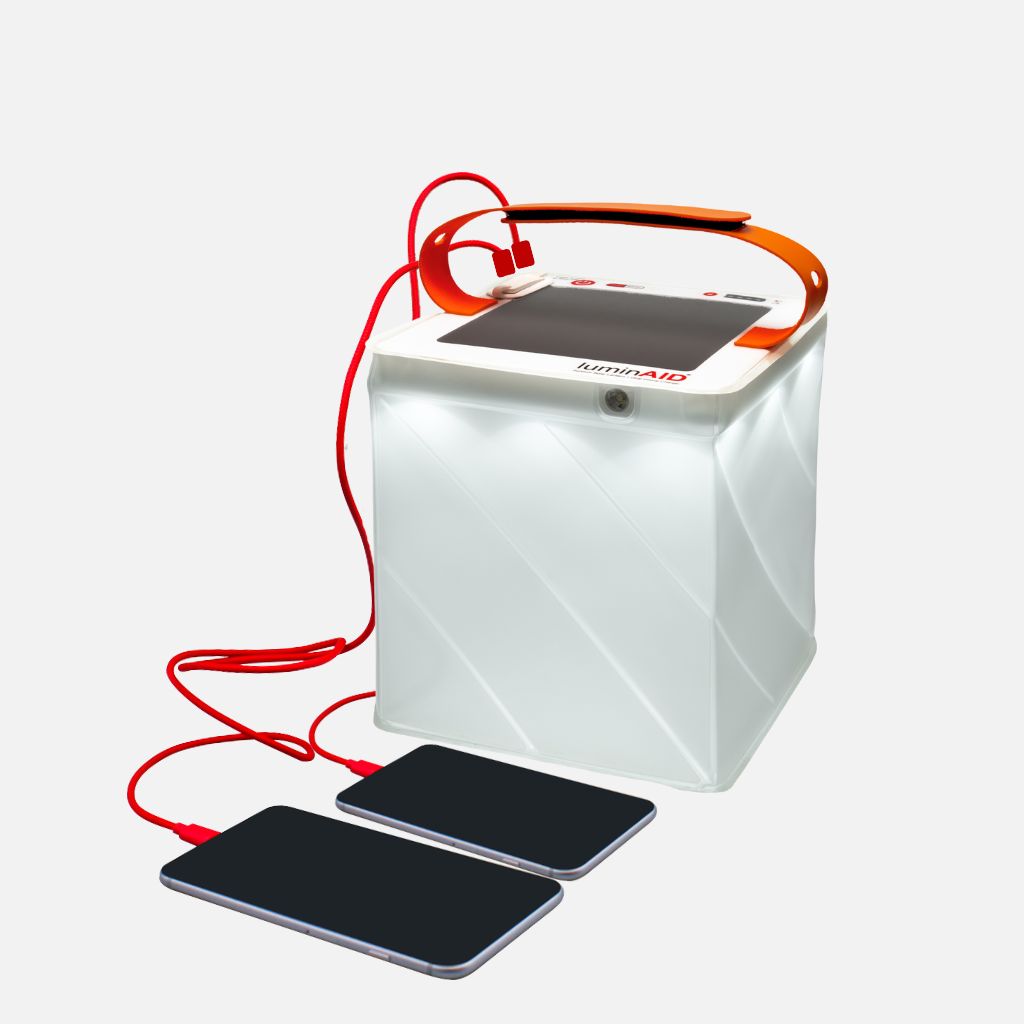
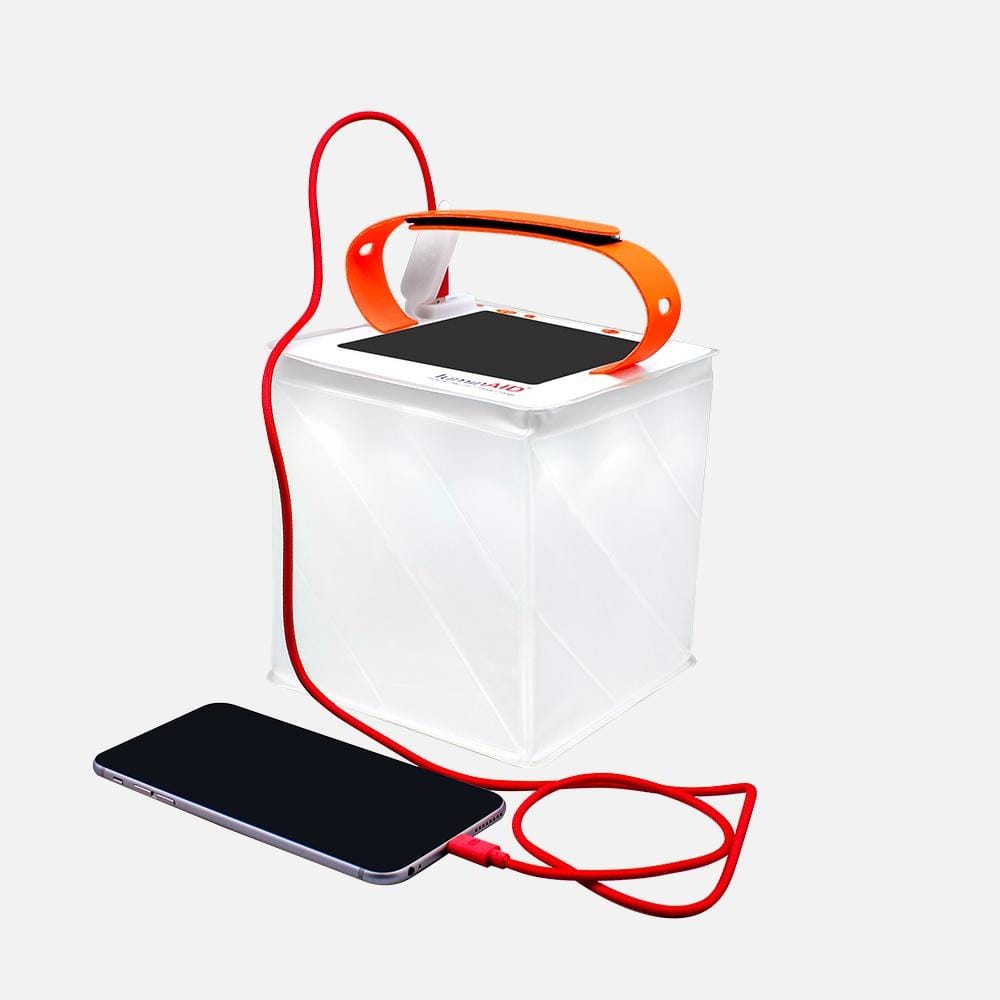
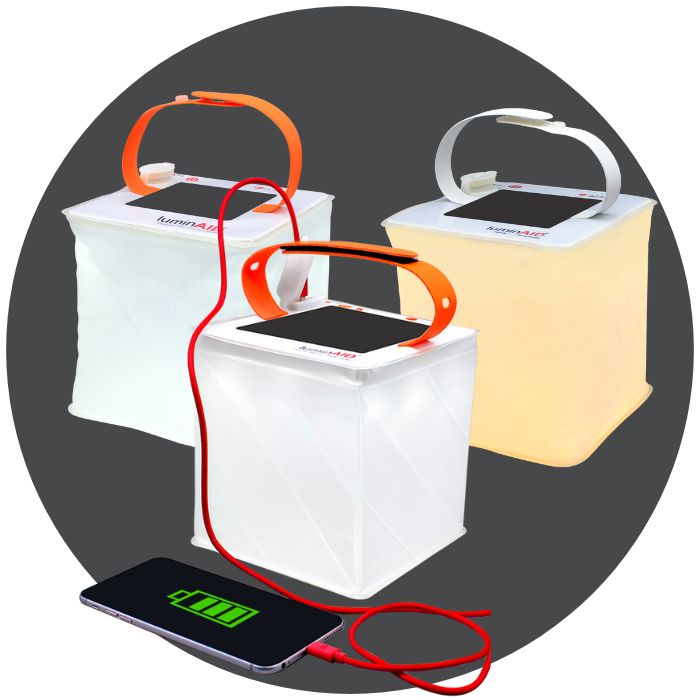
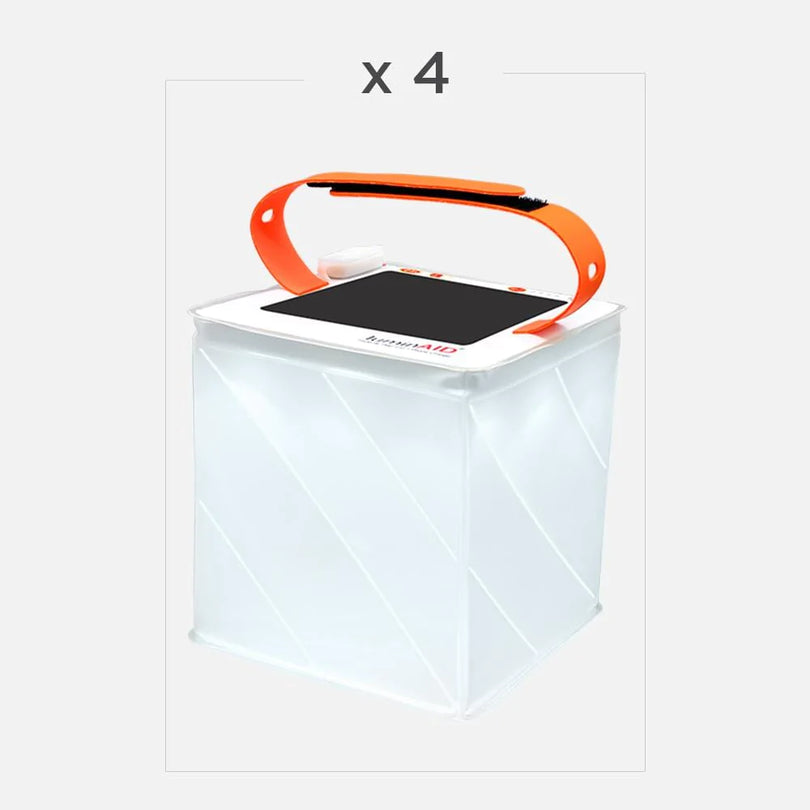
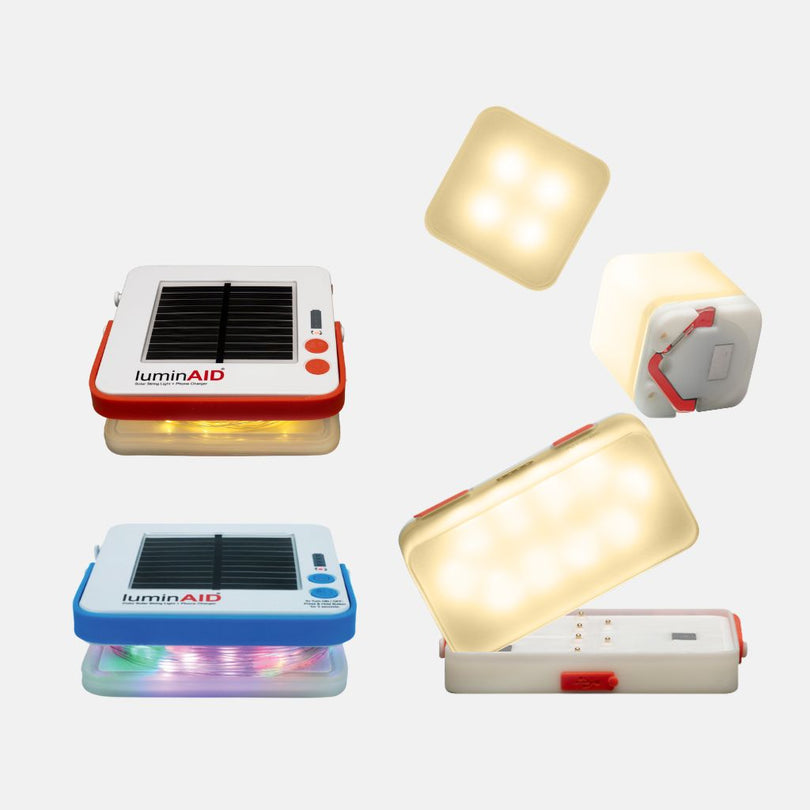
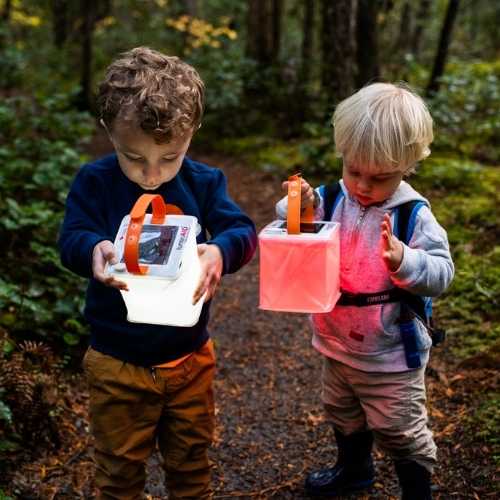
Instead of a flashlight that eats batteries, go for a solar-rechargeable lantern. Many of them can charge your phone, too, giving you light and power from the sun. A hand-crank NOAA weather radio gives you life-saving information without ever needing to be plugged in.
This isn’t just about being clever; it’s about removing weak points from your plan. If you're looking for more ideas on building a lean but effective kit, our guide on go-bag essentials is a great place to start. Every single item in your bag should have a job and be something you can count on, no matter what.
Establishing a Fail-Safe Communication Plan
When the lights go out and cell service vanishes, how will you reach your family? It's a hard question, but one you have to answer. In a real emergency, the things we rely on most—cell towers, internet, power grids—are often the first to fail. Building a communication plan that works when modern tech doesn't is a non-negotiable part of any evacuation strategy.
Your phone is still your best friend in a crisis, but you have to be smart about how you use it. When everyone tries to make a call at once, mobile networks get completely jammed. A voice call won't stand a chance, but a simple text message just might.
Adopt the "Texts Get Through" Mentality
Text messages are tiny. They use a fraction of the bandwidth a call does, which means they can slip through small gaps in network traffic when a call would fail immediately. Get your family in the habit of defaulting to text messages for all status updates.
- Be Brief: Short, to-the-point messages are best. Think "Safe at library meeting point" or "Evacuating now, heading to Aunt Carol's."
- Confirm You Got It: A simple "OK" or "Got it" lets the sender know their message was received and they can stop worrying.
- Don't Flood the Network: If you don't get an answer right away, resist the urge to send message after message. Wait a few minutes before trying again.
This one small change in how you communicate can make all the difference. It's a fundamental discipline for staying connected when everything goes sideways.
Designate Your Central Check-In Point
Your most reliable communication tool isn't a gadget—it's a person. You absolutely must designate an Out-of-State Emergency Contact. This person becomes the central switchboard for your entire family.
Why out of state? Simple. They are much less likely to be caught in the same regional disaster you are. Their phone lines and internet will be clear, making them the one stable point everyone can report back to.
Every member of your group needs this contact's name, phone number, and address written on a physical card. Keep one in your wallet and another in your go-bag. This low-tech backup is practically foolproof.
Use Every Tool in Your Toolbox
Just because you can't count on modern tech doesn't mean you should ignore it. When it works, use it. Major social media platforms often turn on "Safety Check" features during big disasters. Teach everyone in your family how to use it to mark themselves as safe—it's a quick way to let a wide circle of friends and family know you're okay.
Set up a family group chat on multiple platforms before you need it. Use a mix like SMS, WhatsApp, or Signal. If one service is down, another might still be chugging along. The goal is to have these channels ready to go so you're not fumbling to add contacts during the chaos.
And please, don't forget the humble hand-crank radio. When the internet is gone and cell towers are dark, this device is your lifeline to the outside world. It gives you access to official news and instructions from sources like the NOAA Weather Radio. It needs no batteries and no grid power. Having reliable gear is always a must, whether it's a good bug repellent like Ben's 30 to keep you safe from insects if you're displaced, or a radio to keep you informed.
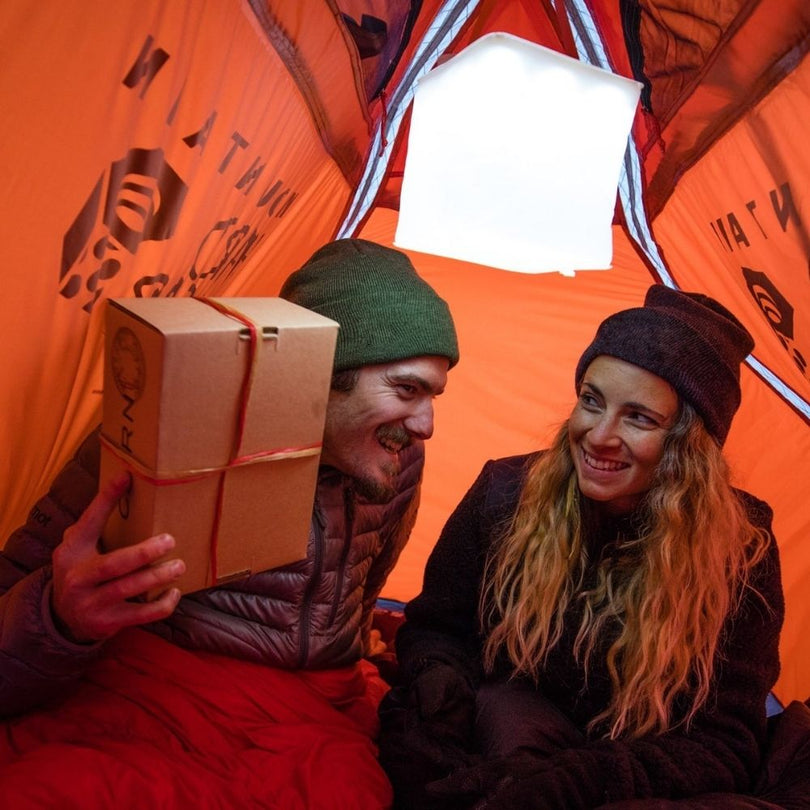
In the end, this entire plan hinges on one thing: power. A phone with a dead battery is just a paperweight. That’s why a reliable, portable power source is the linchpin of your whole communication strategy. A solar-rechargeable lantern that can also charge your devices keeps your lifeline open, so you can stay in touch, get critical information, and coordinate with your family when it counts.
Putting Your Plan into Practice with Realistic Drills
Let's be honest: a plan that just sits in a binder is nothing more than good intentions. The maps, checklists, and contacts you've put together are a solid foundation, but they won't build the muscle memory you need when a real crisis hits. Practice is what turns your paper plan into a life-saving instinct.
It’s the only way to make sure everyone knows exactly what to do when the adrenaline is pumping and confusion is high. Think of it like the fire drills we all did in school. You practice to find the flaws—the window that always sticks, the vital medication that got left behind, or the escape route that's a traffic nightmare at 5 PM.
From Tabletop to Full-Scale Drill
You don't need to jump straight into a surprise, middle-of-the-night drill. The best way to start is with a "tabletop exercise." Just gather everyone around the kitchen table with your emergency binder and walk through the plan.
This is the time to throw out the "what-if" scenarios. What if a wildfire breaks out while the kids are at school and you're still at the office? What if the evacuation order for a hurricane comes at 3 AM? These talks are where you'll spot the first big holes in your plan. You might realize your communication tree is missing a key contact or that the cat carrier is buried deep in the back of a closet.
Once you’ve talked it through, it’s time for a dry run. Try to run a full-scale evacuation drill at least twice a year. Make the first one announced so everyone knows what to expect. But for the second one? Make it a surprise. That’s how you’ll test your family’s real-world readiness.
A perfect drill is a failed drill. The entire point is to find what’s broken in a safe environment, not to get a perfect score. If everything goes smoothly, you probably didn't make it challenging enough.
Making Drills Realistic and Effective
When you run a drill, you have to go through the actual motions. Don’t just say you’ll grab the go-bags; physically get them and put them in the car. Get every person and every pet loaded up and ready to roll.
- Time Everything: The second you give the "go" signal, start a stopwatch. How long does it take to get from the alert to everyone being buckled in the car? This number is your baseline, and it will immediately show you where you're losing precious time.
- Drive the Routes: Looking at a map isn't enough. You need to physically drive your primary and secondary escape routes at different times of day. You’ll quickly learn about unexpected construction, tricky intersections, and normal traffic patterns that could slow you down.
- Test Your Gear: A drill is the perfect opportunity to make sure your equipment actually works. Switch on your headlamps. Check the batteries in your radio. If you live in an area where wildlife is a concern, practice grabbing your deterrents, like a can of bear spray from Counter Assault, so you know it's accessible.
If you have kids, turn the drill into a "family safety game." This helps build their confidence instead of their fear. Give each child a specific job, like being in charge of the dog’s leash or doing a final check that the back door is locked. Giving them a role makes them an active part of the solution and solidifies their place in the family’s plan. When a real alert comes, you’ll be met with practiced action, not panic.
Answering Your Top Evacuation Plan Questions
Once you’ve drafted your evacuation plan, a few common questions always seem to pop up. Let’s tackle them head-on so you can button up your strategy and feel truly ready for anything.
How Often Should I Review My Plan?
Think of your evacuation plan as a living document, not something you write once and file away forever. You should give it a full review at least once a year or whenever your life changes—think a move, a new job, or a new member of the family.
What’s even more critical is refreshing your go-bags every six months. This is non-negotiable. Set a reminder on your calendar to:
- Rotate out food, water, and medications that are nearing their expiration date.
- Check the batteries in your electronics and test all your rechargeable gear.
- Swap out clothing to match the upcoming season.
How Do I Plan for Family Members with Special Needs?
A one-size-fits-all plan is a plan that’s destined to fail. If someone in your group has unique needs, your plan must reflect that from the ground up. For seniors or anyone with mobility challenges, this means packing extra medications, copies of medical records, and essential aids like a foldable cane or backup hearing aid batteries.
If you have an infant, your kit needs to be stocked with enough formula, diapers, wipes, and a few comfort items. Have a frank discussion with any caregivers so it's crystal clear who is responsible for helping those that need it most.
Your plan is only as strong as its ability to protect your most vulnerable members. Take the time to customize every detail for their specific needs, ensuring they are not just included, but prioritized.
What About Evacuating with Pets?
To most of us, pets are family. Treat their prep that way. Get a dedicated pet go-bag ready with their food, water, any medications, and copies of their vaccination records.
Keep in mind that many emergency shelters simply cannot accept animals. Do your homework and research pet-friendly hotels or designated animal shelters along your escape routes before you need them. And make sure every pet is microchipped and wearing a collar with an up-to-date ID tag. It could be their ticket back to you.
At LuminAID, we know that being prepared gives you peace of mind. Our solar-rechargeable lanterns and power chargers are designed to be reliable, lightweight additions to any emergency kit, ensuring you always have light and power. Shop LuminAID's reliable emergency gear.