


The first mile in a new pair of hiking boots can feel harmless. Then the heel starts rubbing, the toe box starts pressing, and a simple spring walk turns into a limp back to the car with hot skin and a bad mood. That's exactly why how to break in hiking boots matters, not as a ritual, but as a way to find out whether the boots need time, a lacing fix, or a return label.
A good break-in plan protects feet, but it also protects the boots themselves. Leather, synthetic uppers, and collars all respond differently, so the smartest approach is staged wear, early hotspot checks, and honest fit decisions instead of hoping discomfort disappears on its own. For a broader packing mindset before a first outing, the St Christopher's Inns travel blog on beautiful national parks in Europe is a useful trail-daydream companion, and the LuminAID beginner hiking gear guide pairs well with the basics of trip prep.
Table of Contents
- Why Breaking In Hiking Boots Matters
- Preparing Your Boots and Feet
- Home Techniques for Breaking In Boots
- Moving From Home Wear to Trail Break In
- Common Break In Problems and Solutions
- Maintenance Tips and Break In Timeline
Why Breaking In Hiking Boots Matters
A brand-new boot can feel fine in the shop and punish your feet on the trail. The difference shows up once your feet swell, the ground tips downhill, and the upper starts flexing in ways a mirror test never shows. A stiff collar becomes a rub point, and a heel cup that seems close enough can turn into blister trouble after a few hours.
Normal stiffness versus a bad fit
Some stiffness is normal, especially in leather. A boot that feels rigid at first can still become trail-ready if the shape matches your foot and the break-in is gradual. The mistake is assuming every sore spot will disappear on its own.
Practical rule: soreness that fades as the material loosens is one thing, but sharp pain, toe crowding, or heel lift is a fit problem that needs attention.
The better question is whether the boot is adapting to your foot or fighting it. That matters more than any claim about rugged construction. If the last, width, or heel shape is off, extra miles just create more friction and more damage to the same spot.
Hiking boots also settle on different schedules depending on the material. Full-grain leather often needs a slower break-in, while synthetics usually soften faster, so the first few outings should stay short and controlled according to The Hiking Tribe. That is why a first hike should stay modest, not ambitious.
A short loop on mixed ground is a good test, but a boot that still creates hot spots in the same place deserves scrutiny. If pressure eases after a few wears, keep going. If the same toe pinch, heel rub, or arch bite shows up every time, adjust the lacing, compare it with the setup advice in Luminaid's beginner hiking gear guide, and consider returning the boots before the problem gets baked into your trail habits. For a real-world example of how gear choices affect comfort on longer outings, the St Christopher's Inns travel blog is a useful reference point, because the right fit matters more once you start covering uneven ground and carrying a pack.
Preparing Your Boots and Feet
Break-in starts before the first walk. Socks, insoles, and lacing decide whether the boot spreads pressure across the foot or dumps it into one angry spot on the heel, arch, or toes. A good setup can make a new boot feel manageable on day one, while a sloppy setup can make the same boot feel wrong from the start.
Start with the socks you will hike in
Cotton is a poor choice because it traps moisture and adds friction. A merino blend or other moisture-managing hiking sock is the safer choice, and a cushioned liner can help if the boot has extra room or the foot tends to slide. The point is consistency, because the foot should not break in a boot in one sock and then hike in a different one.
Choosing the right socks belongs in the same planning bucket as choosing the right camping clothes for the weather, because both affect comfort before the trail gets difficult. If the sock setup changes from one outing to the next, the fit changes too.
Match insoles to the boot shape
Supportive insoles can calm foot fatigue and improve heel hold, but they should not be used to hide a boot that is too narrow or too shallow. If an insole changes volume too much, the toes may feel compressed and the heel may still slip. That is why boot and insole should be tested together before any real mileage starts.
For people who want more background on accessory choices, Survive Outdoors Longer's pack of outdoor essentials is a useful place to compare gear categories without overcomplicating the setup. The more important point is simple. The boot, sock, and insole system has to behave like a single unit.
Lock in lacing before the first outing
Lacing is not cosmetic. A heel lock or other snug lacing pattern can reduce lift, keep the foot from sliding forward on descents, and lower the chance of toe jam. That matters because even a well-shaped boot will rub if the foot drifts inside it.
Mammut's break-in guidance keeps the first stage short, recommending home wear for no more than 2 to 3 hours at a time before moving to relaxed walks and then a proper hike. That limit helps keep the process controlled enough to notice whether the discomfort is normal settling or a fit problem that deserves a return. If the same pinch, lift, or heel slip keeps showing up after lacing changes, the boot is giving a clear answer.
Home Techniques for Breaking In Boots
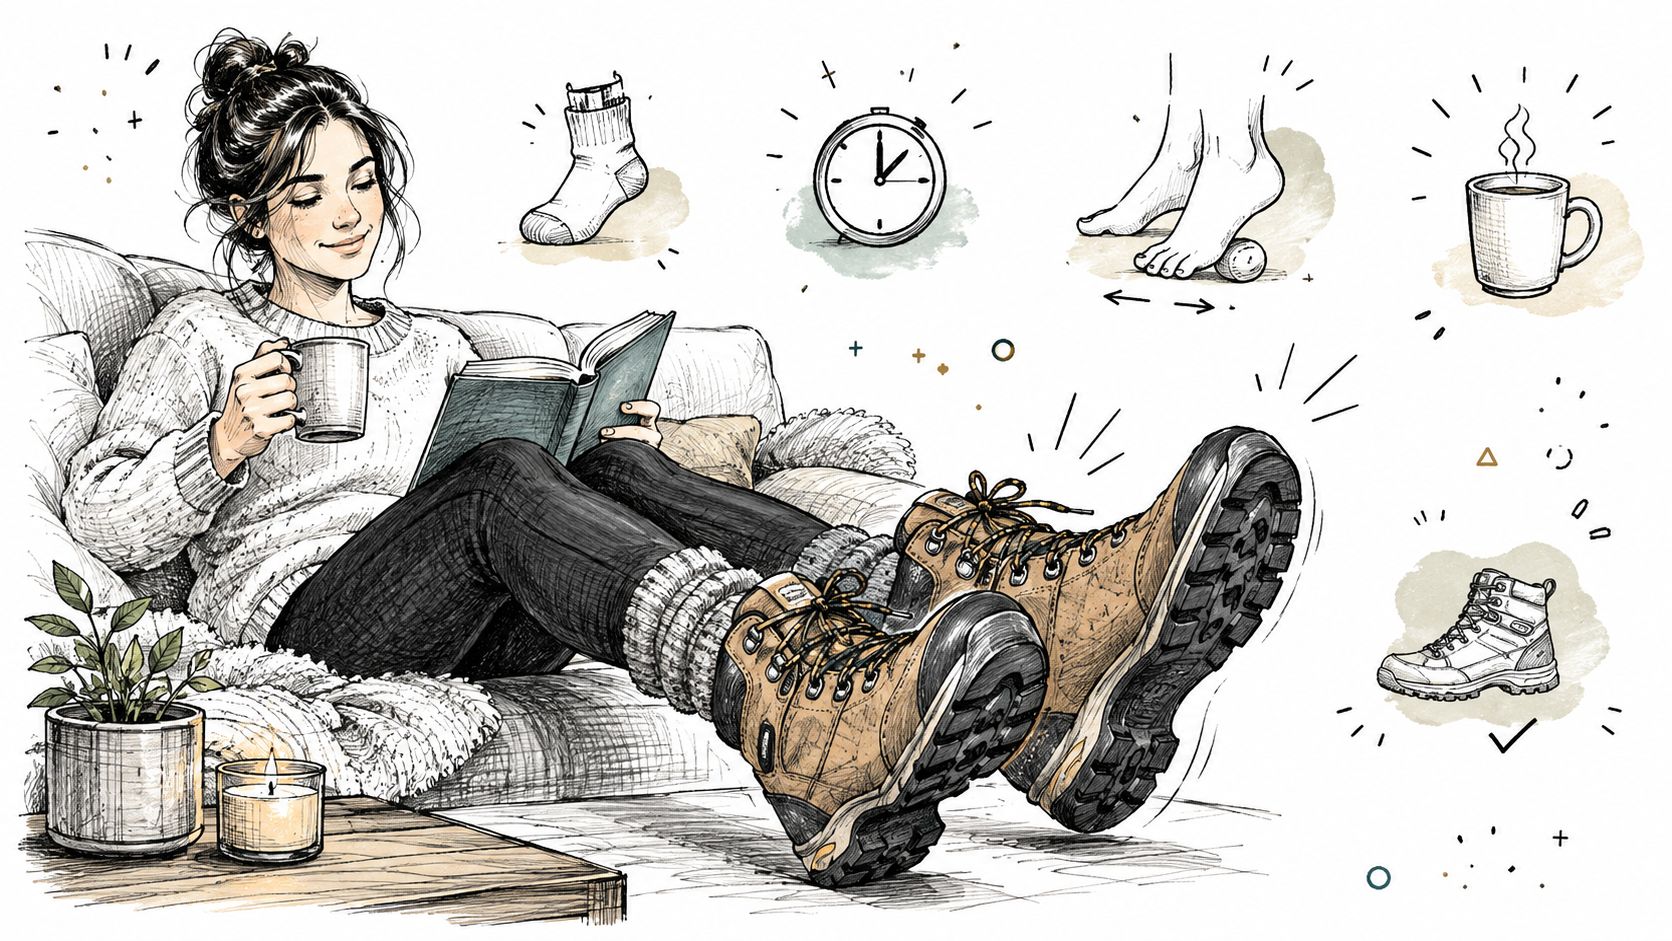
The safest home break-in work is boring on purpose. Short wear sessions, flat floors, and real hiking socks reveal whether the boot is flexing in the right places without turning a pressure point into a blister. A boot that feels wrong at home usually feels worse on gravel.
Use short sessions, not marathon wear
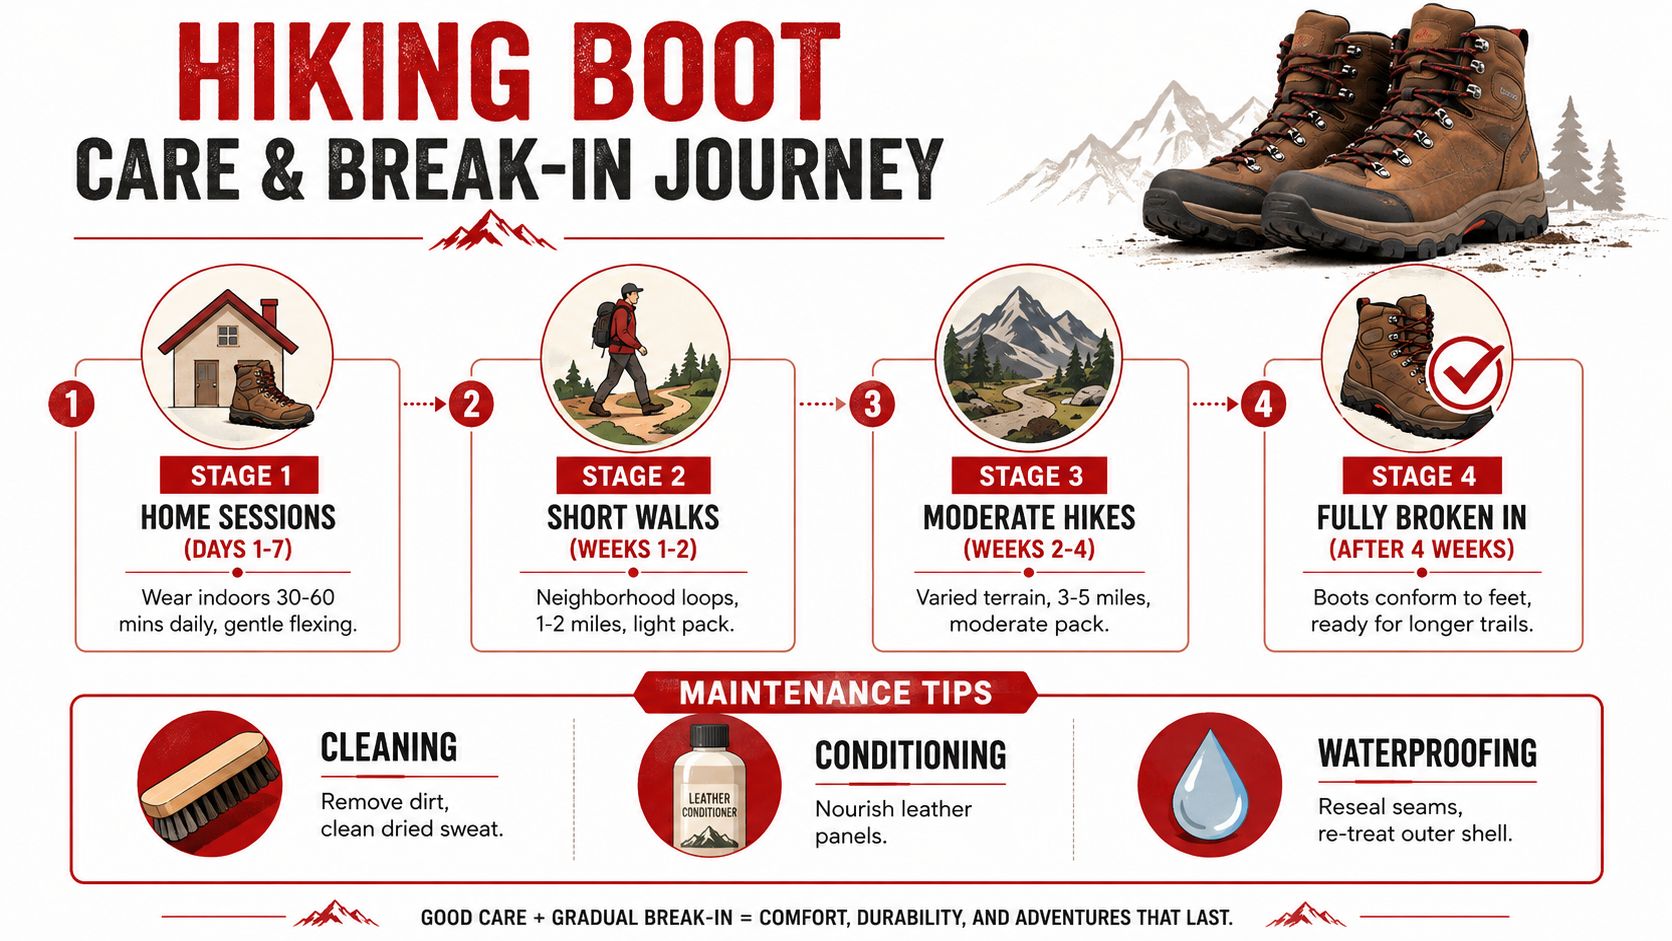
The cleanest method starts with 30 to 60 minute indoor sessions in the socks and insoles you'll hike in, then moves to short flat-surface walks, then 1 to 2 hour walks with a light daypack, and only after that to a half-day trail test Outdoorist. That progression works because it lets the foot and upper adapt in controlled steps instead of all at once.
A simple rule helps here. Stop the session before pain starts, not after. Once a hotspot forms, the skin is already irritated, and the next mile just multiplies the damage.
Use moisture and warmth carefully
Light moisture can help stiff material relax, but it should never be turned into a soak. Damp socks or a short, controlled heat session can encourage flex in stubborn spots, yet the boot still needs time to cool and settle before it's worn again. That is a materials issue, not a shortcut.
Let the boot change shape gradually. Fast methods feel efficient, but they're usually just a faster route to bad fit decisions.
The other part of home break-in is rest. A day off between sessions gives the boot time to hold the new shape and gives the foot time to recover from any new pressure pattern. If the same spot keeps flaring up during short indoor wear, the boot is sending a useful signal.
Moving From Home Wear to Trail Break In
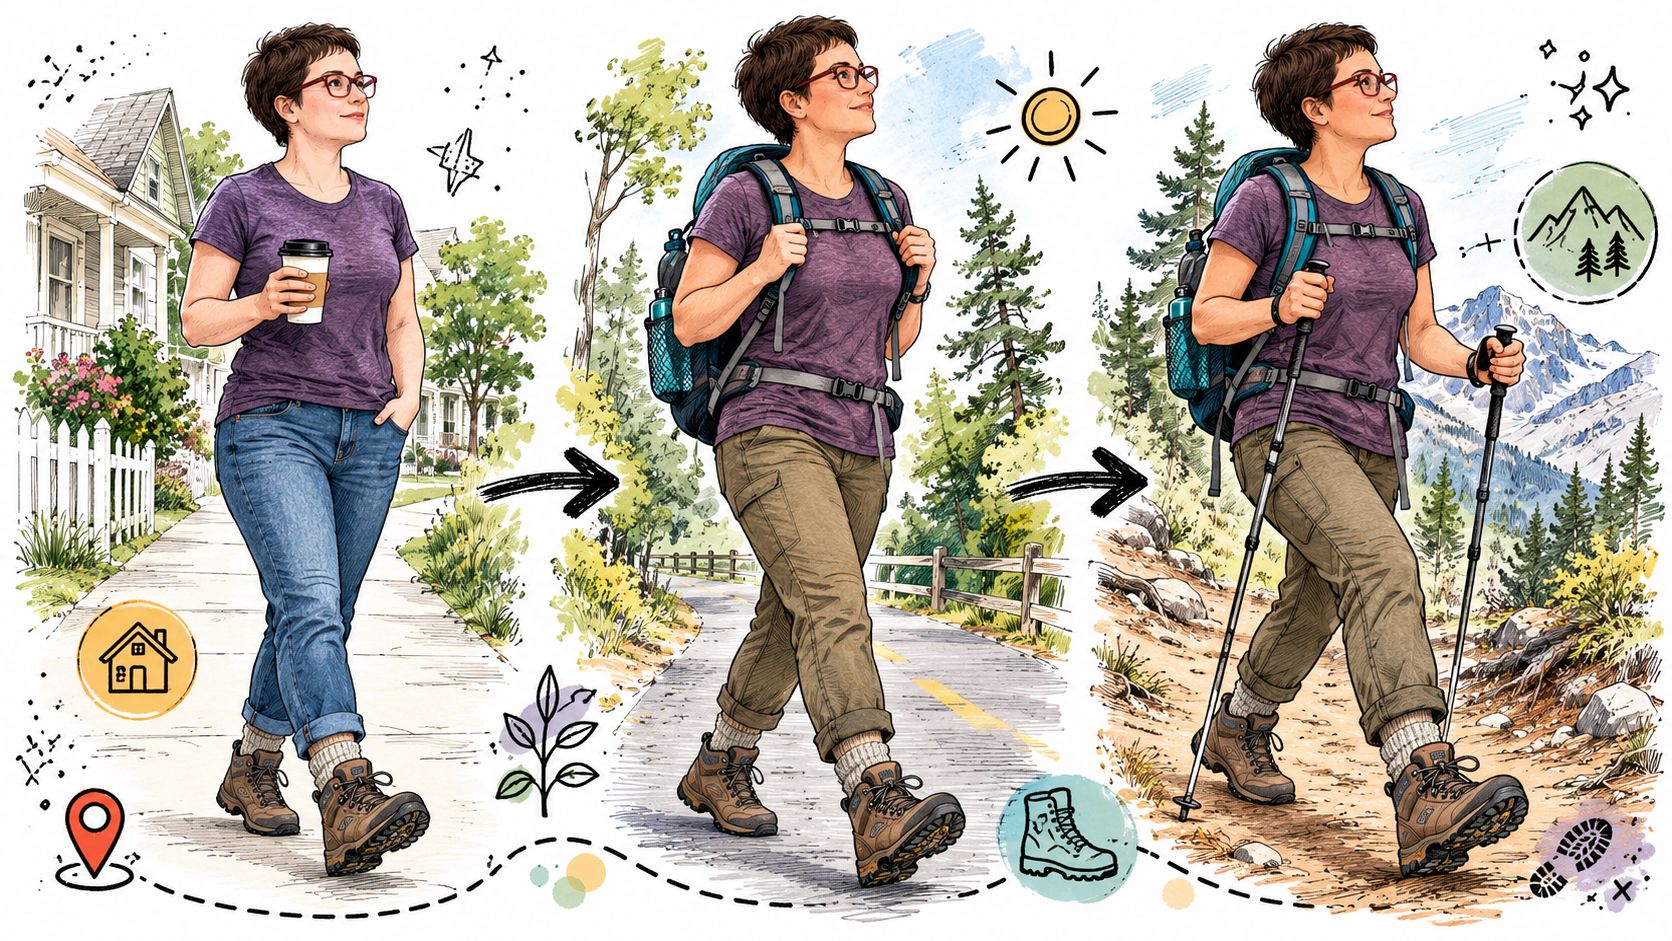
The real test starts when the boot leaves clean floors. Neighborhood loops, paved paths, and short trail segments show how the upper flexes, how the heel holds, and where pressure builds once the foot is moving like it will on a hike. That early read matters because it separates normal stiffness from a fit problem that will not improve.
Build terrain in the same order your feet need it
Start with neighborhood walks, then add a light daypack on pavement or flat paths, then move onto uneven ground. REI's progression from indoor wear to around-town walking and then trail use matches what experienced hikers do in practice, because the boot gets tested at each step before serious miles are on the line. A few easy outings tell more than one ambitious day.
Use those outings as a decision tool. If a hot spot eases after a short walk, that is normal break-in. If the same spot sharpens every time, or if your toes slide forward, your heel lifts, or the collar digs in from the first few minutes, the boot is likely fighting your foot shape. At that point, more miles usually expose the mismatch instead of fixing it.
Use mileage as a checkpoint, not a dare
Mileage gives structure, but it should not override what your feet are telling you. Full-grain leather often needs 20 to 40 miles of wear, while lightweight synthetic hikers may need only 5 to 15 miles. Those ranges are broad enough that the boot itself should tell the story, not the calendar alone.
A good trail day should leave you tired, not compromised. If soreness fades quickly after the hike and the pressure stayed local, keep building gradually. If you get numbness, repeated blisters in the same place, or pain that changes your stride, the safer move is to adjust lacing, change socks, or return the boots before the problem becomes a habit.
For anyone planning a trail day with a dog, Denver Dog's guide to protecting Denver dogs from bugs is a handy companion read before heading into buggy terrain. It's the kind of side prep that keeps a boot test from becoming a misery test.
Common Break In Problems and Solutions
A boot can feel fine at first and still fail the fit test. The job here is to separate normal break-in friction from a boot that is shaping your gait for the wrong reasons, then act on that split before the blisters become routine.
Symptom: heel hotspot
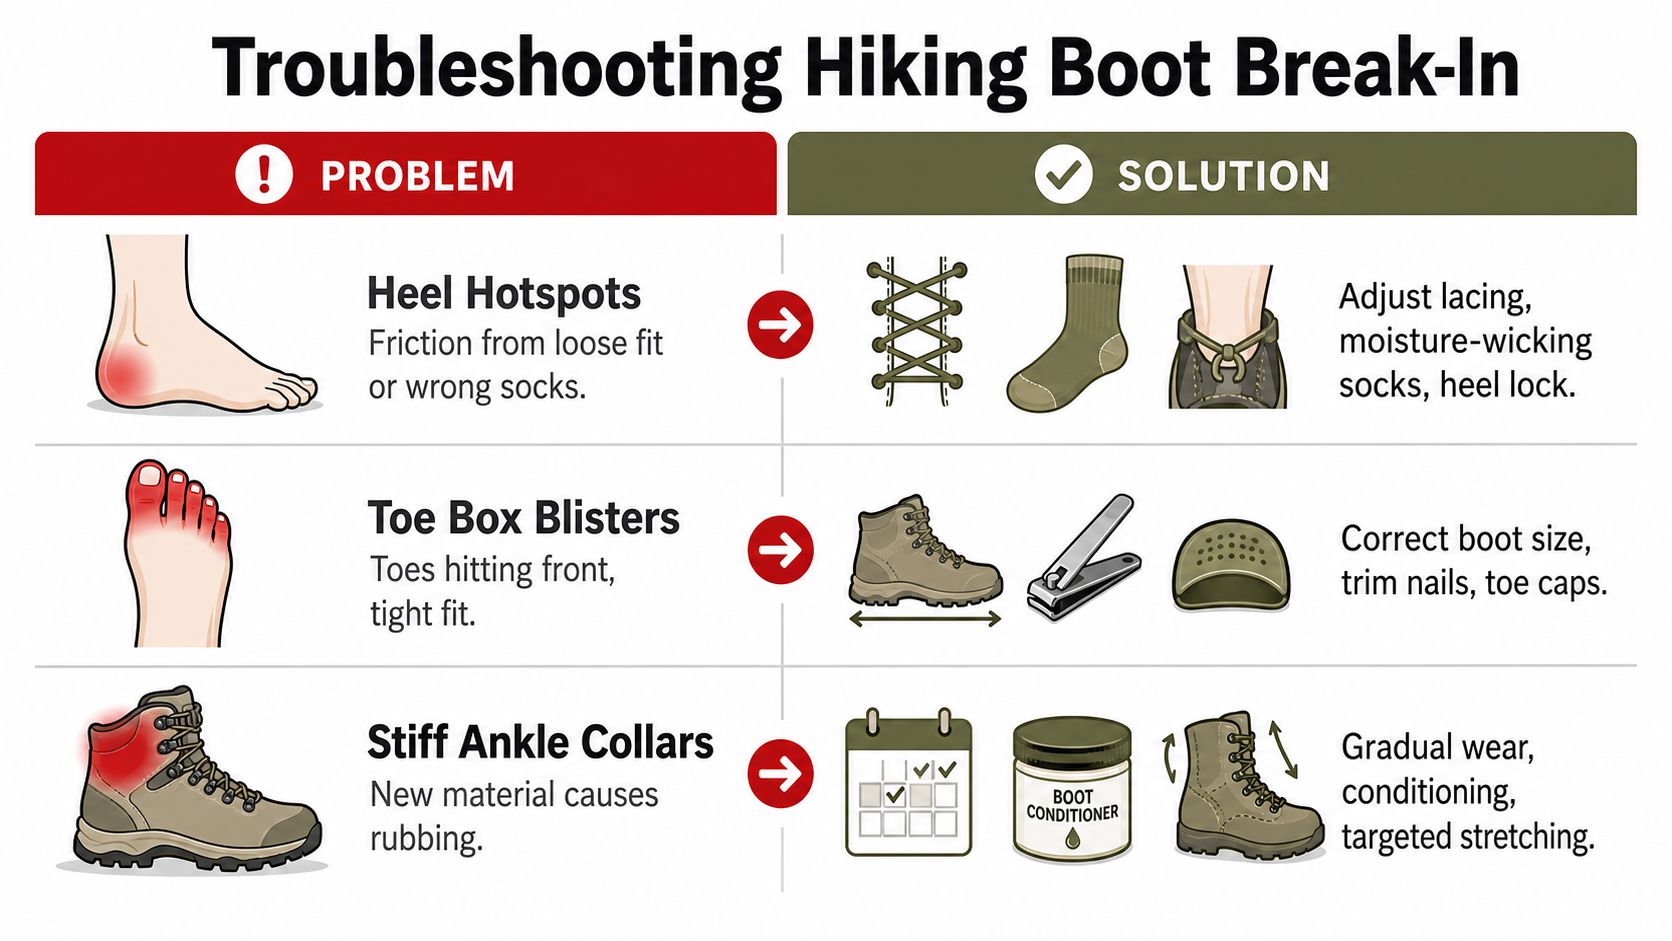
A heel hotspot usually means friction from heel lift, loose lacing, or a sock that is sliding against the skin. If the spot cools down after tightening the heel and changing socks, keep testing. If the same rub returns within the first part of every walk, the boot may be too roomy in the heel or built on a shape that does not match your foot.
T3's break-in advice treats hotspot management as a mechanical problem, not a cosmetic one, and recommends taping rubbing areas with surgical tape or sports tape such as Leukotape. Use that approach before the next outing, then judge the result on the trail, not at home.
Symptom: toe blisters or black toenail pressure
Toe blisters show up when the toes slide forward on descents or when the toe box is too short, too low, or too narrow. Shorten the lacing slightly across the forefoot and check whether your heel stays planted on a downhill test. If the toes still hit the front or feel compressed from the first few minutes, the boot is probably too small or the shape is wrong for your foot.
A simple downhill walk tells you a lot. If the toe pain fades once the foot settles, the issue is likely adjustment. If your toes keep taking impact even with better lacing, do not try to force adaptation. Return the boots before the pressure turns into a lasting nail problem.
Symptom: stiff collar or ankle rubbing
A stiff collar can feel harmless in the house and become a problem once the boot starts flexing with each step. If the collar is only annoying at the start and then settles, that is normal break-in. If it digs into the same spot every time, especially around the Achilles or ankle bone, the boot may sit too high or too rigid for your leg shape.
That is also where preventing walking-related ankle pain matters. If the discomfort follows the boot rather than the terrain, try changing lacing tension, using a thicker sock, or adding padding at the pressure point. If the rubbing stays sharp after those changes, a different collar height or a different model is the smarter choice.
Decision point: adjust or return
Use the same sequence every time. First, change the lacing. Next, swap socks or add padding. Then repeat the same short walk on similar ground. If the problem improves and stays local, keep breaking the boots in. If the pain repeats in the same place, gets sharper, or changes how you walk, stop treating it as a break-in issue and treat it as a fit issue.
A compact first-aid kit belongs in every boot test, especially if you are heading out after the first few wear sessions. A compact first-aid kit for camping makes it easier to stop early, clean a hot spot, and protect the skin before it becomes a blister.
When the boot is the problem
A boot that keeps crushing toes, lifting the heel, or biting the ankle after you have already tried the basic fixes is not “still breaking in.” It is fighting your foot shape. At that point, more miles usually expose the mismatch instead of solving it, and a different width, last, or size is the better move.
Keep that standard strict. Normal break-in discomfort fades, changes location, or responds to a small adjustment. Fit problems repeat, sharpen, and force compensations that you can feel in your stride.
Maintenance Tips and Break In Timeline
Boot break-in does not end once the upper feels comfortable. Sweat, dust, and grime change how the boot flexes over time, and leather especially needs regular cleaning and conditioning to stay predictable on the trail. A well-kept boot usually feels more consistent on the next outing, which makes it easier to tell whether a problem is normal stiffness or a fit issue.
Use the break-in calendar as a planning tool
Use the early outings to see whether the boot softens in the right places, or whether the same hot spots keep returning. That is the part many hikers skip, and it is the part that tells you whether to adjust lacing, change socks, add padding, or start thinking about a return.
The most useful material split is simple.
Typical Break-In Mileage by Boot Material
| Boot Material | Typical Break-In Mileage | Estimated Time |
|---|---|---|
| Lightweight synthetic | 5 to 15 miles Your Gear Guide | About 10 to 20 hours for many synthetic models The Hiking Tribe |
| Full-grain leather | 20 to 40 miles Your Gear Guide | About 3 to 4 weeks, or roughly 80 to 100 hours The Hiking Tribe |
Keep the boot healthy after it softens
Cleaning matters because dirt and dried sweat stiffen material at the flex points. Leather panels respond well to conditioning, while waterproof seams need periodic resealing so the boot keeps doing its job. These habits do not shorten break-in, but they help the boot hold its shape and keep the feel consistent once the material starts to settle.
A broken-in boot is still a system. Clean it, dry it properly, and keep the fit from drifting as the miles pile up.
For hikers who like one dependable kit to support both camp and trail, a well-maintained boot pairs naturally with reliable light after dark. LuminAID offers lightweight solar lanterns and off-grid lighting for early starts, late returns, and gear checks after sunset. Visit LuminAID to add dependable light to your next trail bag and make every pre-hike setup easier to manage.