


Before you can prepare for a natural disaster, you have to know what you’re up against. The most effective plan isn’t a generic one you pull off the internet; it’s one built from the ground up, based on the specific threats you face where you live.
Is your biggest risk an earthquake? A hurricane? Maybe a wildfire or a flash flood? Nailing this down is the foundational step. It ensures your time, money, and energy are all pointed in the right direction, focused on the preparations that will actually keep you safe.
First Steps: Knowing Your Local Disaster Risks
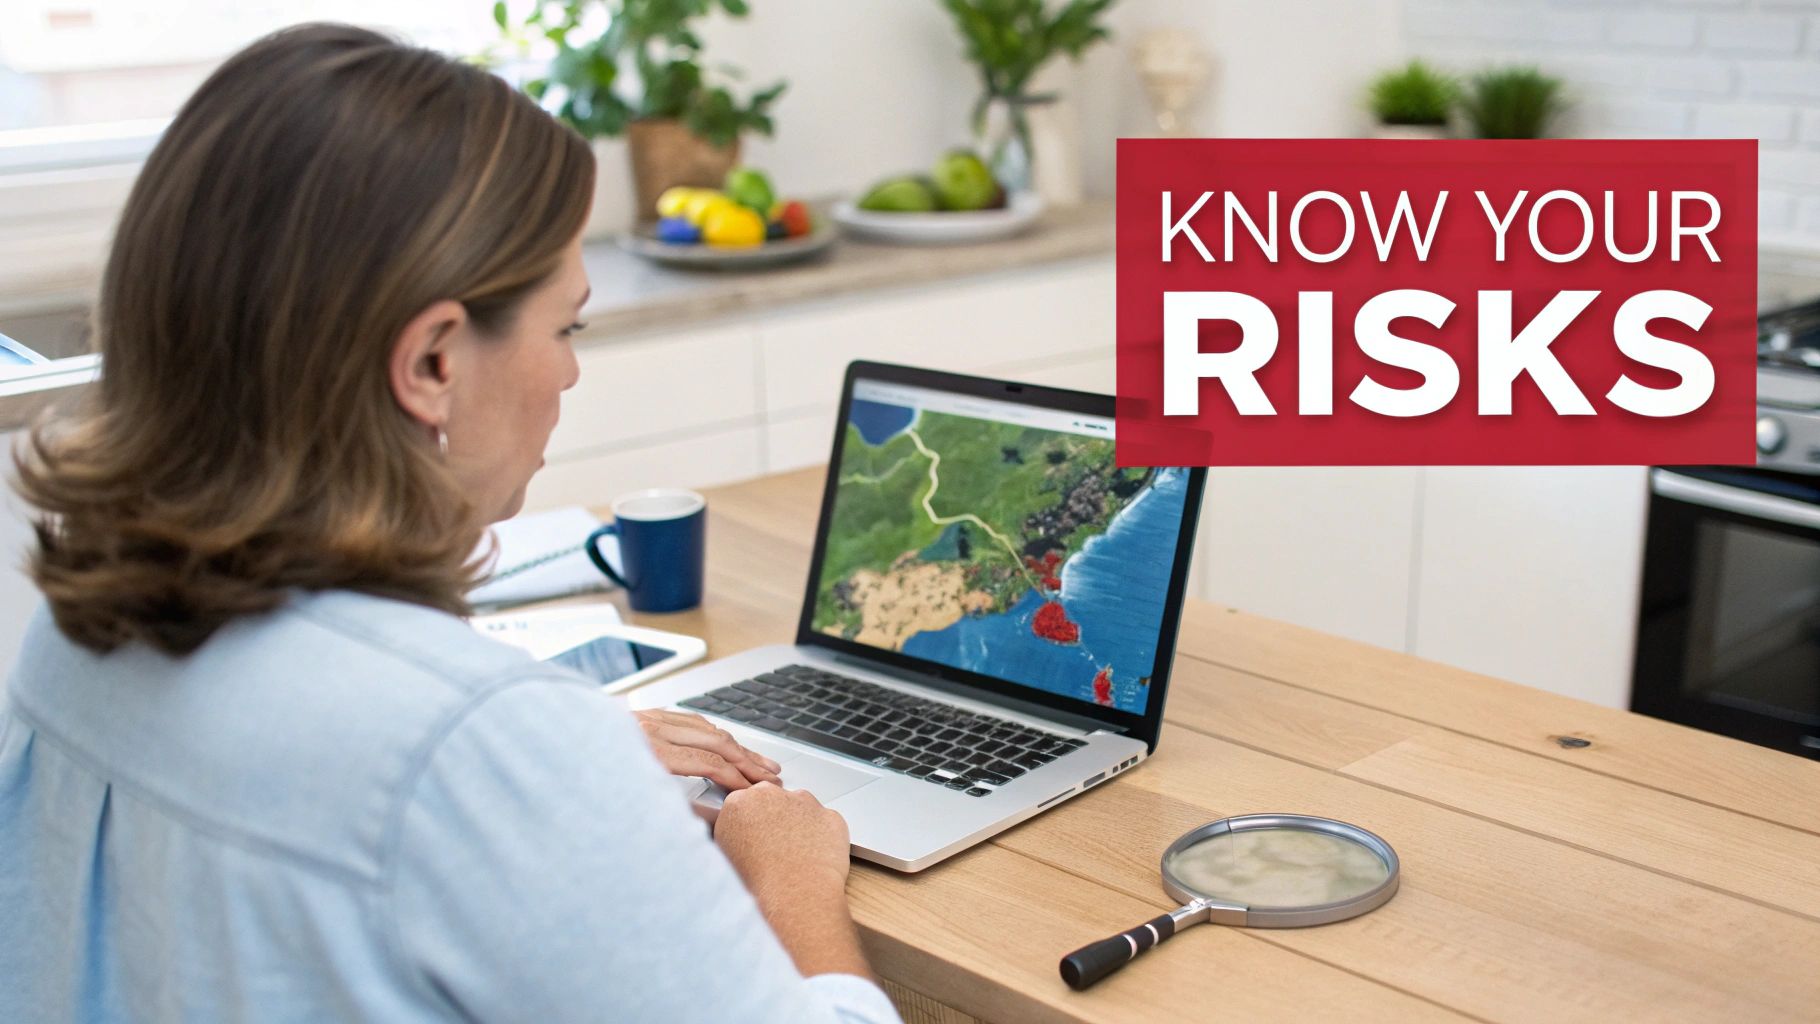
Let's be clear: preparedness isn't a one-size-fits-all checklist. A family living in Miami needs a completely different game plan than one in Seattle. Instead of just guessing, you need to do a personal risk assessment. This just means taking a hard look at the potential hazards in your area and figuring out how they might impact your home, your neighborhood, and your daily routine.
This isn't about scaring yourself. It's about building confidence. When you know what could happen, you can take practical, logical steps to reduce the danger and protect your family. The goal is to trade uncertainty for informed action.
Identifying Your Specific Threats
Your journey into disaster readiness starts with a little bit of research. Thankfully, there are plenty of reliable tools out there to help you pinpoint the exact risks for your zip code.
Kick off your research with these official sources:
- Local Emergency Management Agency: Your city or county's emergency management website is the absolute best place to start. It will have a list of the most common hazards for your specific area, from seasonal storms to geological fault lines.
- FEMA Flood Maps: The Federal Emergency Management Agency (FEMA) offers a fantastic flood map service. Just type in your address to see your property's flood risk level. This is critical info for your insurance and evacuation plans.
- Geological Surveys: If you're in a seismically active region, the U.S. Geological Survey (USGS) provides real-time earthquake maps and risk data. This helps you understand the probability and potential strength of a quake.
Using these tools will give you a clear picture of what you're dealing with. You might find out your home is in a low-risk flood zone but a high-risk wildfire area, which immediately tells you where to focus your efforts. For a deeper dive into seismic events, check out our comprehensive guide on how to prepare for an earthquake.
Understanding the Scale of the Problem
The financial and human cost of natural disasters is always on the rise, which really drives home why being personally ready is so important. In just the first half of a recent year, natural catastrophes caused an estimated $131 billion in losses around the globe.
Here in the United States, the American continent was hit by over 1,250 tornadoes in a single year, a stark reminder of how diverse these threats can be. These aren't just statistics; they're the reason we need everything from better building codes to personal evacuation drills.
Key Takeaway: Your personal preparedness plan is a critical piece of a much larger puzzle of community resilience. What you do at home has a direct impact on a safer outcome for everyone.
Prioritizing Your Preparations
Okay, so you’ve identified the most likely disasters for your region. Now what? The next move is to prioritize them, so you don't get overwhelmed trying to prepare for everything at once.
A simple risk assessment can help you decide where to start. For each potential disaster, just consider two things:
- Likelihood: How likely is it that this event will happen in your area in the next few years?
- Severity: If it does happen, what’s the potential impact on your home, your safety, and your access to basics like power and water?
Here's a quick reference to get you started on identifying your region's most common threats.
Common Natural Disasters by Region
This table provides a quick look at the most prevalent natural disasters across different regions of the United States, helping you pinpoint your primary risks.
| Region | Primary Risks | Secondary Risks |
|---|---|---|
| Northeast | Hurricanes, Nor'easters, Blizzards | Flooding, Severe Thunderstorms |
| Southeast | Hurricanes, Tornadoes, Floods | Wildfires, Tropical Storms |
| Midwest | Tornadoes, Severe Thunderstorms, Floods | Blizzards, Extreme Heat |
| West Coast | Earthquakes, Wildfires, Mudslides | Tsunamis, Drought |
| Mountain West | Wildfires, Blizzards, Avalanches | Drought, Flash Floods |
| Southwest | Drought, Extreme Heat, Wildfires | Flash Floods, Dust Storms |
For example, a tornado might be a lower-likelihood event for some, but its severity would be off the charts. On the other hand, seasonal flooding might be highly likely but have a lower severity if you live on higher ground.
This simple analysis helps you create a logical, step-by-step plan. This is the essential first chapter in your family's safety story, ensuring every action you take from here on out is meaningful and effective.
Building Your Family Emergency Communication Plan
When disaster hits, the first thing you’ll think about is your family. Are they safe? Where are they? But what if the power’s out, cell towers are jammed, and roads are impassable? In that chaos, a solid communication plan isn't just a nice idea—it's as vital as your survival kit.
This isn't just about filling out a form. It's about creating a shared playbook that everyone in your household, from young kids to elderly parents, knows by heart. It’s the difference between panic and purpose.
Designating Multiple Meeting Points
When you're forced to evacuate, "Where do we go?" is the one question you don't want to be figuring out on the fly. That's a recipe for confusion and separation. The solution is to pre-designate several specific meeting points ahead of time.
Think in layers, starting close and moving outward.
- Immediate Meeting Spot: This needs to be right outside your home. Think the big oak tree across the street or your neighbor's mailbox. It’s for sudden emergencies like a house fire where you need to get out fast and do a quick headcount.
- Neighborhood Meeting Spot: What if your entire block is a no-go zone? You need a secondary spot within walking distance. A local library, the park down the street, or a nearby church are all good options.
- Out-of-Town Meeting Spot: For those widespread disasters that force an entire town to evacuate, you need a rally point in another city. This is often a relative’s or a trusted friend’s house where everyone agrees to head if a major evacuation order comes down.
Drill these locations with your family. For younger kids, don't just talk about it—physically walk the routes with them until they're second nature.
The Out-of-State Contact Trick
During a regional disaster, local phone lines and cell networks are almost guaranteed to overload. Trying to call someone in the same town can feel impossible. But here's a pro tip: making a long-distance call to someone outside the affected area is often much easier.
This is where your out-of-state contact becomes your lifeline. This person is your family's central information hub.
Choose a reliable relative or friend who lives in a different state. After a disaster, each family member’s job is to call or text this one person to report that they are safe. This contact can then relay messages between family members who can't reach each other directly.
Make sure everyone has this person’s number saved in their phone under something obvious like "ICE Contact" (In Case of Emergency). Just as important, have it written down on a physical card in every wallet and go-bag.
Planning for Communication Blackouts
We lean on our phones for everything, but you have to be ready for when they become useless bricks. Communication blackouts are a very real possibility.
It's time to think analog.
- Walkie-Talkies: For short-range comms, a good set of walkie-talkies can be a lifesaver. They're perfect for keeping in touch with family members across a neighborhood or at a shelter.
- Community Message Board: Talk with your neighbors and pre-designate a physical spot—like a community center bulletin board or a specific landmark—where people can leave "I'm safe" messages for one another.
- Pre-Written Notes: If you have to evacuate, have a plan to leave a simple note on your front door (if it's safe to do so) saying where you've gone and confirming everyone is okay.
A smart plan accepts that modern tech can and will fail. Having these old-school backups means you can still connect when it matters most. Having the right tools and knowing how to communicate are both critical components of any plan.
Tailoring the Plan for Everyone
Your plan is only as good as its ability to work for everyone in your household. A one-size-fits-all approach won't cut it if you have a toddler and an elderly grandparent living under the same roof.
You have to think through the specific needs of each person.
- Young Children: They won't remember complex instructions. Keep it simple. "If the smoke alarm beeps, we meet at the big oak tree." Put a laminated card with contact info and addresses in their school backpack.
- Elderly Relatives: Consider their mobility. Do they rely on medical equipment that requires power? Your plan must assign someone to help them and include a backup power plan for their essential devices.
- Family Members with Disabilities: Adapt everything to their specific needs. This might mean mapping out wheelchair-accessible evacuation routes or creating communication cards for someone who is non-verbal.
Talking through these "what-ifs" openly and assigning clear roles turns a generic checklist into a real, functional plan that truly protects your family.
Assembling Your Go-Bag and At-Home Survival Kit
A solid communication plan is about finding your people. Having the right supplies is about keeping them safe. This is where your preparedness strategy gets real and tangible. We’re talking about two separate, but equally critical, kits: a lightweight, portable “go-bag” for those moments you need to evacuate now, and a more robust at-home survival kit built for sheltering in place.
Think of it this way: your go-bag is a 72-hour lifeline when you have minutes to leave. The at-home kit is your resilience plan for riding out extended power outages or service disruptions for up to two weeks. This isn't about panic-buying; it's about thoughtfully putting together the tools that give you security when everything else feels uncertain.
Crafting Your Evacuation Go-Bag
When an evacuation order hits, you won’t have time to hunt for batteries or a first-aid kit. Your go-bag needs to be packed, easy to grab, and ready for action. The philosophy here is simple: lightweight portability and multi-purpose utility. Every single item has to earn its spot in the pack.
Aim to have enough supplies to keep you going for at least 72 hours. Here are the must-have categories to build around:
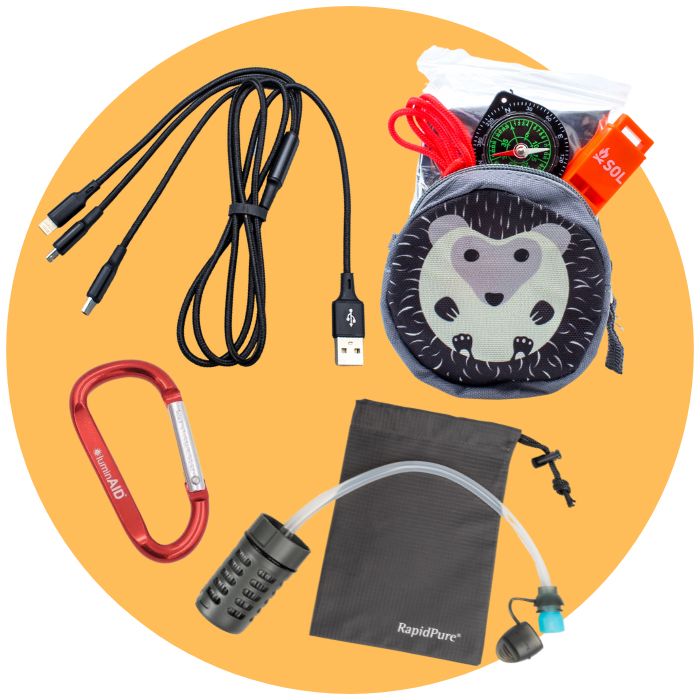
- Water and Filtration: Start with at least one liter of water per person, but more importantly, include a portable water filter. A quality filter can make questionable water sources safe to drink, which is an absolutely critical capability when municipal water is compromised.
- High-Calorie Food: Forget heavy cans. Think high-energy food bars, dried fruit, jerky, and nuts. They deliver maximum calories for minimum weight and need zero prep time.
- First-Aid Supplies: A simple cut can get serious fast without access to medical care. Your first-aid kit is non-negotiable. You can buy a great pre-made one or build your own with bandages, antiseptic wipes, pain relievers, and any personal medications.
- Essential Tools: A good multi-tool, a roll of duct tape, and a Mylar emergency blanket from a brand like Survive Outdoors Longer are incredibly versatile. You'd be surprised how often they come in handy.
And don't forget a change of clothes, sturdy shoes, and copies of your important documents sealed in a waterproof bag. For a much deeper dive, check out our complete guide to go-bag essentials.
Building Your At-Home Survival Stockpile
While a go-bag is for getting out, your at-home kit is for staying put. The goal here is self-sufficiency for up to two weeks without power, running water, or open stores. This requires a much more comprehensive supply stash.
Find a cool, dark, and accessible spot for this kit—a basement, garage, or large closet works well. This isn't a portable setup; it's your home base of operations during a prolonged event.
Pro Tip: Don't try to build this kit all at once. It can feel overwhelming. Instead, just add a few items to your grocery list each week, like an extra case of water or a few cans of soup. This makes it far more manageable and budget-friendly.
This kit focuses on bulk supplies for sustenance and sanitation:
- Water Supply: The golden rule is one gallon of water per person, per day. For a family of four, that means storing 56 gallons for a two-week supply.
- Non-Perishable Food: Stock up on canned meats, fruits, and veggies, plus staples like rice, pasta, and peanut butter. Crucially, don't forget a manual can opener, pet food, and any special dietary items your family needs.
- Sanitation and Hygiene: When the plumbing is out, things get uncomfortable fast. Garbage bags, moist towelettes, and a simple bucket with a tight-fitting lid can work as an emergency toilet. Soap, toothpaste, and feminine supplies are also key for health and morale.
Your communication plan, meeting places, and evacuation routes are all part of the bigger picture, working hand-in-hand with your supply kits.
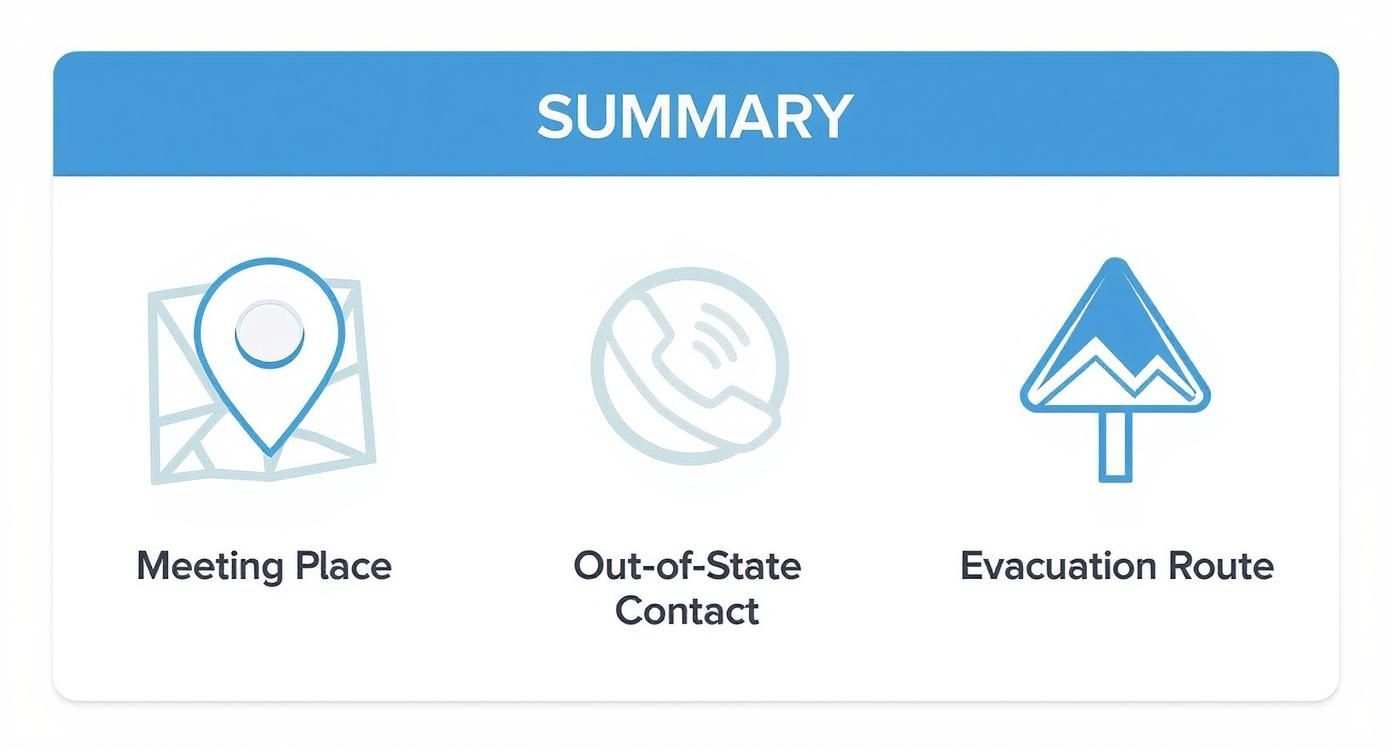
This visual brings it all together, showing how having these core components in place creates a plan that actually works under pressure.
To help you distinguish between the two kits, here's a quick comparison of what should go in each.
Go-Bag vs. At-Home Kit Checklist
| Item Category | Go-Bag (72-Hour Supply) | At-Home Kit (2-Week Supply) |
|---|---|---|
| Water | 1 liter per person + portable filter | 1 gallon per person, per day |
| Food | High-calorie bars, jerky, dried fruit | Canned goods, pasta, rice, peanut butter |
| First-Aid | Comprehensive portable kit | Larger kit with more supplies |
| Lighting | Compact flashlight or headlamp | Multiple lanterns, flashlights, candles |
| Tools | Multi-tool, knife, duct tape | Full tool kit, shovel, wrench for utilities |
| Documents | Copies of IDs, insurance, deeds (waterproof bag) | Originals in a fireproof/waterproof safe |
| Hygiene | Travel-size toiletries, wet wipes | Full-size items, toilet paper, sanitation system |
| Clothing | 1-2 changes of weather-appropriate clothes | Several changes of clothes, sturdy boots |
| Communication | Battery or crank radio, power bank | Same as go-bag, plus backup batteries |
This table should make it clear how the philosophy shifts from lightweight survival to long-term self-sufficiency.
The Critical Habit of Kit Maintenance
Great, you've assembled your kits! That's a huge accomplishment. But they aren't "set it and forget it" projects. Supplies expire, and your family's needs change. Real preparedness involves regular upkeep.
Set a calendar reminder to review your kits every six months. A lot of people tie this to when they change the clocks for daylight saving time—it's an easy trigger to remember.
During your check-in, do these three things:
- Rotate Supplies: Check expiration dates on food, water, medicine, and batteries. Use anything getting close to its date and replace it with fresh stock. This prevents waste and ensures everything is effective when you need it.
- Update for Changing Needs: Did you have a new baby? Does someone need a new prescription? Has a child outgrown the clothes in their go-bag? Adjust the contents to match your family's current reality.
- Test Your Gear: Flip on the flashlight. Turn on the radio. Make sure you remember how your water filter works. You don't want the first time you use a piece of gear in years to be during an actual emergency.
This simple routine transforms your kits from a box of stuff in a closet into a living, reliable resource. It’s the final step that ensures all your hard work pays off, providing genuine security when it matters most.
Fortifying Your Home Against Potential Disasters
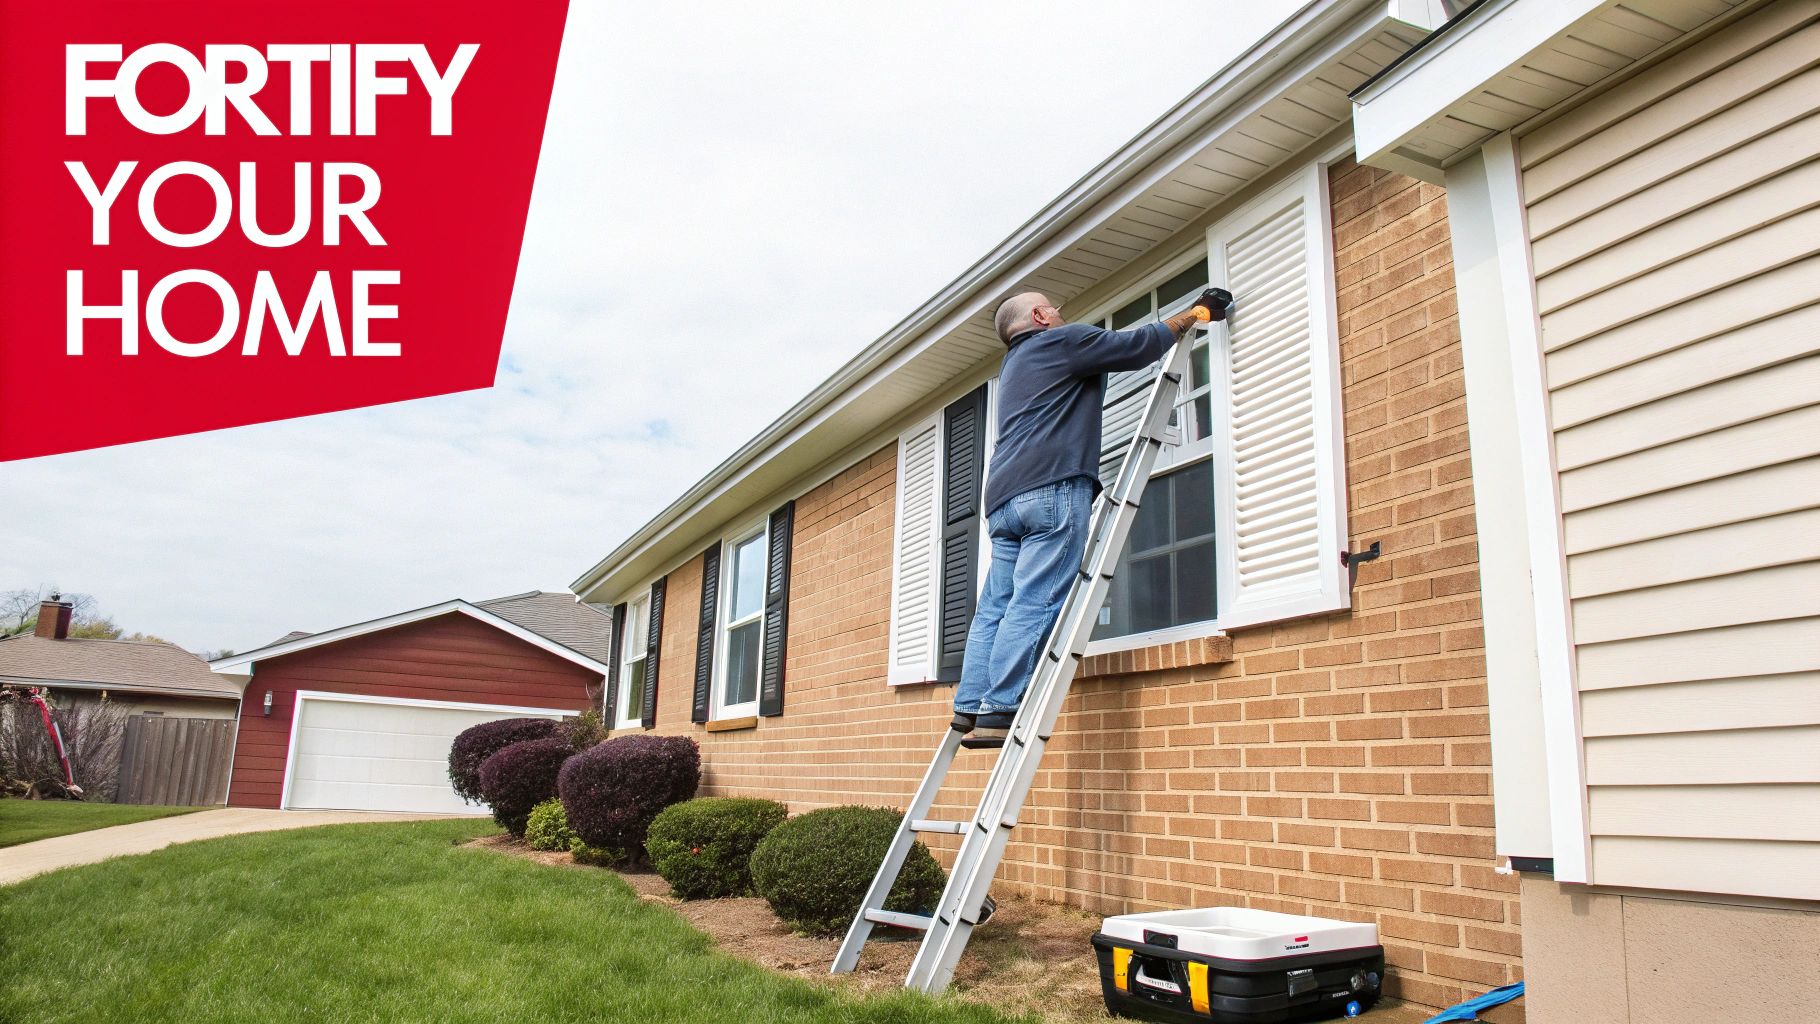
Protecting your property is a huge part of being prepared. It’s about shielding your family from what can be a devastating financial and emotional blow. This doesn't mean you need to turn your house into a concrete bunker. It’s about taking smart, proactive steps to shore up the weak spots based on the risks you've already identified.
These steps safeguard your biggest investment. They can dramatically lessen a disaster's impact, making recovery that much faster and less painful. Every single thing you do, from a big structural upgrade to a simple weekend project, makes your home more resilient.
Making Key Structural Reinforcements
Depending on where you live, a few structural upgrades can make all the difference. Some are definitely a bigger investment, but they offer serious protection against the worst threats your home might face.
For those of us in hurricane country, the roof is the first line of defense against brutal winds and driving rain. To give your home a fighting chance, consider upgrades like investing in hurricane-proof roofing. Along those same lines, installing hurricane shutters or impact-resistant windows is practically non-negotiable in coastal areas.
If you’re in an earthquake zone, seismic retrofitting can be an absolute lifesaver. This process basically strengthens your home’s bones to better handle the violent shaking of a quake. It often involves bolting the house to its foundation and bracing chimneys and cripple walls.
Securing Your Home From the Inside
Not every crucial prep task involves a construction crew. In fact, many of the most effective safety measures are things you can do yourself with a few basic tools. These small fixes can prevent common injuries and slash the amount of damage inside your home.
Start by looking for anything heavy that could fall over during a quake or big storm:
- Anchor Furniture: Use L-brackets or flexible fasteners to secure tall items like bookshelves, dressers, and entertainment centers to wall studs.
- Strap Down Appliances: Your water heater is a big one. Secure it with heavy-duty straps. If that thing ruptures, you’ve got major flooding and no emergency water supply.
- Secure Wall Hangings: For heavy pictures and mirrors, especially ones hanging over beds or couches, use museum putty or closed-hook hangers.
It sounds simple, but these steps can stop significant damage and, more importantly, protect your family from falling objects—a leading cause of injury during disasters.
Mastering Your Home's Utilities
When things get bad, you might have to shut off your utilities to prevent a fire, explosion, or major flooding. Knowing where your shut-offs are and exactly how to use them is a skill every adult in the house should have.
Do a walk-through of your property and find the main shut-off valves for your gas, water, and electricity. Label them clearly with brightly colored tags. Keep any necessary tools, like a wrench for the gas valve, stored right there in a spot that’s easy to grab. It’s a good idea to practice the shut-off procedure so you can do it quickly under pressure.
Maintaining Your Yard for Safety
Your yard can either be a protective buffer or a source of real danger during a storm. A little regular maintenance is one of the easiest and most powerful ways to protect your property from wind, fire, and flood damage.
For wind and storm safety, keep your trees and shrubs trimmed. Cut back any dead or overhanging branches that could snap off and smash into your home or take down power lines. If you're in a wildfire area, creating "defensible space" is a must. This means clearing away flammable stuff like dry grass, leaves, and brush from the area right around your house. For a deeper dive, check out our guide on how to prepare for a wildfire.
And don't forget your gutters! Make sure they're clear of leaves and debris. It’s a simple chore, but it prevents water from backing up and seeping into your roof or foundation, which is a surprisingly common cause of flood damage during heavy rains.
Covering All Bases: Pets, Vehicles, and Documents
True preparedness extends far beyond the four walls of your house. Once you’ve handled your family’s immediate needs, it's time to think about the other crucial elements of your life—the details that can cause massive stress in a crisis.
This means having a solid plan for your pets, making sure your car is an asset instead of a liability, and protecting the documents that define your life. Forgetting these can lead to heartbreaking choices or a logistical nightmare during recovery.
Preparing Your Pets for an Emergency
Your pets are family, and in an emergency, they're completely dependent on you. You can’t just hope for the best. They need a dedicated plan and a go-bag packed and ready, stored right next to yours.
Here’s what every pet go-bag should include:
- Food and Water: Pack at least three days' worth of food in an airtight, waterproof container. Don't forget a portable water bowl.
- Medications and Records: Include a week's supply of any necessary medications. Keep copies of their vaccination records in a sealed plastic bag.
- Collar, Leash, and ID: Their collar needs up-to-date ID tags. A sturdy leash and harness are non-negotiable.
- Comfort and Sanitation: A favorite toy or blanket can do wonders for a stressed animal. Also, pack waste bags or a small litter pan if you have a cat.
One of the most important steps is to identify pet-friendly shelters or hotels along your evacuation route before you need them. Many emergency shelters simply cannot accept animals. Knowing where you can go with your furry family members is a huge relief.
Beyond just packing a bag, being prepared means understanding the ins and outs of getting them from point A to point B safely. Check out a comprehensive guide on how to travel with pets to cover all your bases, from vet prep to what to pack for a longer journey.
Turning Your Vehicle into a Lifeline
In a disaster, your car might be your only ticket to safety. Keeping it ready to roll is a non-negotiable part of any solid preparedness plan.
If you remember only one thing, make it this: never let your gas tank fall below half full. In an emergency, gas stations are often the first places to lose power or run dry. A half-full tank gives you options.
Beyond fuel, your vehicle should have its own emergency kit. Think of it as a mobile extension of your home supplies. This is for more than just breakdowns; it’s a lifeline.
Your car kit isn’t complete without jumper cables, a portable tire inflator, and basic tools. Be sure to add extra water, non-perishable food, blankets for warmth, and a dedicated phone charger that plugs directly into your car's power outlet.
Safeguarding Your Vital Documents
When the dust settles, proving who you are and what you own is the first step toward getting your life back. Original documents are fragile—easily destroyed by fire, water, or chaos. You need a redundant system to protect them.
Start by gathering all of your essential paperwork: birth certificates, passports, Social Security cards, property deeds, vehicle titles, and insurance policies.
- Physical Copies: Get a waterproof and fireproof safe or lockbox. This is where your most important originals or high-quality copies should live.
- Digital Backups: Scan every single important document. Save them to a secure, password-protected cloud service like Google Drive or Dropbox. This small step ensures you can access them from any device with an internet connection, anywhere in the world.
Recent data shows that natural catastrophes displaced nearly 46 million people in a single year. That staggering number makes it clear why having mobile, accessible documentation is absolutely critical for navigating aid systems and starting the long road to recovery.
Common Questions About Disaster Preparedness
Even with the best plan laid out, questions always pop up when you start putting things into practice. Getting ready for a natural disaster is a process, not a one-and-done task. Let's tackle some of the most common questions to help you fine-tune your strategy and make sure your plan is rock-solid.
How Often Should I Update My Disaster Plan and Kits?
Think of your preparedness plan as a living document—it needs to change as your family does. A good rule of thumb is to give everything a thorough review at least twice a year. An easy way to remember this? Just do it when you change your clocks for daylight saving time.
This is your chance to rotate out food, water, or medications that are getting close to their expiration dates. Test the batteries in your flashlights and radios. More importantly, look at the big picture. Have there been any major life changes? A new baby, different medical needs, or even just a child outgrowing the clothes in their go-bag all mean it's time for an update.
What Are The Most Important Items In An Emergency Kit?
Everything in your kit has a purpose, but a few items are absolute game-changers. If you're building your kit from scratch or just prioritizing, put your focus on water, first aid, and reliable communication. You can last for weeks without food, but only a few short days without clean water. Always aim for one gallon per person, per day for your at-home supplies.
A solid first-aid kit is just as critical. When professional medical help is out of reach, small injuries can quickly become serious. A well-stocked kit, like the ones from Adventure Medical Kits, gives you the tools to handle common injuries. Make sure it's packed with bandages, antiseptic wipes, pain relievers, and at least a week's supply of any personal prescription medications.
A well-maintained kit does more than just provide supplies; it provides peace of mind. Knowing you have the tools to handle minor medical issues allows you to focus on bigger challenges during a crisis.
How Can I Prepare If I Live In An Apartment?
Prepping in a smaller space is all about being smart and choosing gear that pulls double duty. You can absolutely build a strong preparedness plan without a big garage or basement for storage.
Instead of stacking bulky water jugs, look into a high-quality portable water filter from a brand like RapidPure and pair it with some collapsible water containers. You can find plenty of space for flat-packed or compact foods under beds or in the back of closets. Your go-bag can live in your car trunk or right by the door, ready for a quick exit.
The most important thing, though, is to coordinate with your building management.
- Get a clear understanding of the building’s evacuation routes and emergency exits.
- Ask about shelter-in-place policies and if there are designated safe areas.
- Get to know your neighbors. Talk about how you might be able to help each other out.
In an apartment building, your community is one of your greatest assets. A neighbor might have a tool you need, or you could share supplies with an elderly resident. When you work together, everyone is safer.
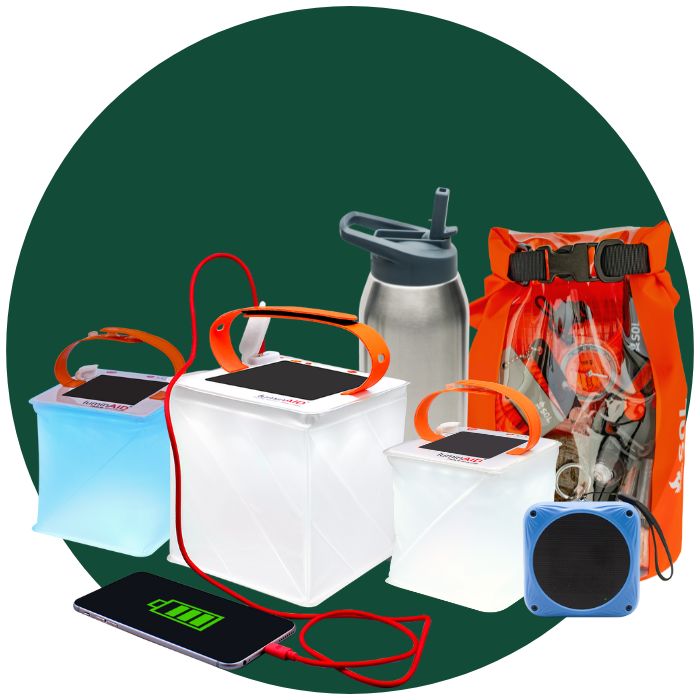
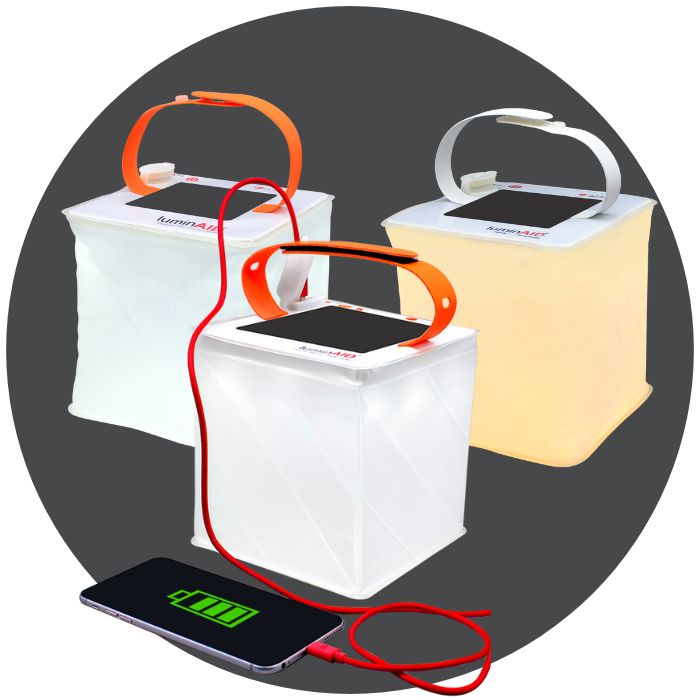
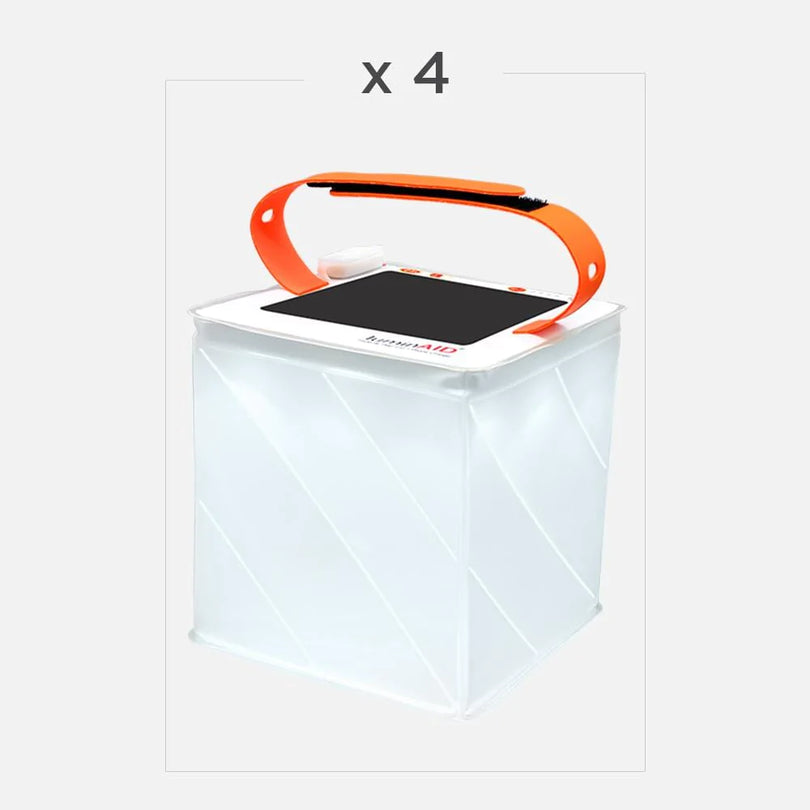
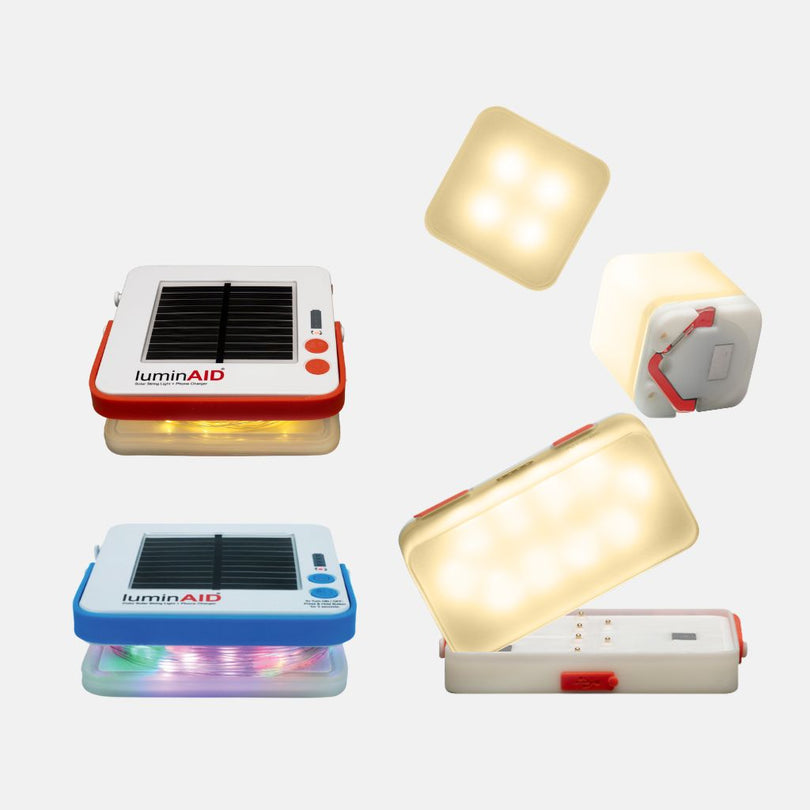
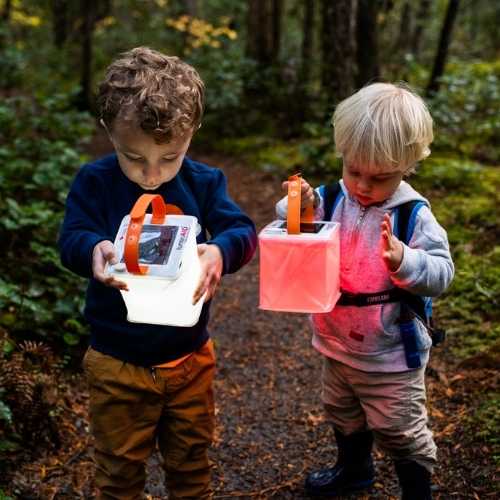
At LuminAID, we believe that being prepared is the best way to protect your family and community. Our solar-powered lanterns and phone chargers are designed to provide reliable light and power when you need it most, ensuring you stay connected and safe during any emergency. Equip your home and go-bags with dependable, off-grid solutions.